Epson Artisan 700/Epson Stylus Photo PX700W/TX700W
Revision C
ADJUSTMENT
Adjustment without Using Adjustment Program
239
Confidential
Checking the result of PG adjustment
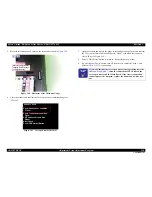
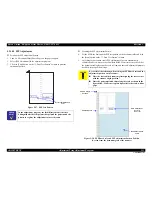
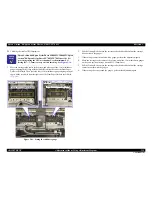
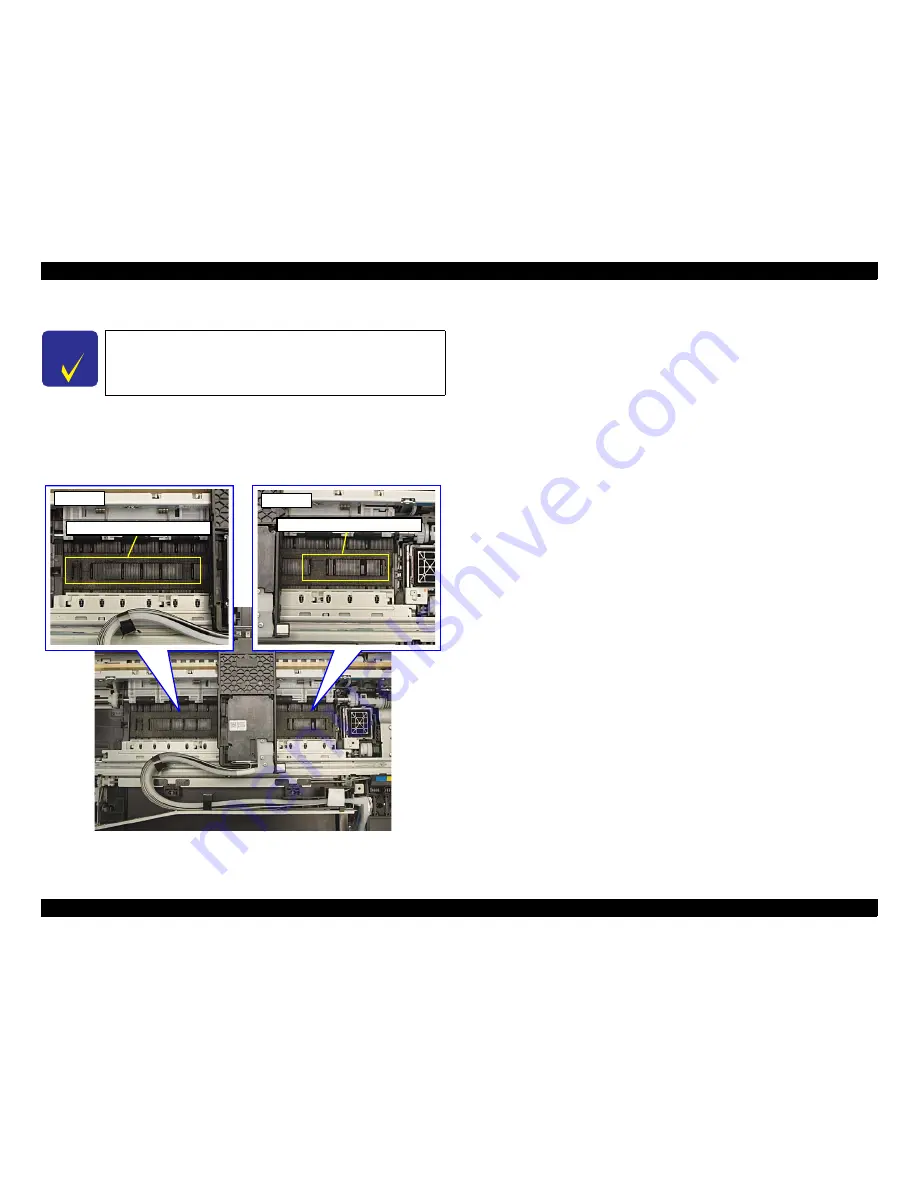
1. Move the carriage to the center of the platen, and place one of the 1.1 mm thickness
gauges aligning the left edge with the third rib from the left end of the Front Paper
Guide to the fifth rib. Then place the other 1.1 mm thickness gauge aligning the right
edge with the second rib from the right end of the Front Paper Guide to the fifth rib.
( Fig. 5-41 )
Figure 5-41. Setting the thickness gauge
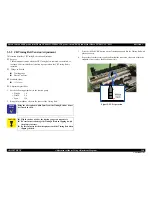
2. Pull the Timing Belt to move the carriage to both ends and confirm the carriage
does not touch the gauges.
3. If the carriage comes in contact with a gauge, perform the adjustment again.
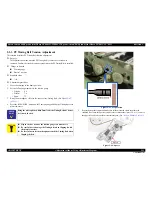
4. Move the carriage to the center of the platen, and place 1.3 mm thickness gauges
on the same position in step1 (instead of 1.15mm ones).
5. Pull the Timing Belt to move the carriage to both ends and confirm the carriage
comes in contact with the gauges.
6. If the carriage does not touch the gauges, perform the adjustment again.
C H E C K
P O I N T
Epson Artisan 800/Epson Stylus Photo PX800FW/TX800FW/Epson
Artisan 700/Epson Stylus Photo PX700W/TX700W have five PG
pre-settings using the APG mechanism. Use the minimum PG
setting (PG –: 1.2mm) to carry out this checking. See
Figure. 5-36
.
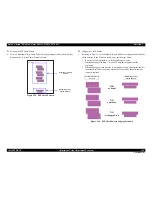
Gauge (1.15 or 1.3mm) placement
Right side
Gauge (1.15 or 1.3mm) placement
Left side
Summary of Contents for Artisan 700 Series
Page 7: ...Confidential C H A P T E R 1 PRODUCTDESCRIPTION ...
Page 42: ...Confidential C H A P T E R 2 OPERATINGPRINCIPLES ...
Page 48: ...Confidential C H A P T E R 3 TROUBLESHOOTING ...
Page 189: ...Confidential C H A P T E R 5 ADJUSTMENT ...

