Epson Artisan 700/Epson Stylus Photo PX700W/TX700W
Revision C
DISASSEMBLY/ASSEMBLY
Disassembly Procedures
154
Confidential
4.2.4.16 Carriage Unit
Parts/Components need to be removed in advance:
Main Frame/Printhead/CR Scale
Removal procedure
1.
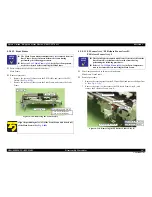
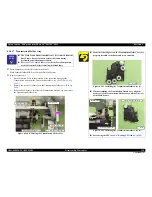
Remove the screw (x1) that secures the FFC Holder and remove the FFC
Holder. (See
4.2.4.12 Front Frame Step1 (p147)
.)
2.
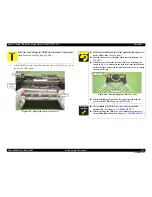
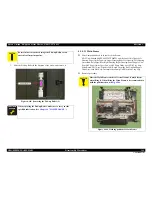
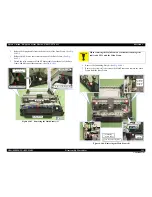
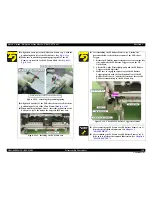
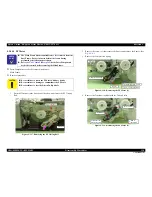
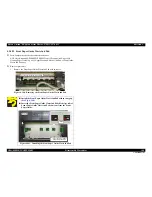
Remove the Extension spring 25.63 under the Driven Pulley Assy with
longnose pliers, and remove the Driven Pulley Assy from the Main Frame.
(See
Fig. 4-129
.)
3.
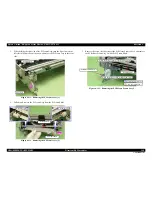
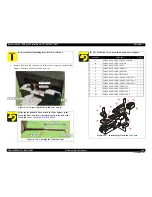
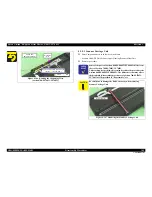
Remove the Driven Pulley from the Driven Pulley Assy, and detach the CR
Timing Belt.
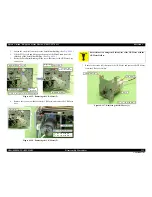
Figure 4-129. Removing the Driven Pulley Assy
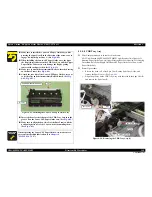
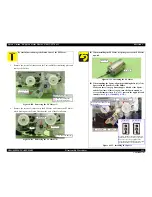
When installing the CR Motor, install it with the groove of the
CR Motor as shown in
Fig. 4-127
.
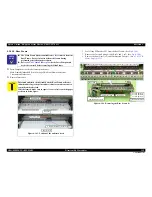
Align the dowels (x2) of the CR Motor Holder with the
positioning holes (x2) of the Main Frame. (See
Fig. 4-126
.)
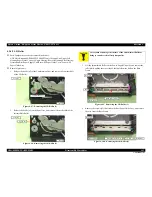
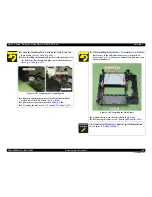
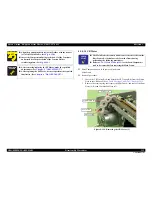
Phase adjustment of the Spur Gear
•
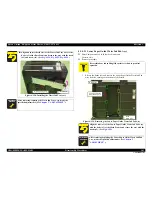
Align the point B of the Spur Gear B with the point C of the
Spur Gear C to make the phases of both gears match.
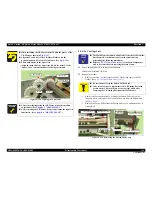
Figure 4-128. Aligning the Spur Gear
A D J U S T M E N T
R E Q U I R E D
After removing/replacing the CR Motor, make the specified
adjustments. (See
Chapter 5 "ADJUSTMENT"
.)
After replacing the CR Motor, be sure to perform the required
lubrication. (See
Chapter 6 "MAINTENANCE"
.)
Spur Gear C
Spur Gear B
Point C
Point B
Carriage Shaft
C H E C K
P O I N T
The Main Frame becomes unstable once it is removed from the
Base Frame. Be careful not to deform the frame during
performing the following procedures.
Refer to
4.2.4.11 Main Frame (p144)
for the Parts/Components
need to be removed before removing the Main Frame.
C A U T I O N
Be careful not to lose the Driven Pulley Shaft.
Take extra care not to contaminate the CR Timing Belt with
grease on the CR Guide Plate or the Carriage Shaft after
removing the CR Timing Belt from the Main Frame.
Rear side
Driven Pulley Assy
Extension spring 25.63
Driven Pulley Assy
CR Timing Belt
Driven Pulley
Summary of Contents for Artisan 700 Series
Page 7: ...Confidential C H A P T E R 1 PRODUCTDESCRIPTION ...
Page 42: ...Confidential C H A P T E R 2 OPERATINGPRINCIPLES ...
Page 48: ...Confidential C H A P T E R 3 TROUBLESHOOTING ...
Page 189: ...Confidential C H A P T E R 5 ADJUSTMENT ...

