Epson Artisan 700/Epson Stylus Photo PX700W/TX700W
Revision C
ADJUSTMENT
Adjustment without Using Adjustment Program
237
Confidential
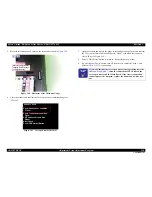
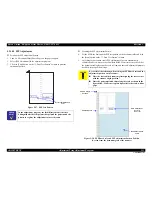
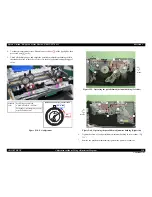
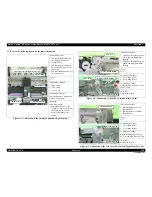
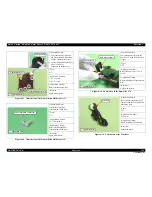
• The EJ Frame Assy must be lowered most.
Figure 5-35. Position of EJ Frame Assy
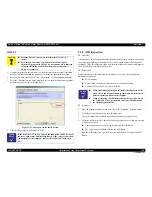
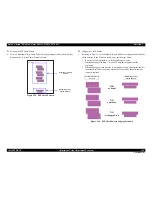
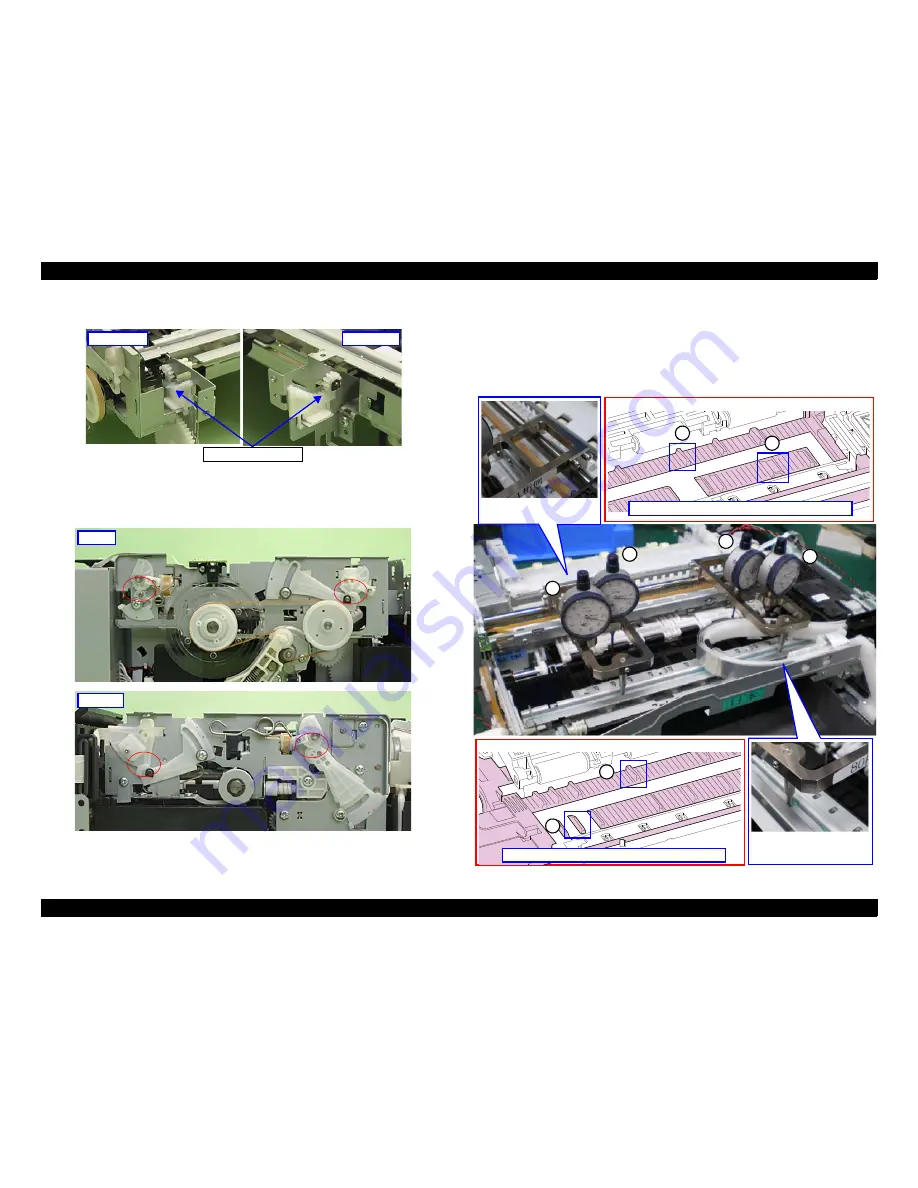
• Check that the PG cams; located on both the left side and the right side of the
Carriage Shaft and the CR guide plate, are in the PG-position.
( Fig. 5-36 )
Figure 5-36. PG position when adjusting
Adjustment procedure
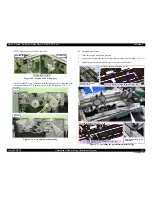
1. Move the carriage to the home position.
2. Loosen all the screws the secure each parallelism adjustment bushing.
( Fig. 5-34 )
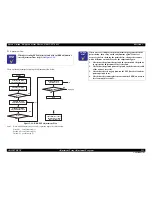
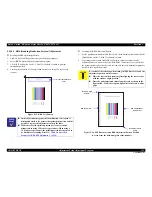
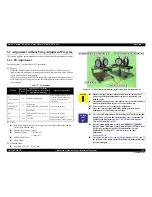
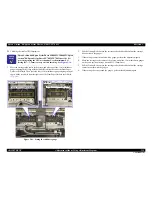
3. Attach the parallelism adjustment jigs to the printer mechanism.
Figure 5-37. Installing the parallelism adjustment jigs
80 column side
0 column side
Confirm they are set here.
Right side
Left side
Place the rear of Jig on
Carriage Shaft.
A
B
C
D
Place the front of Jig on CR
Guide Plate.
C
D
Place Jig aligning the bits with the ribs shown above.
A
B
Place Jig aligning the bits with the ribs shown above.
Location of the bits of dial gauge (C) (D)
Location of the bits of dial gauge (A) (B)
Summary of Contents for Artisan 700 Series
Page 7: ...Confidential C H A P T E R 1 PRODUCTDESCRIPTION ...
Page 42: ...Confidential C H A P T E R 2 OPERATINGPRINCIPLES ...
Page 48: ...Confidential C H A P T E R 3 TROUBLESHOOTING ...
Page 189: ...Confidential C H A P T E R 5 ADJUSTMENT ...


