Epson Artisan 700/Epson Stylus Photo PX700W/TX700W
Revision C
DISASSEMBLY/ASSEMBLY
192
Confidential
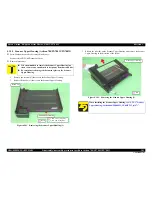
4.3.1.6 Rear Right Housing (Artisan 700/PX700W/TX700W)
Parts/Components need to be removed in advance:
Scanner Unit/Upper Left Housing/Paper Guide Top Assy/Upper Housing/Hinge
Removal procedure
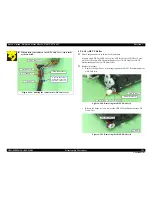
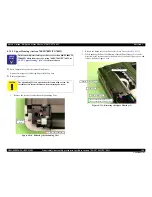
1.
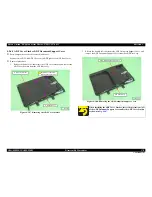
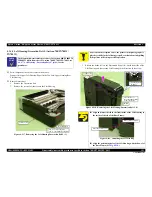
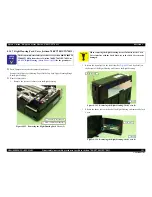
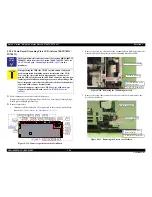
Remove the screw (x1) that secures the Rear Right Housing.
Figure 4-220. Removing the Rear Right Housing (1)
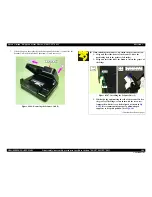
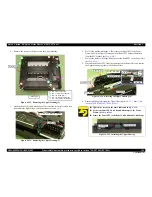
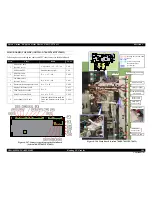
2.
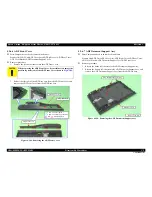
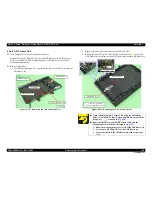
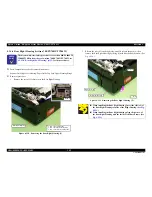
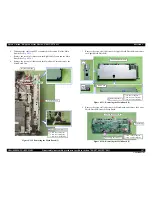
Release the ribs (x2) on the right side, and also release the point A, then
remove the Rear Right Housing by lifting it in the direction of the arrow. (See
Fig. 4-220
.)
Figure 4-221. Removing the Rear Right Housing (2)
l
C H E C K
P O I N T
The disassembly/reassembly procedures for Artisan 800/PX800FW/
TX800FW differ from those of Artisan 700/PX700W/TX700W, see
4.2.2.10 "Rear Right FAX Housing"
(p112)
for the procedures.
C.B.A. 3x10 (black) (6±1Kgfcm)
C.B.S. 3x6 (black) (8±1Kgfcm)
C.B.P. 3x10 (6±1Kgfcm)
Hook A
Rear Right Housing
When installing the Rear Right Housing, insert the ribs (x2) of
the Rear Right Housing to inside of the Right Housing. (See
Fig.
4-221
.)
When installing the Rear Right Housing, align the point A of
the Rear Right Housing with the inside of the Base Frame. (See
Fig. 4-221
.)
Rib
Rear Right Housing
Right Housing
Point A
Summary of Contents for Artisan 700 Series
Page 7: ...Confidential C H A P T E R 1 PRODUCTDESCRIPTION ...
Page 42: ...Confidential C H A P T E R 2 OPERATINGPRINCIPLES ...
Page 48: ...Confidential C H A P T E R 3 TROUBLESHOOTING ...
Page 189: ...Confidential C H A P T E R 5 ADJUSTMENT ...

