Epson Stylus Photo R280/R285/R290/Epson Artisan 50/Epson Stylus Photo T50/T59/T60/P50
Revision C
Chapter 4 Disassembly/Assembly
4.4.1 Removing the Printer Mechanism (Disassembling the Printer Mechanism)
72
Confidential
4.4 Disassembling the Printer Mechanism
4.4.1 Removing the Printer Mechanism
Parts/Components need to be removed in advance
Printer Cover / Paper Support Assy / Upper Housing / Main Board Unit / Panel Assy /
Cover Open Sensor
Removal procedure
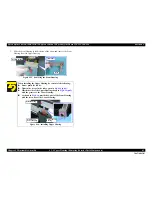
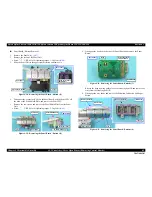
1.
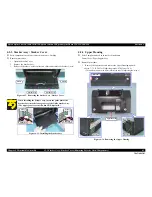
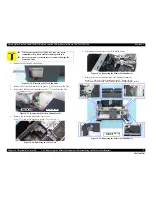
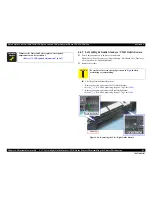
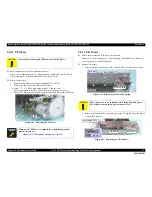
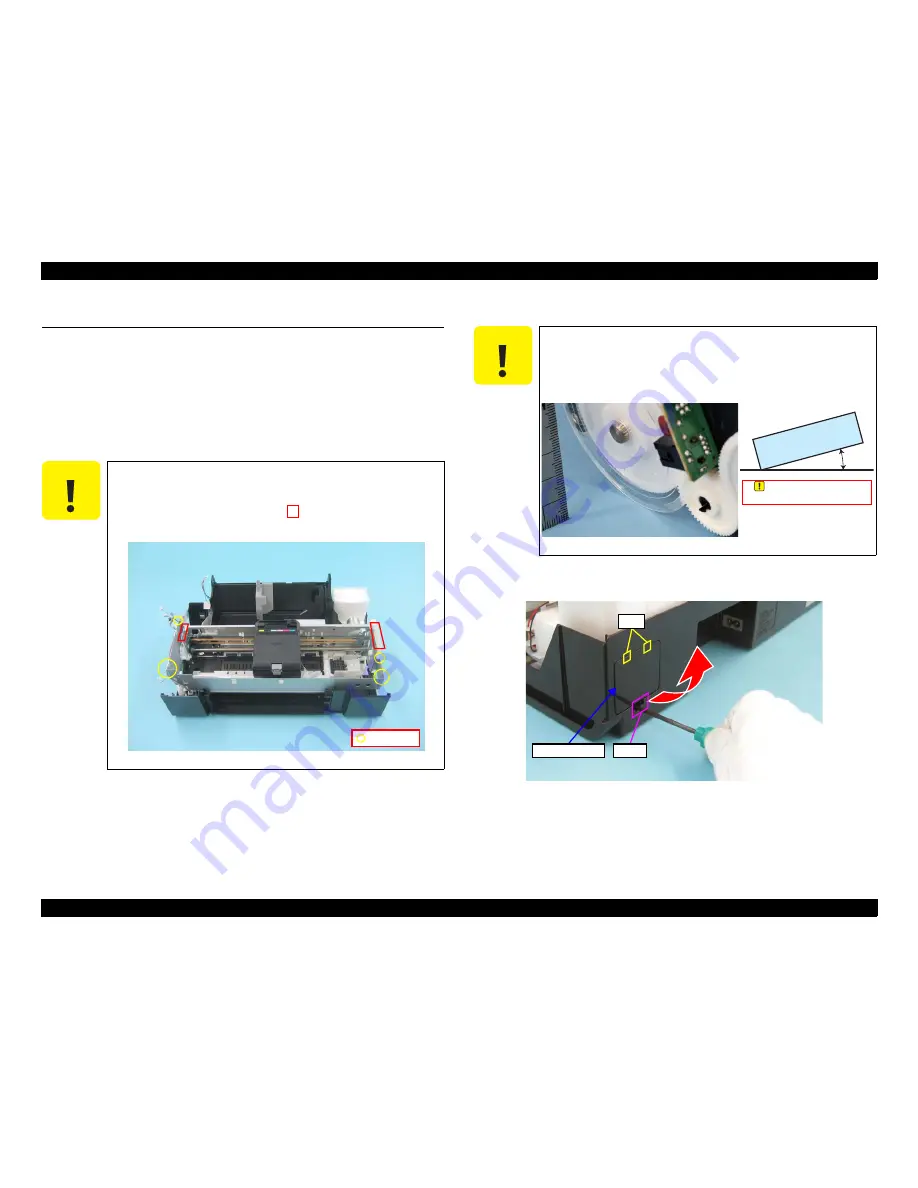
Disengage the hook of the Ink Tube Cover using a flathead screwdriver and
remove the Ink Tube Cover.
Figure 4-37. Removing the Ink Tube Cover
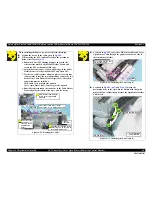
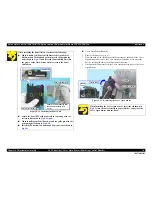
C A U T I O N
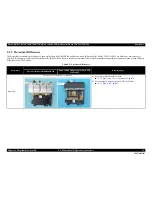
Be careful of the four sharp edges shown in the figure below
when assembling or reassembling.
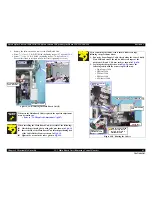
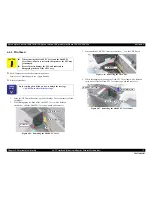
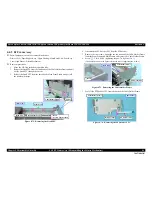
Printer Mechanism Handling Precaution
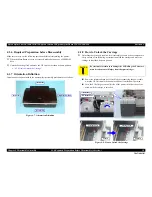
When lifting the printer, hold
parts shown in the figure
below to prevent the frame from deforming.
Figure 4-35. Printer Mechanism Handling Precaution (1)
Sharp Edge
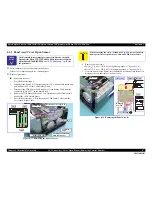
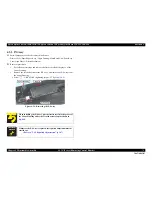
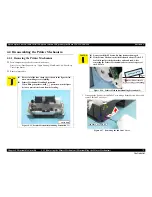
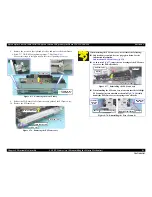
C A U T I O N
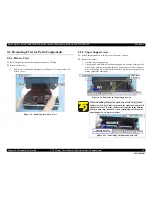
Do not touch the PF Scale with bare hands or damage it.
If the Printer Mechanism is tilted leftward about 15°, the PF
Scale hits against the desk surface and can break. After
removing the Printer Mechanism, take extra care to protect
the PF Scale.
Figure 4-36. Printer Mechanism Handling Precaution (2)
er Me
chani
sm
About
15
°
Do not tilt more than 15
degrees, or drag it while tilting.
Ribs
Hook
Ink Tube Cover
Summary of Contents for 50 - Artisan 50 - Printer
Page 8: ...Confidential C H A P T E R 1 PRODUCTDESCRIPTION ...
Page 22: ...Confidential C H A P T E R 2 OPERATINGPRINCIPLES ...
Page 29: ...Confidential C H A P T E R 3 TROUBLESHOOTING ...
Page 52: ...Confidential C H A P T E R 4 DISASSEMBLY ASSEMBLY ...
Page 103: ...Confidential C H A P T E R 5 ADJUSTMENT ...
Page 120: ...Confidential C H A P T E R 6 MAINTENANCE ...

