Epson Stylus Photo R280/R285/R290/Epson Artisan 50/Epson Stylus Photo T50/T59/T60/P50
Revision C
Chapter 5 Adjustment
5.2 Using the Adjustment Program
113
Confidential
5.2.6 PG Adjustment
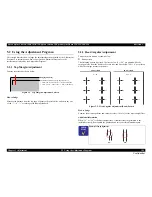
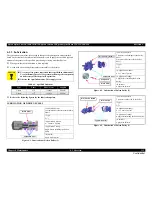
Described below is the platen gap (PG) adjustment.
Purpose:
Adjust the distance between the head surface and the Paper Guide Front Assy
(platen) properly and adjust the parallelism on the 0th column side and on the 80th
columns side to ensure reliable print quality.
Once the Carriage Assy and/or Adjustment Bushes have been removed or
whenever necessary for any other reason, make this adjustment to correct the
deviation of the platen gap.
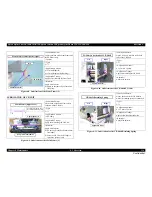
Things to be used
Thickness gauge:
1.15 mm (x2)
1.3 mm (x2)
Phillips screwdriver
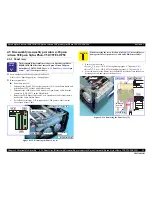
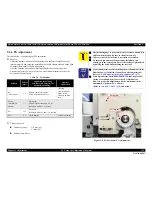
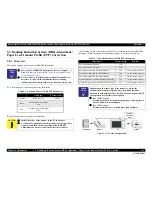
Figure 5-8. PG Position at PG Adjustment
Table 5-5. PG Positions
Position
PG Size
(mm)
Application for Printing
(selected from PG flag list for
normal/head rubbing)
Sequence
Application
PG-
<APG Home>
1.2
EPSON special thick paper
PGPP, Postcards, Matte, etc.
Cleaning
CR measurement,
VH detection
CR home position
seek
PG typ.
<Mechanical
default>
1.7
Plain paper
EPSON special thin paper, SF, etc.
Rubbing with PG1.2 is avoided
PG+
2.35
Envelopes
Rubbing with PG1.2 and 1.7 is avoided
PG++
4.2
CD-R printing
At ink replacement
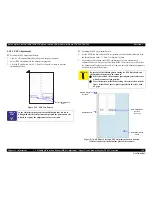
C A U T I O N
The thickness gauge to be used must be free from dust and dirt
and from deformation. Be sure to clean it before use.
Take care that the Print Head is not soiled or scratched.
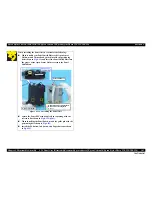
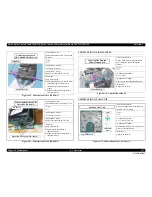
To ensure high accuracy of adjustment, install new ink
cartridges in the carriage, and move the carriage right and left
by pulling the belt without holding the carriage.
C H E C K
P O I N T
Make this adjustment after installing the mechanism unit in the
Housing Lower. (Install the Linear Scale after adjustment.)
Refer to
“4.4.1 Removing the Printer Mechanism”
(p.72)
With Epson Stylus Photo R280/R285/R290, four stages of PG
setting are available by means of the APG Mechanism.
However, make this adjustment with the mechanism in the
minimum PG position (PG-: 1.2 mm).
(Refer to
“4.4.4 APG Unit”
(p.78)
and below.)
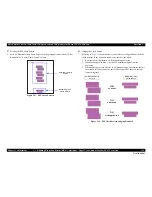
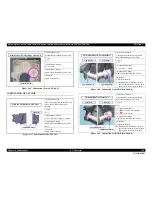
Locating hole
Locating hole
Summary of Contents for 50 - Artisan 50 - Printer
Page 8: ...Confidential C H A P T E R 1 PRODUCTDESCRIPTION ...
Page 22: ...Confidential C H A P T E R 2 OPERATINGPRINCIPLES ...
Page 29: ...Confidential C H A P T E R 3 TROUBLESHOOTING ...
Page 52: ...Confidential C H A P T E R 4 DISASSEMBLY ASSEMBLY ...
Page 103: ...Confidential C H A P T E R 5 ADJUSTMENT ...
Page 120: ...Confidential C H A P T E R 6 MAINTENANCE ...

