Epson Stylus Photo R280/R285/R290/Epson Artisan 50/Epson Stylus Photo T50/T59/T60/P50
Revision C
Chapter 4 Disassembly/Assembly
4.2.4 Upper Housing (Removing Exterior Parts/Components)
63
Confidential
2.
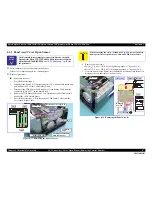
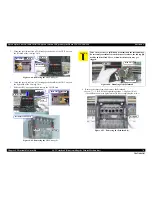
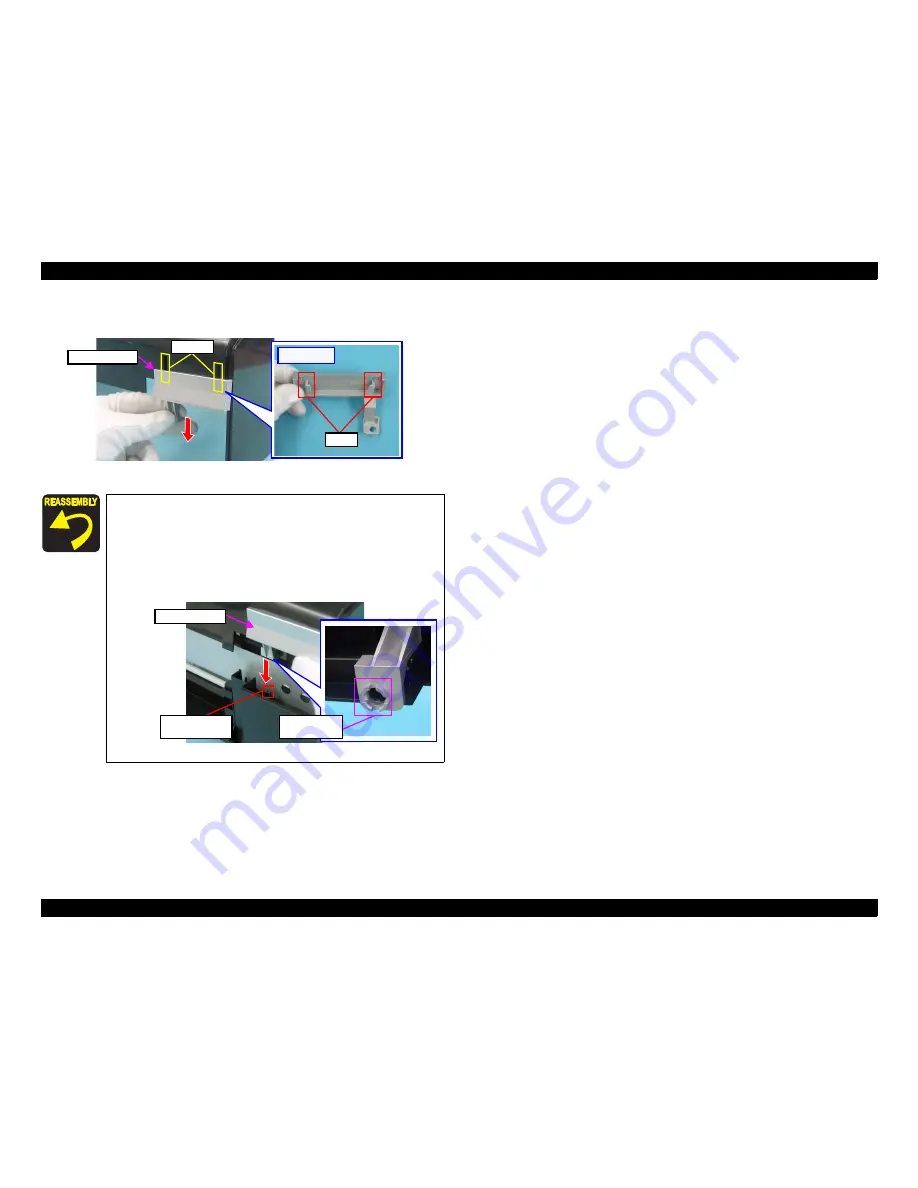
Slide the Front Housing in the direction of the arrow and remove the Front
Housing from the Upper Housing.
Figure 4-15. Removing the Front Housing
When installing the Upper Housing, be careful of the following:
Do not pinch the cables.
Tighten the screws in the order given in
Fig.4-14 (p.62)
.
Match the ribs of the Upper Housing shown in
Fig.4-14 (p.62)
with the grooves of the Lower Housing.
As shown in
Fig.4-16
, match the A part of the Front Housing
with the screw box of the Lower Housing.
Figure 4-16. Installing Upper Housing
[Rear Side]
Ribs
Front Housing
Grooves
Front Housing
Screw box of
Lower Housing
A part of Front
Housing
Summary of Contents for 50 - Artisan 50 - Printer
Page 8: ...Confidential C H A P T E R 1 PRODUCTDESCRIPTION ...
Page 22: ...Confidential C H A P T E R 2 OPERATINGPRINCIPLES ...
Page 29: ...Confidential C H A P T E R 3 TROUBLESHOOTING ...
Page 52: ...Confidential C H A P T E R 4 DISASSEMBLY ASSEMBLY ...
Page 103: ...Confidential C H A P T E R 5 ADJUSTMENT ...
Page 120: ...Confidential C H A P T E R 6 MAINTENANCE ...

