Epson Stylus Photo R280/R285/R290/Epson Artisan 50/Epson Stylus Photo T50/T59/T60/P50
Revision C
Chapter 4 Disassembly/Assembly
4.4.13 CR Unit (Disassembling the Printer Mechanism)
90
Confidential
4.
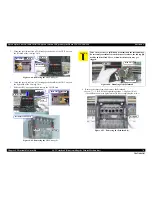
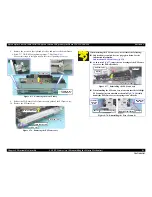
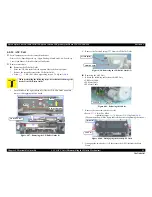
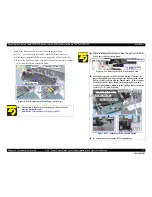
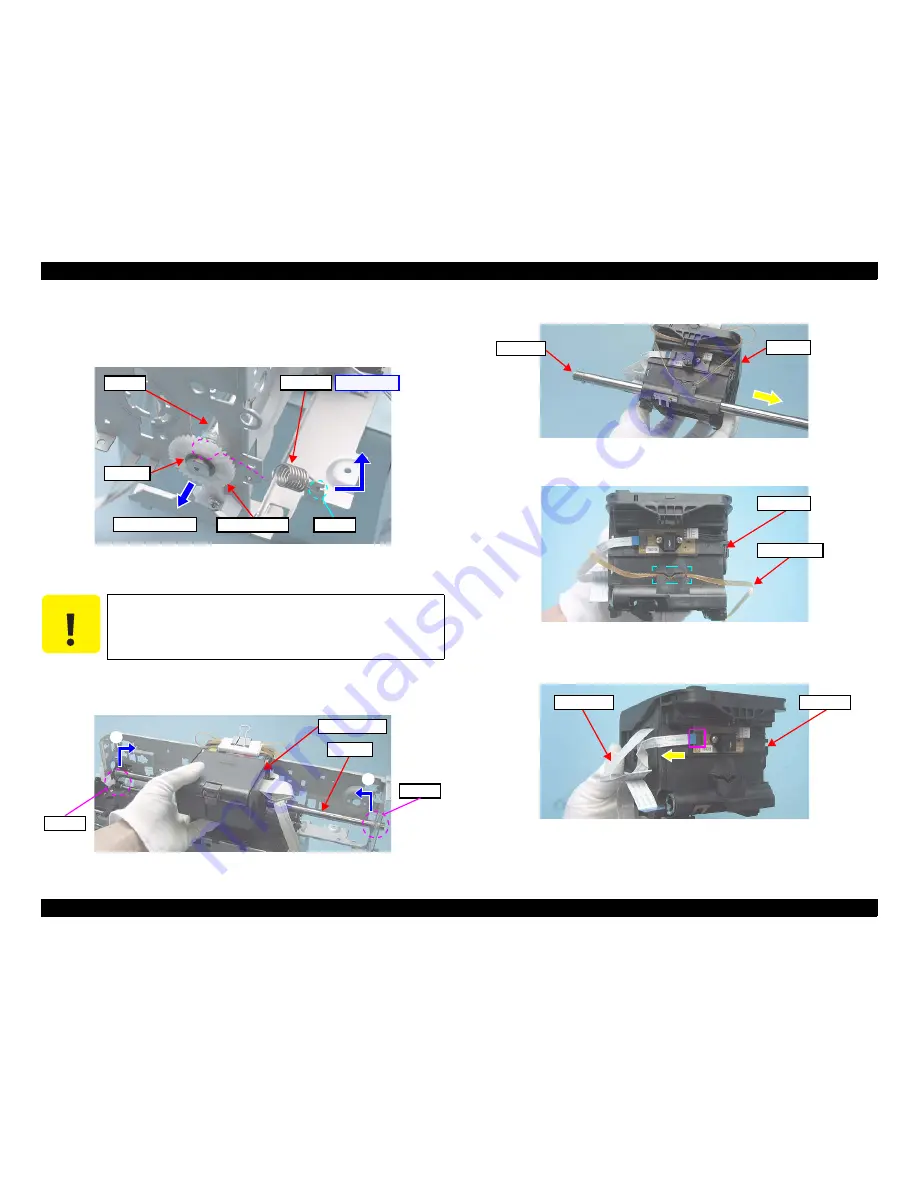
Disengage the end of the Spring (2) from the hook, and the other end from the
slit of the CR shaft, and remove the Spring (2).
5.
Remove the washer by expanding the gap between the washer and the Right
PG Cam using a pair of Tweezers, and remove the Right PG Cam.
Figure 4-89. Removing the CR unit (2)
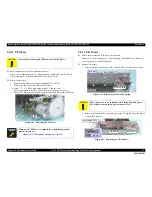
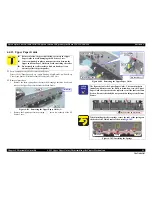
6.
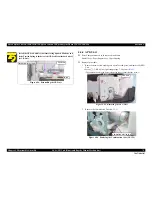
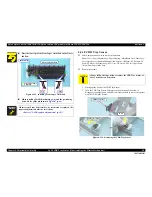
Hold the CR Unit from the bottom and lift up the CR Shaft, release from the
bushing in the (1) (2) order, and remove the CR Unit with the Shaft from the
Main Frame.
Figure 4-90. Removing the CR Unit (3)
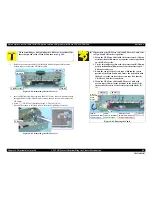
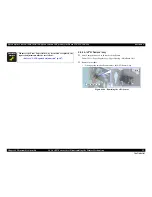
7.
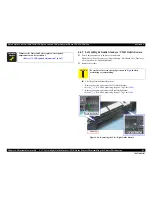
Remove the CR Shaft from the CR Unit.
Figure 4-91. Removing the CR Unit (4)
8.
Remove the Timing Belt from the CR Unit.
Figure 4-92. Removing the CR Unit (5)
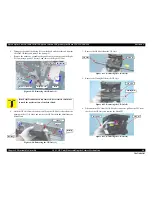
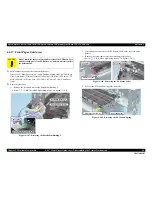
9.
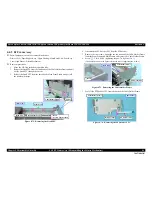
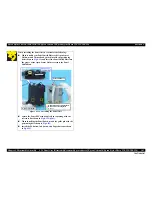
Disconnect the FFC from the CR Encoder connector, pull out the FFC from
the slit of the CR Unit, and remove the Head FFC.
Figure 4-93. Removing the CR Unit (6)
C A U T I O N
If the Print Head has not been removed, be extremely careful not
to touch the nozzle surface of the Print Head.
CR Shaft
Washer
Right PG Cam
Spring (2)
Removal Direction
Hook
[Right Side]
2
CR Shaft
CR Unit
1
Bushing
Bushing
CR Shaft
CR Unit
Timing Belt
CR Unit
CR Unit
Head FFC
CR Unit
Summary of Contents for 50 - Artisan 50 - Printer
Page 8: ...Confidential C H A P T E R 1 PRODUCTDESCRIPTION ...
Page 22: ...Confidential C H A P T E R 2 OPERATINGPRINCIPLES ...
Page 29: ...Confidential C H A P T E R 3 TROUBLESHOOTING ...
Page 52: ...Confidential C H A P T E R 4 DISASSEMBLY ASSEMBLY ...
Page 103: ...Confidential C H A P T E R 5 ADJUSTMENT ...
Page 120: ...Confidential C H A P T E R 6 MAINTENANCE ...

