EPSON Stylus PHOTO 2100/2200
Revision B
DISASSEMBLY AND ASSEMBLY
Disassembly
170
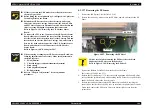
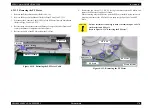
4.2.13.2 Removing the PF Motor
1.
Remove the Printer Mechanism. (Refer to 4.2.1.4.)
2.
Remove the Paper Guide Manual. (Refer to Steps 2 and 3 in 4.2.13.1.)
3.
Disconnect the Connector Cable (CN16) of the PF Motor from the Main Board.
(Refer to Steps 2 and 3 in 4.2.2.2.)
4.
Release the two hooks that secure the Harness Clamp to the Under Frame, and
remove the Harness Clamp from the Under Frame.
5.
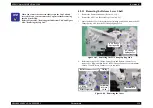
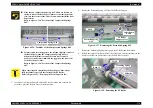
Release the Cable of the PF Motor from the Tie Wrap.
Figure 4-110. Releasing the PF Motor Cable
6.
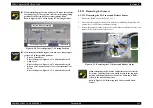
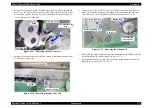
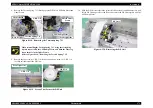
Remove the two screws 13) C.P.S 3
×
6 (6
±
1kgf.cm) that secure the PF Motor, and
remove the PF Motor from the Left Frame.
When removing only the PF Motor, peel the PF Scale carefully (using care not to
whiten it) and remove the PF Motor, since there are the Spur Gear 76 and PF
Scale.
Figure 4-111. Removing the PF Motor
Hooks
Tie Wrap
Harness Clamp
C A U T I O N
Fully be careful not to damage (whiten or break) the Spur Gear 76
tooth surface and PF Scale.
Refer to Figure 4-111, "Removing the PF Motor".
PF Motor
C.P.S 3
×
6
PF Scale
Spur Gear 76
Frame left side
Summary of Contents for 2200 - Stylus Photo Color Inkjet Printer
Page 1: ...EPSONStylusPHOTO2100 2200 Color Inkjet Printer SEIJ01 016 SERVICE MANUAL ...
Page 8: ...C H A P T E R 1 PRODUCTIONDESCRIPTION ...
Page 39: ...C H A P T E R 2 OPERATINGPRINCIPLES ...
Page 69: ...C H A P T E R 3 TROUBLESHOOTING ...
Page 115: ...C H A P T E R 4 DISASSEMBLYANDASSEMBLY ...
Page 187: ...C H A P T E R 5 ADJUSTMENT ...
Page 214: ...C H A P T E R 6 MAINTENANCE ...
Page 226: ...C H A P T E R 7 APPENDIX ...
Page 254: ......
Page 255: ......
Page 256: ......
Page 257: ......
Page 258: ......


