EPSON Stylus PHOTO 2100/2200
Revision B
DISASSEMBLY AND ASSEMBLY
Disassembly
162
4.2.12.2 Removing the ASF Sensor
1.
Remove the ASF Unit. (Refer to 4.2.4.)
2.
Remove the ASF Sensor Wheel of the ASF Unit. (Refer to Steps 5 to 8 in 4.2.4.1.)
3.
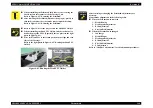
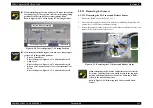
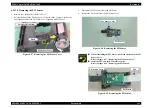
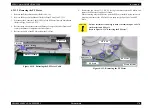
Release the two hooks that secure the ASF Sensor with tweezers or a flat-head
screwdriver, and slide and remove the ASF Sensor to the bottom left as seen from
the left side of the ASF Unit.
Figure 4-92. Removing the ASF Sensor
4.2.12.3 Removing the PF Encoder Sensor
1.
Remove the Rear Housing. (Refer to 4.2.1.2.)
2.
Remove the Middle Housing. (Refer to 4.2.1.3.)
3.
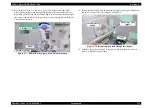
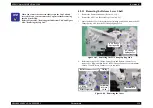
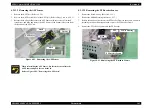
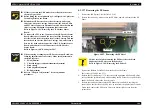
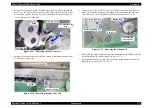
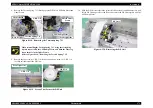
Release the one hook that secures the PF Encoder Frame to the Frame, and while
extending the Lower Housing outward, remove the PF Encoder Frame.
4.
Remove the FFC that is connected to the PF Encoder.
Figure 4-93. Removing the PF Encoder Frame
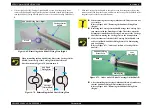
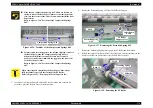
When reinstalling the ASF Sensor, fist insert the cutout into the
ASF Frame and push the two hooks in.
Refer to Figure 4-92, "Removing the ASF Sensor".
Cutout
Hook
Hook
ASF Sensor
FFC
Lower Housing
PF Encoder Frame
Hook
Summary of Contents for 2200 - Stylus Photo Color Inkjet Printer
Page 1: ...EPSONStylusPHOTO2100 2200 Color Inkjet Printer SEIJ01 016 SERVICE MANUAL ...
Page 8: ...C H A P T E R 1 PRODUCTIONDESCRIPTION ...
Page 39: ...C H A P T E R 2 OPERATINGPRINCIPLES ...
Page 69: ...C H A P T E R 3 TROUBLESHOOTING ...
Page 115: ...C H A P T E R 4 DISASSEMBLYANDASSEMBLY ...
Page 187: ...C H A P T E R 5 ADJUSTMENT ...
Page 214: ...C H A P T E R 6 MAINTENANCE ...
Page 226: ...C H A P T E R 7 APPENDIX ...
Page 254: ......
Page 255: ......
Page 256: ......
Page 257: ......
Page 258: ......

