71
Practical Use of the PR-50
Setting Loop Mode for Each Clip
You can make separate Loop mode settings for each clip.
When this is turned on, each clip plays in accordance with its own Loop Mode setting. You can have
the same clip play continuously or play the next clip when the current one is finished. You can also
have another specified clip play after the current clip is played back. These functions allow you to
program the playback sequence of the clips.
The Loop mode settings are enabled when Loop playback is on (p. 55).
1.
Select the clip whose Loop mode settings you want to set in the “Clips” list.
2.
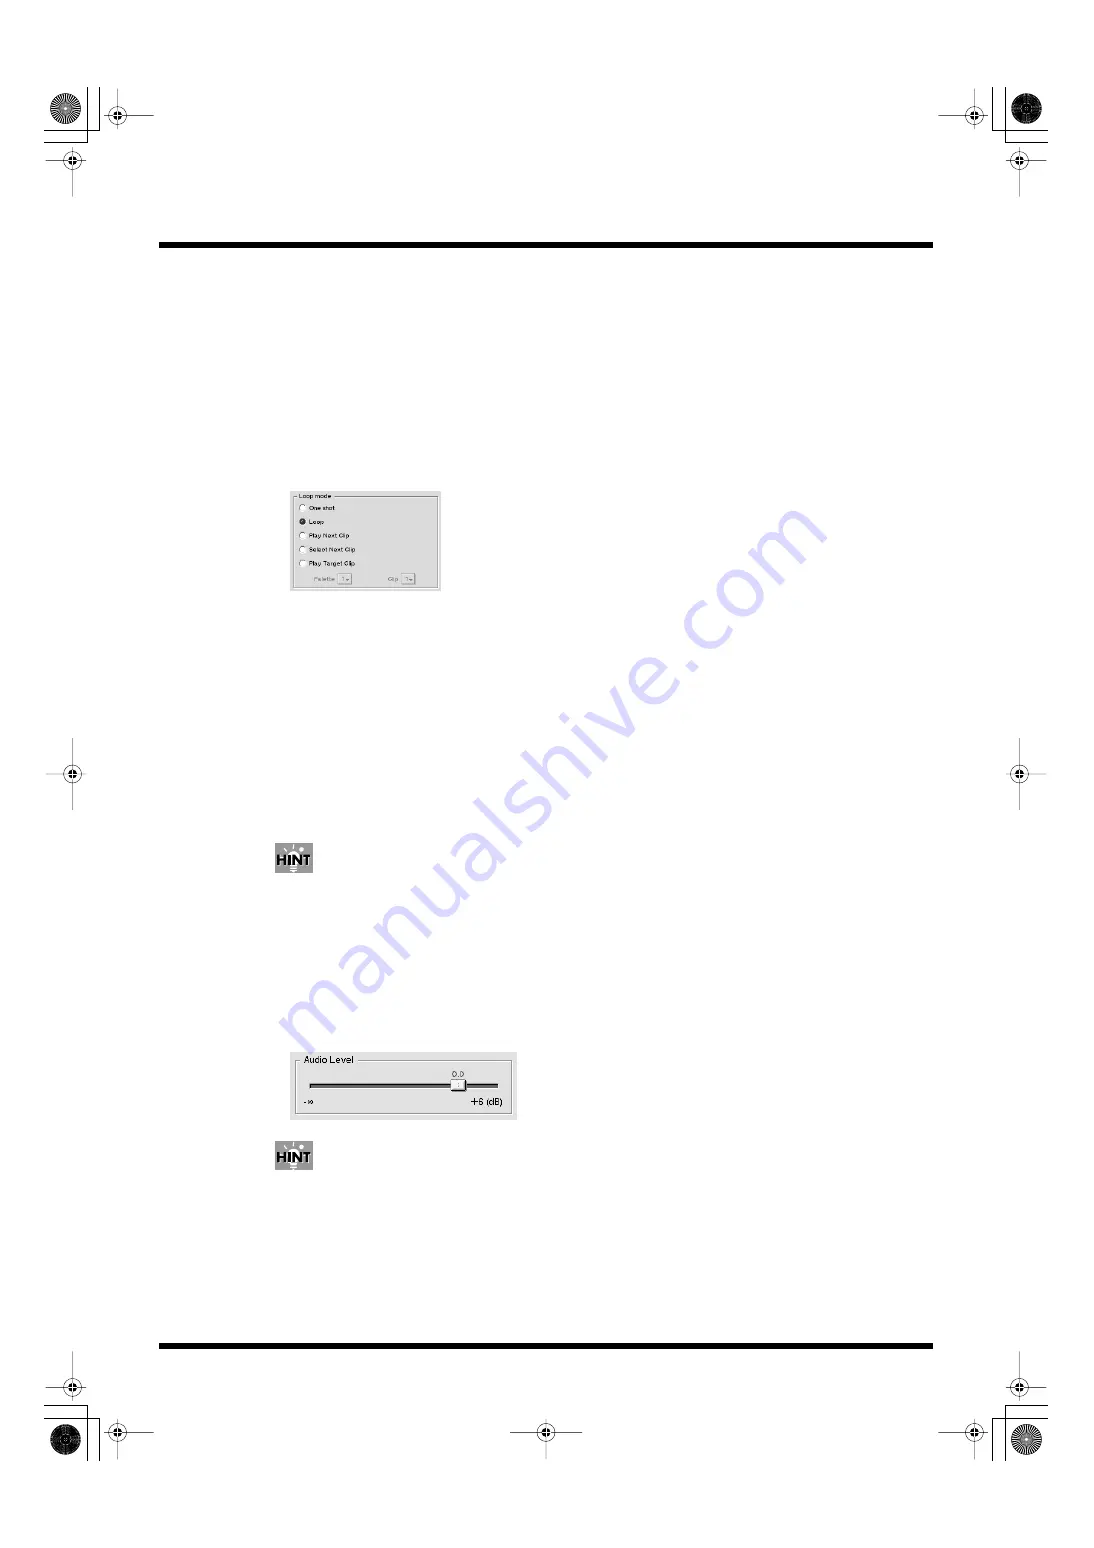
Select the “Loop mode” setting.
fig.loop.eps
• One shot
Playback stops at the final clip in the frame or at the Out point set in the clip settings (p. 66).
• Loop
The clips are played back continuously.
• Play Next Clip
The current clip is played back to the end, and the next clip is played.
• Select Next Clip
Playback stops at the final frame in the clip or at the Out point set in the clip settings (p. 66).
• Play Target Clip
When the current clip is finished playing, the specified clip is then played back. Specify clips by
selecting the palette number and clip number.
Each clip’s Loop mode appears in the clip’s image in the palette in Play mode.
Setting the Volume for Each Clip
You can adjust the volume level of each clip independently of the others. Adjust clip volume levels
individually when, for example, there are discrepancies in the levels from one clip to another.
1.
Select the clip whose volume setting you want to set in the “Clips” list.
2.
Move the slider to adjust the volume level.
fig.clip.audio.eps
You can return the parameters to their standard settings by right-clicking the slider and then selecting
“Defaults.”
The setting items described below have been added to the Presenter's Edit mode.
PR-50_e.book 71 ページ 2006年11月2日 木曜日 午後6時29分


