23
Mounting- and Operating Instruction Eaton LoadStar-S JSB
40071860396 March 2021 www.ceag.de
14 Check the fuses of the mains or battery power supply.
15 Switching on the system
Switch on the mains power supply of the switch cabinet
and its substations via the switch-disconnectors.
Use the switch-disconnectors to switch on the battery
power supply of the switch cabinet and its US-S subsys-
tems.
After switching on the system, the colour touch display
shows the current system status. All connected escape
sign and safety lights are switched on and the system
automatically switches to battery operation if its power
supply fails.
16 Device Configuration
After switching on the system there are the following pos-
sibilities to configure the system.
1)
Data download via PC software and USB stick (recom-
mended)
2)
Web configuration (only possible if the systems have
Internet access)
3)
VisionGuard configuration (only possible from VisionGuard
version 3.0)
4)
Manually via HMI (recommended for smaller installati-
ons without complex configuration or for smaller modi-
fications)
IMPORTANT NOTE!
The systems and luminaires are supplied ex works in such
a way that the emergency lighting function is guaranteed
even without customer-specific configuration.
After finishing the device configuration it is recommended
to create a backup on the Back Up USB Stick with fac-
tory specific device configuration with the order number
40071362694 (LoadStar-S HMI Configuration / USB) to
avoid a new configuration of the device in case of failure.
Control and change of external modules
To assemble or disassemble a module, proceed as descri-
bed under „Connection and assembly of external modu-
les“. Please note here:
For modules with address switches, set the address pro-
vided for the module. Avoid multiple assignment, as this
will lead to malfunctions.
In order for replaced external modules to function correct-
ly under the control, they must have been identified, acti-
vated and parameterised via the control software.
A service pin is located on the module which can be used
during initial commissioning or for test and inspection
purposes. This pin is used to display the addresses and
properties of the respective module directly on the touch
display of the HMI via the control software.
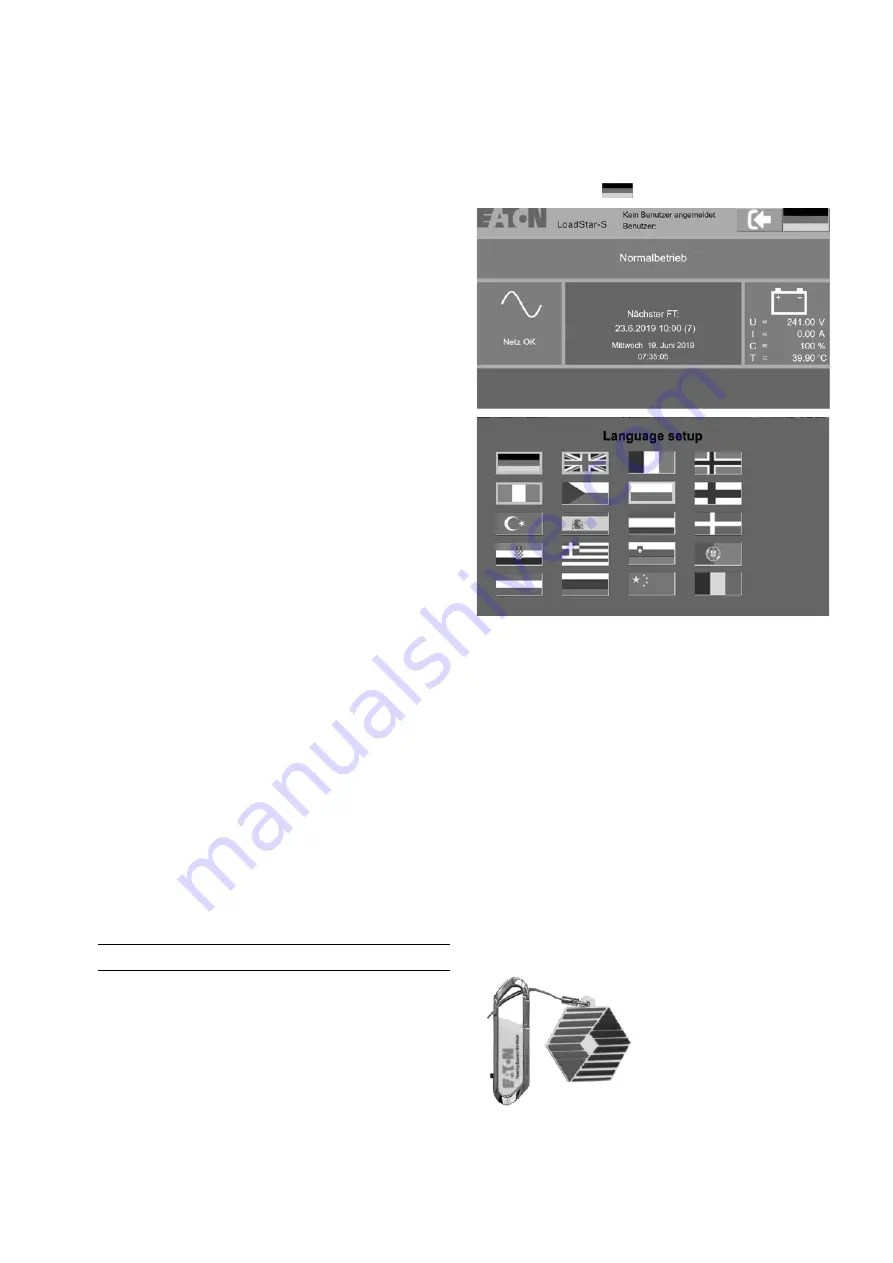
Configuration of the national language
By touching the icon
the desired language can be set.
The gray bordered language icons are available.


