


Web Interface Operation
Eaton ePDU G3 Operation Manual P-164000277—Rev 1
www.eaton.com/ePDU
114
1.
Access the Web interface and log in.
2.
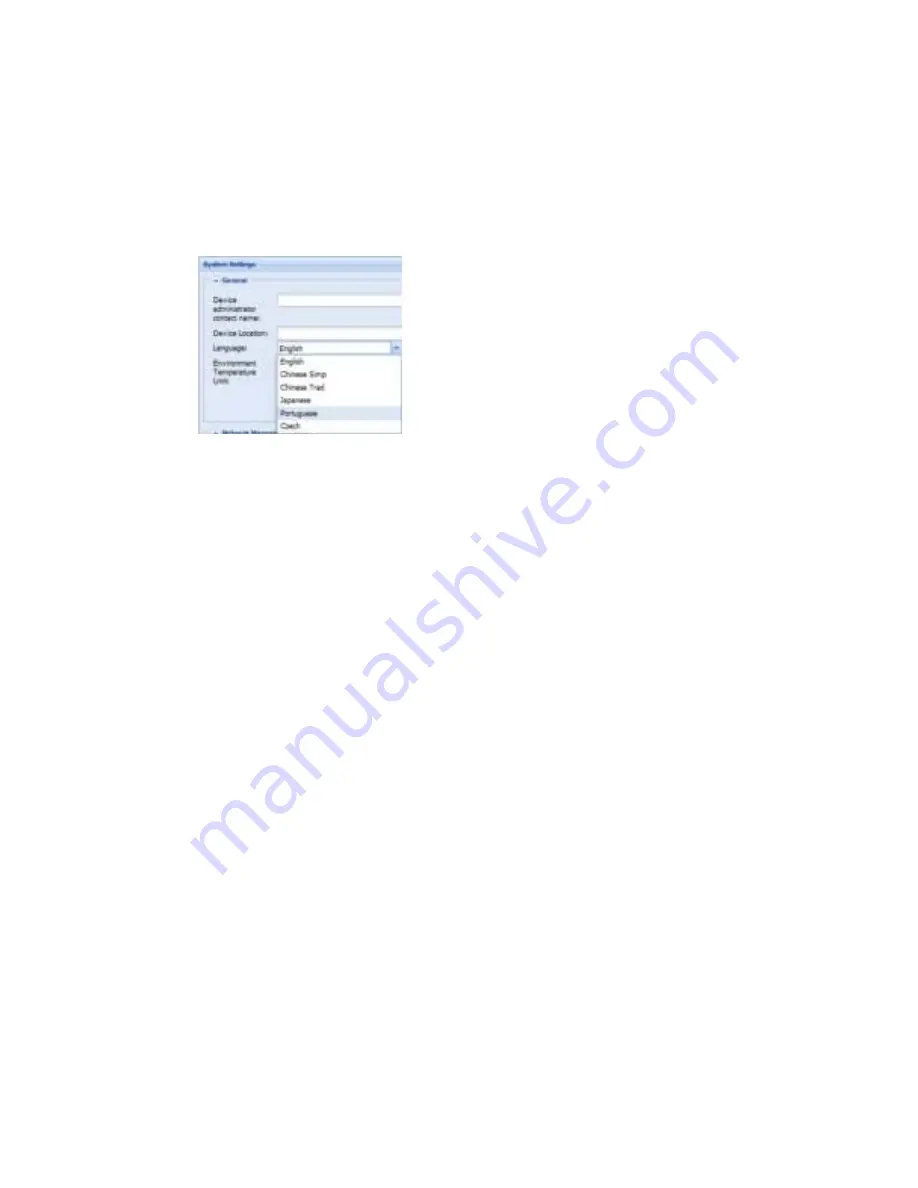
Under Settings, select System. The System Settings page displays.
3.
In the General panel, type the Device Administrator Contact Name and the Device location in the text
boxes.
4.
To change the language, select a language from the drop down list (see Figure 75).
Figure 75. Change Language on System Settings Page
5.
Select °C or °F in the Temperature drop-down list to change the temperature scale (Celsius or Fahrenheit
unit of measurement).
6.
Click
Save
.
Enable/Disable Firmware Upgrade
1.
Access the Web interface and log in.
2.
Under Settings, select System. The System Settings page displays.
3.
In the Network Management Card panel, choose whether the firmware upgrade functionality can be
used:
l
Enabled:
Check the check box to use the firmware upgrade functionality (default).
l
Disabled
: Uncheck the check box to disable the firmware upgrade functionality.
4.
To save your changes, click
Yes
in response to the message prompt.
Communications Card Configuration
1.
Access the Web interface and log in.
2.
Under Settings, select System. The System Settings page displays.
3.
In the Network Management Card Configuration panel, choose whether the IP setting and/or Daisy Chain
settings should remain unchanged after a default factory reset of the eNMC module.
l
Enabled:
Check the check box beside the Keep IP parameters when “Restore Factory Default
Settings” to retain IP settings at their current values after restoration. Check the check box beside the
Keep Daisy Chain parameters when “Restore Factory Default Settings” to retain IP settings at their
current values after restoration.
l
Disabled
: Uncheck the check box to reset IP settings (or Daisy Chain settings) to default values
(default).


