


12
NX Editor User’s Guide
Dynalab Test Systems
Revised 04/27/2011
Copyright 2011
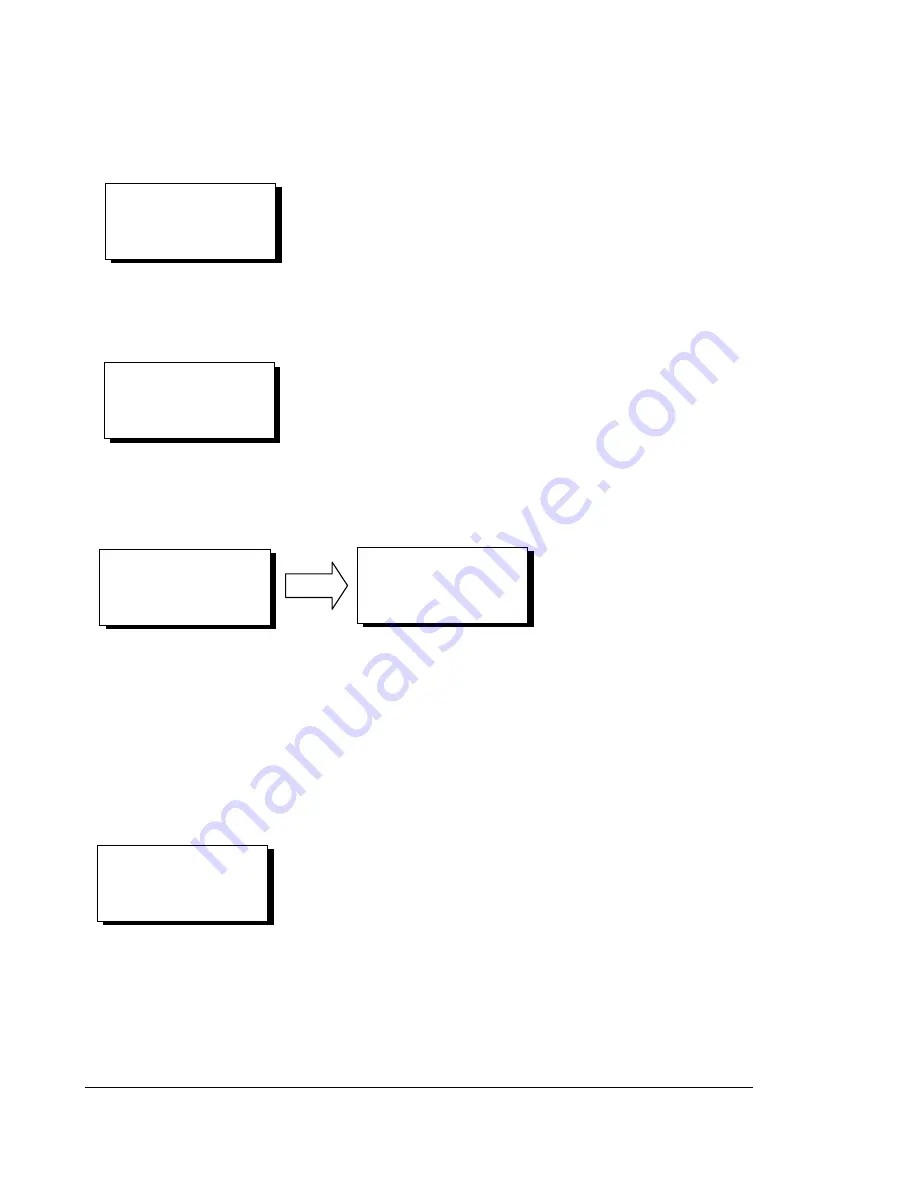
Seconds (0-59)
03
TUESDAY
JUNE 08, 2004
10:09:48
CONFIGURATION
VOLUME LANGUAGE
CLOCK SERIAL
>ID MORE…
ADJUST TESTER ID
0004
ADJUST UNIT ID
0005
GREEN = YES
RED = NO
Next, the NX Tester shows the 2-digit minutes setting. Use the Up/Down Arrow buttons to change the
first digit, then press the GREEN button. Repeat for the second digit. If a digit does not need be
changed, press the GREEN button to skip.
Next, the NX Tester shows the 2-digit minutes setting. Use the Up/Down Arrow buttons to change the
first digit, then press the GREEN button. Repeat for the second digit. If a digit does not need be
changed, press the GREEN button to skip.
Finally, the NX Tester displays the result of the clock change. If satisfactory, press the RED button to
exit this function. If changes still need to be made, press the GREEN button and repeat the steps
described above.
ID
The NX Tester can be configured with an ID – settable between 0000 and 9999. The ID is typically
used to print a unique ID value on a label when a Dynalab label printer is used. It may also be used
when outputting reports or other functions that require identification of the NX Tester.
To see or change the NX Tester’s ID, select ID from the CONFIGURATION menu. After selection, the
NX Tester displays the 4-digit ID setting. Use the Up/Down Arrow buttons to change the first digit, then
press the GREEN button. Repeat for each of the subsequent 3 digits. If a digit does not need be
changed, press the GREEN button to skip.
After changing the last digit, the NX Tester prompts for a confirmation as shown below:
Press the GREEN button to accept the value as displayed. Press the
RED button to cancel the operation.


