RF Baghouse, Models RFWP and RFWPH
36
Collector Body Assembly for Higher Crane
Capacity: Rated to Lift Combined Load
of Dirty Air Plenum, Tube Sheet, Clean Air
Plenum, and Roof
Note: Ensure the crane capacity is rated for the combined
load of the Dirty Air Plenum, Tube Sheet, Clean Air Plenum,
and Roof before following the below collector body assembly
procedure. If a lower crane capacity is used, follow collector
body assembly instructions.
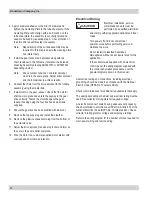
Do not lift collector body
assemblies from any flanges
found on the inlet, outlet, or doorways.
Use the provided bolt-on lifting lugs in the
appropriate manner and do not lift more than the
specified weight.
Only lift rings and sections when the load is
balanced.
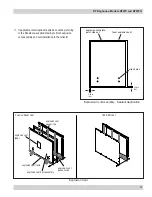
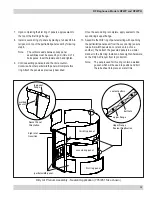
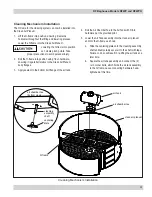
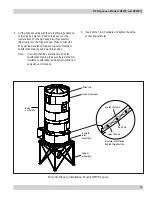
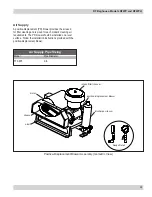
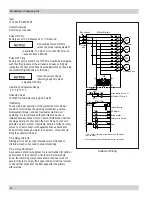
1. Apply sealant to the top flange of the dirty air plenum
collector body assembly as shown.
sealant pattern
upper flange
Upper Flange
Sealant Application
bolt hole
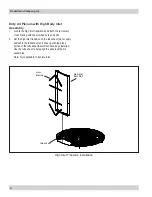
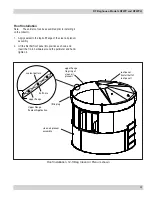
Tube Sheet
Installation
internal
gusset
stiffener
tube
sheet
dirty air plenum
tube sheet
Note: Sealant
applied prior
to tube sheet
installation.
Tube Sheet Installation, Model RFWP shown
2. Lift the tube sheet onto the dirty air plenum and slowly
lower the tube sheet into position. Tube sheet stiffeners
will be facing down.
Note: If installing a RF with high inlet, make sure blank
area of tubesheet is aligned with the high inlet
opening of the dirty air plenum.
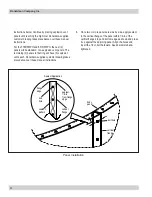
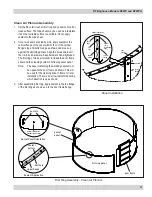
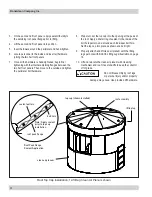
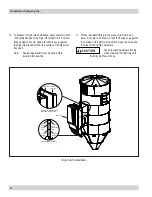
3. While the tube sheet is still off the flange but the radial
stiffeners are in the dirty air plenum body, rotate the tube
sheet clock-wise (from top) until the stiffeners make
contact with the internal gussets of the dirty air plenum as
shown.
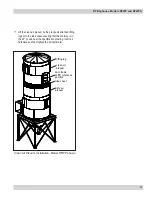
4. Lower the tube sheet into position. Insert only the 5/8-in
hardware required to connect the tube sheet radial
stiffeners to the internal gussets and tighten.
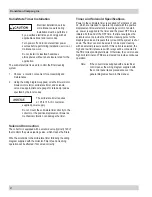
Take precaution against pinching
when handling and installing the
tube sheet into the Dirty Air Plenum.

