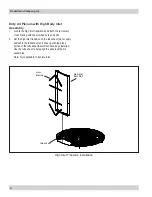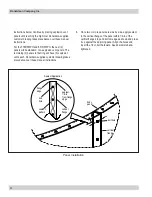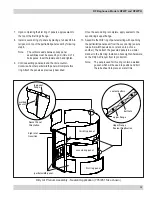
RF Baghouse, Models RFWP and RFWPH
26
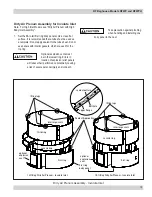
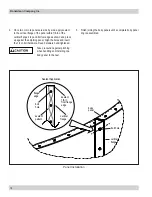
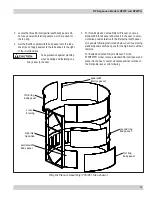
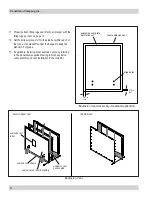
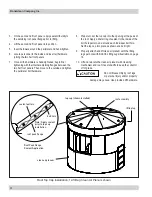
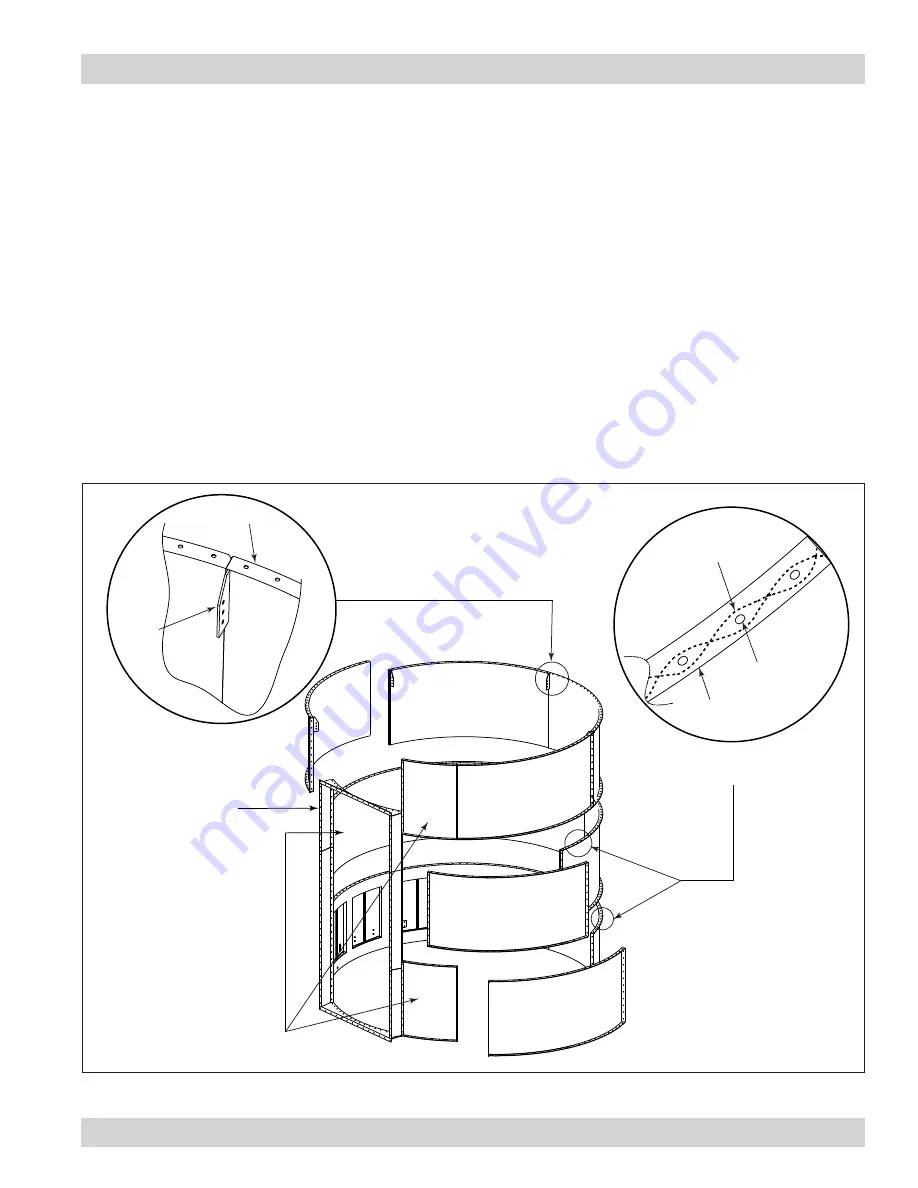
7. Upon completing the first ring of panels, apply sealant to
the top of the first ring’s flange.
8. Install a second ring of panels by placing a full sized 66-in
tall panel on top of the partial/full panel seam by following
step 6.
Note: The vertical seams between body panel
assemblies must be spaced by a minimum of 4
bolt spaces. Insert hardware and hand tighten.
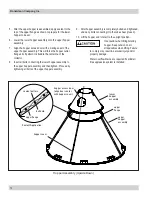
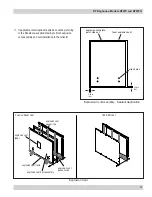
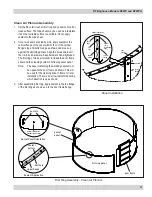
9. Continue setting panels around the circle counter-
clockwise. Another partial width panel will complete this
ring. Attach the panels as previously described.
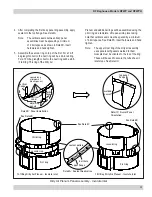
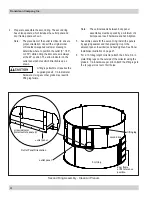
Once the second ring is complete, apply sealant to the
second ring’s upper flange.
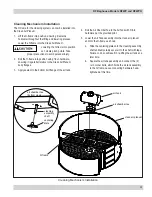
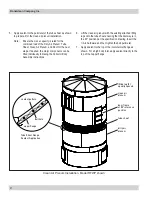
10. Assemble the third ring of panels starting with spanning
the partial/full panel seam from the second ring (ensure
two partial width panels do not stack on top of one
another). Then attach the gusseted panels in a similar
manner to the first ring. Install and hand-tighten hardware
on the Dirty Air Plenum from top to bottom.
Note: The panels used for this ring contain a welded
gusset, which will be used to position and bolt
the tube sheet into place at a later time.
welded
gusset
top panel
flange
sealant pattern
upper flange
Upper Flange
Sealant Application
bolt hole
third ring panel
second ring panel
first ring panel
partial width panel
high inlet
transition
Gusset Panel
Orientation
Dirty Air Plenum Assembly - Sealant Application (776/851 Size shown)

