26
UP5 Assembly and Hook-up
5.10.1 Hooking up the UP/UR's Track Status Indicators (Optional)
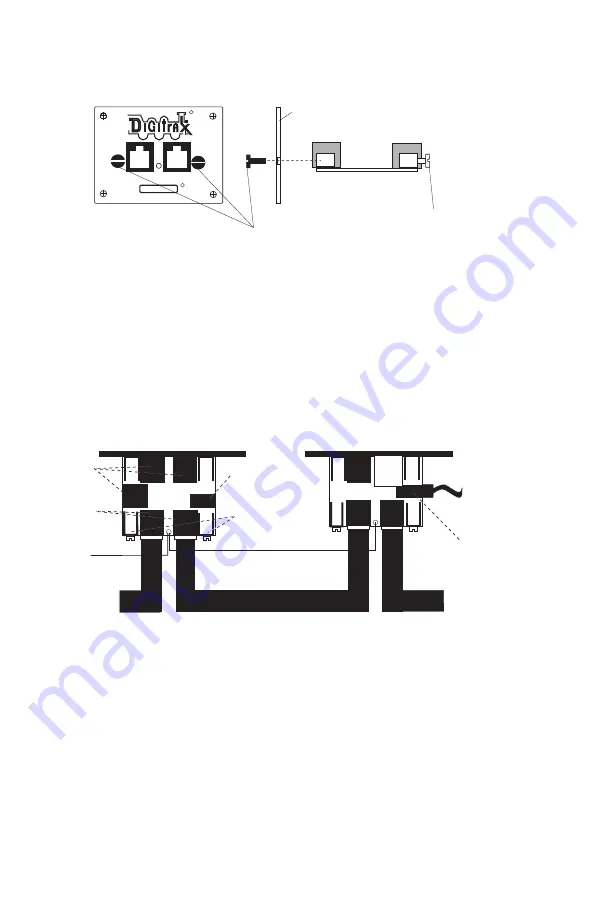
The figure below shows how to hook up your UP panel on your layout.
Instructions are also included below for hooking up the
TRACK STATUS
indi-
cator. This is an optional feature and the UPs will work just fine even if you
do not hook up the
TRACK STATUS
indicator to the local track section.
The UP5’s, UR90’s, UR91’s and UR92’s
TRACK STATUS
Indicators are bi-
color LEDs that show the status of the local track section to which it is
attached.
If you are using track detection, do not hook up
TRACk STATUS
indicators.
To hook up the
TRACK STATUS
indicator follow these steps:
1. Attach an 18-26AWG wire to one of the screw terminals on the back of the
UP/UR and connect the other end to either rail.
2. Attach another 18-26AWG wire to the other screw terminal on the UP/UR
and connect it to the other rail of the track.
L O C O N E T
L O C O N E T
U N I V E R S A L P A N E L U P 5
U N I V E R S A L P A N E L U P 5
R
R
R
R
T R A C K
T R A C K
S T A T U S
S T A T U S
Black screws
on front of UP5
Silver screws
on back of UP5
UP5 Panel Assembly
Side View
PC
Board
Front View
Panel
Front of UR90, UR91 or UR92
2 mm power
jack (connected
to DC power)
To DC power
12V
to +15V DC
center positive
(for example,
Digitrax PS14)
Front of UP5
RJ12
TelCo
Type
Jacks
For
Throttles
Screw
Terminals
For Local
Track Power
Connection
2 mm power jack
(NOT connected
to DC power)
To Next
LocoNet
Connection
To Next
LocoNet
Connection
Wire together small holes
(filled with solder) on UP5s,
UR90s and UR92s as indicated
To next panel
Note: You can run up to 10 UP or UR panels with a
single DC power supply by simply connecting the small
holes on each panel as indicated in this diagram.
Using one or more UR90, UR91, UR92, or UP5 with
a single external DC power supply
RJ12 Male to Male Connection From
One UP to the Next UP
RJ12
TelCo
Jacks
For
LocoNet
Connections


