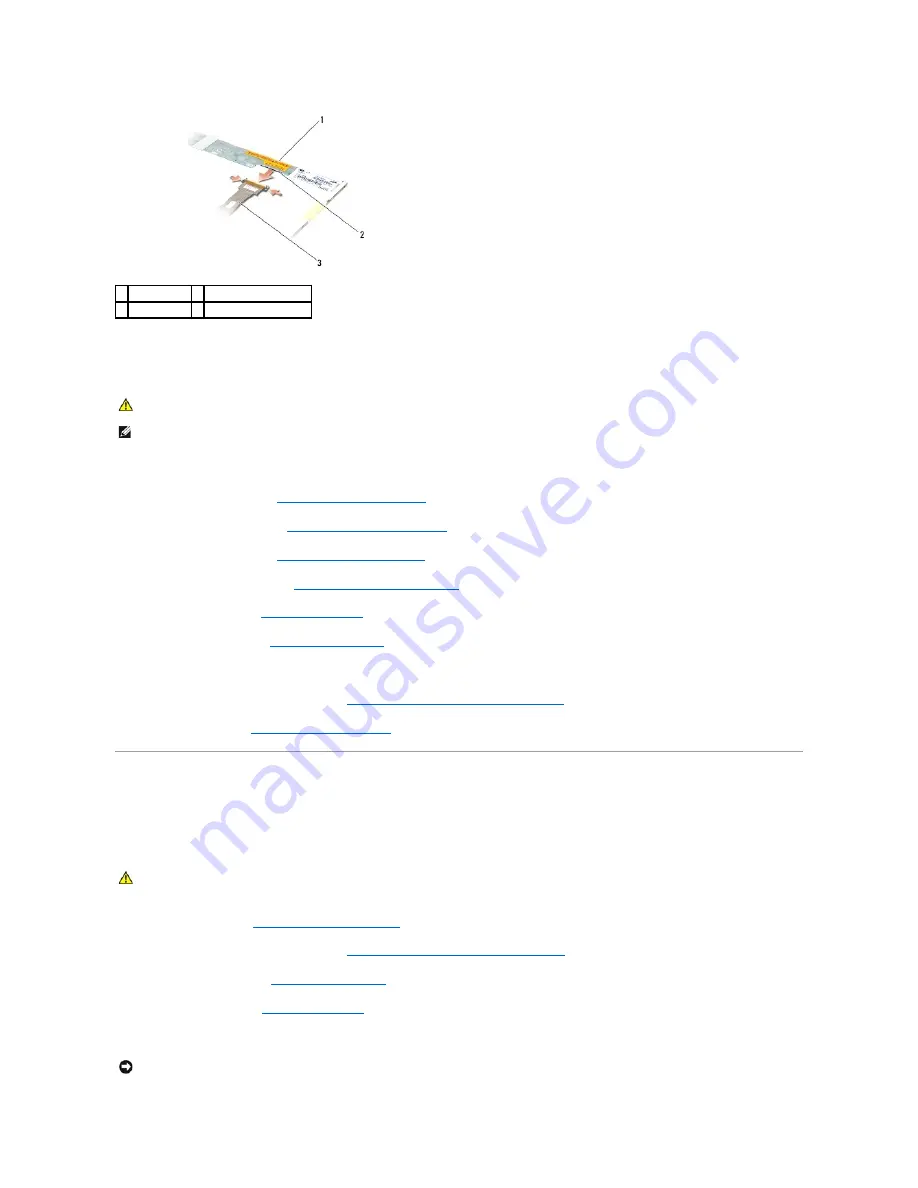
Replacing the E5400 Display Cable
1.
Connect the display cable to the connector on the back of the display panel.
2.
Replace the display panel (see
Replacing the E5400 Display Panel
).
3.
Replace the display inverter (see
Replacing the E5400 Display Inverter
).
4.
Replace the display bezel (see
Replacing the E5400 Display Bezel
).
5.
Replace the display assembly (see
Replacing the E5400 Display Assembly
).
6.
Replace the keyboard (see
Replacing the Keyboard
).
7.
Replace the hinge cover (see
Replacing the Hinge Cover
).
8.
Close the display and turn the computer over.
9.
Replace the bottom of the base assembly (see
Replacing the E5400 Bottom of the Base Assembly
).
10.
Follow the procedures in
After Working on Your Computer
.
E5500 Display Assembly
Removing the E5500 Display Assembly
1.
Follow the instructions in
Before Working on Your Computer
.
2.
Remove the bottom of the base assembly (see
Removing the E5400 Bottom of the Base Assembly
).
3.
Remove the hinge cover (see
Removing the Hinge Cover
).
4.
Remove the keyboard (see
Removing the Keyboard
).
5.
Remove the display cable from the system board by pulling on the blue tab next to the display cable connector.
1 display panel 2 display cable connector
3 display cable
CAUTION:
Before you begin the following procedure, follow the safety instructions that shipped with your computer. For additional safety best
practices information, see the Regulatory Compliance Homepage on www.dell.com at: www.dell.com/regulatory_compliance.
NOTE:
This procedure assumes that you have completed the removal procedure first.
CAUTION:
Before you begin the following procedure, follow the safety instructions that shipped with your computer. For additional safety best
practices information, see the Regulatory Compliance Homepage on www.dell.com at: www.dell.com/regulatory_compliance.
NOTICE:
Ensure that the display cable and the antenna cables do not get caught beneath the plastic tabs on the palm rest.
Summary of Contents for E5400 - Latitude - Core 2 Duo 2.4 GHz
Page 30: ......
Page 44: ...Back to Contents Page ...
Page 52: ...Back to Contents Page ...
Page 56: ...13 Follow the procedures in After Working on Your Computer Back to Contents Page ...


