3
Follow the procedures in
After working inside your system
Installing the heat sink
Prerequisites
1
Follow the safety guidelines listed in
2
Follow the procedures in
Before working inside your system
3
Remove the air shroud.
Steps
1
If you are using an existing heat sink, remove the thermal grease from the heat sink using a clean lint-free cloth.
2
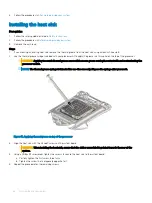
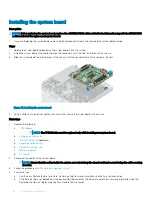
Use the thermal grease syringe included with your processor kit to apply the grease in a thin spiral on the top of the processor.
CAUTION:
Applying too much thermal grease can result in excess grease coming in contact with and contaminating the
processor socket.
NOTE:
The thermal grease syringe is intended for one-time use only. Dispose the syringe after you use it.
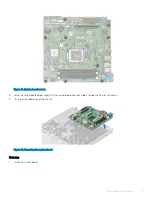
Figure 51. Applying thermal grease on top of the processor
3
Align the heat sink with the standoff screws on the system board.
CAUTION:
When installing the heat sink, ensure that the airflow arrow label is pointed towards the rear of the
system.
4
Using a Phillips #2 screwdriver, tighten the screws to secure the heat sink to the system board.
a Partially tighten the first screw three turns.
b Tighten the screw that is diagonally opposite to it.
5
Repeat the procedure for the remaining screws.
82
Disassembly and reassembly

