72
Logo Display
Overview
The SE-900 can display one or two logos in any position on the screen. If you want a larger logo it is
possible to create two halves and combine them on the screen.
The Logo function can also be used for Luma Key overlay, from any one of the eight input channels. For
example you could take an output from a PC or Laptop via DVI, and key out the background to create a txt or
graphic overlay.
The Logos are stored on the SD Card, which is fitted to the Remote Control Card (Slot 15 of the Base Unit).
The logos need to be .bmp format and no larger than 128 x 96 pixels.
For the SE-900 to recognise the logos they must be called logo1.bmp and logo2.bmp
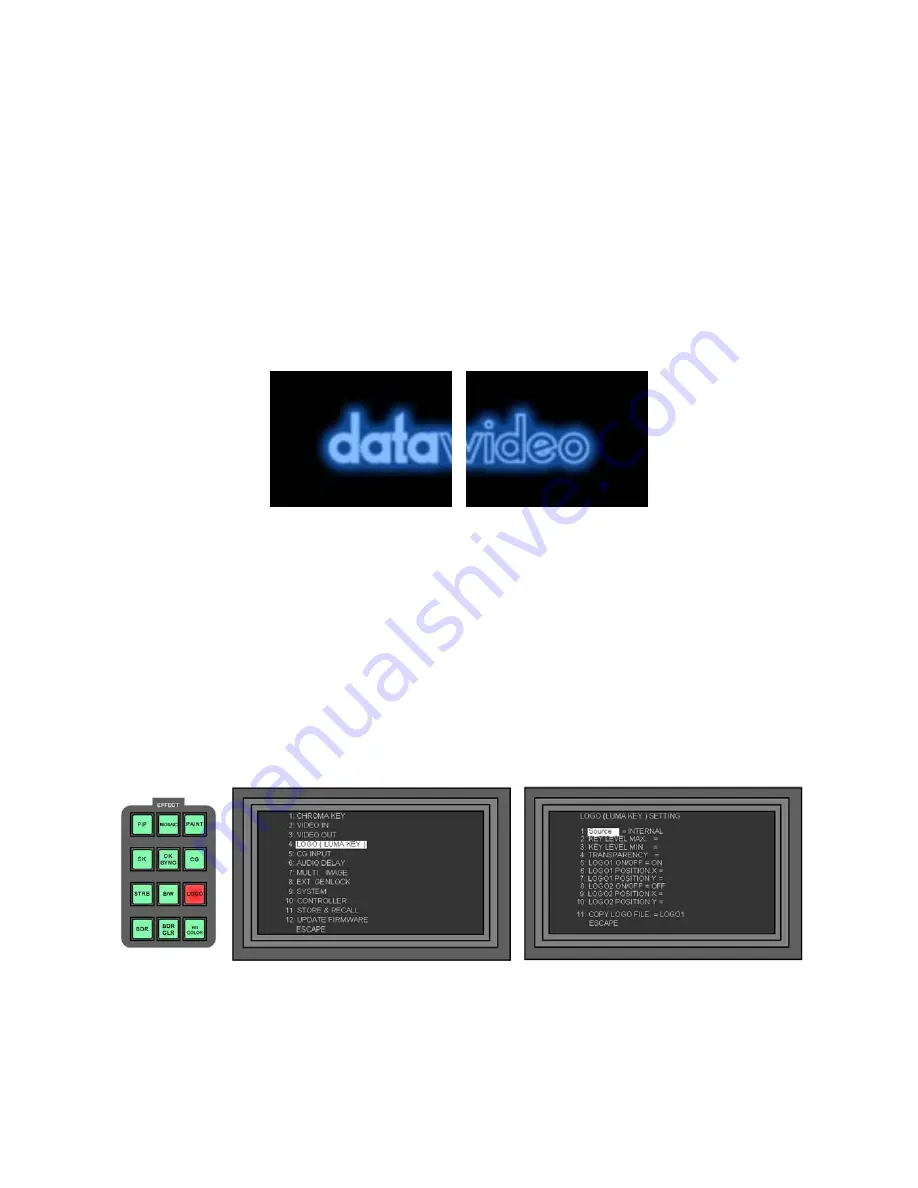
The two sample logos are:
LOGO 1
LOGO2
You can replace these with logos of your own.
The sample logos are designed to butt together and form one large logo. You can use two completely
separate logos, each 128 x 96 pixels, or if you want a larger logo, split the image into two.
The logos are positioned on the screen using X axis and Y axis settings. X axis is the position top to bottom
and Y axis left to right.
Setting up a Logo
Press the LOGO Key, so that it becomes active, then press the Settings Key to display the Set Up Menu,
highlight 4. LOGO (LUMA KEY) and press the Enter Key.
The LOGO Settings menu will be displayed.
To use one or both of the .bmp images LOGO1 and LOGO2 set 1. SOURCE to INTERNAL.
To switch on LOGO1 go to 5. LOGO1 ON/OFF and select ON
To switch on LOGO2 go to 8. LOGO2 ON/OFF and select ON.
You will see the LOGO on the screen, use the POSITION X and POSITION Y settings to position the logo
where you want it. POSITION Y sets the vertical position - 1 is at the top and 119 is at the bottom, and
POSITION X sets the horizontal position - 1 is to the extreme left and 147 is extreme right.


