41
Setting the Border Brightness
The intensity of the white border surrounding each preview window can be adjusted to your own preference.
To alter the Border Brightness, press the Setting Key, to call up the Set Up Menus, highlight option 7.
MULTI. IMAGE and press the Enter Key.
It is advisable to have the Multi Image Preview on the Screen so that you can see the affect of the different
settings.
Option 5 of the Multi Image Menu is BORDER BRIGHT, highlight this and press the Enter Key.
Use the Adjust Knob to increase or decrease the value between 0 and 100, once you have selected the level
that looks best press the ESC key three times to leave the Set Up Menus.
Modifying the Labels
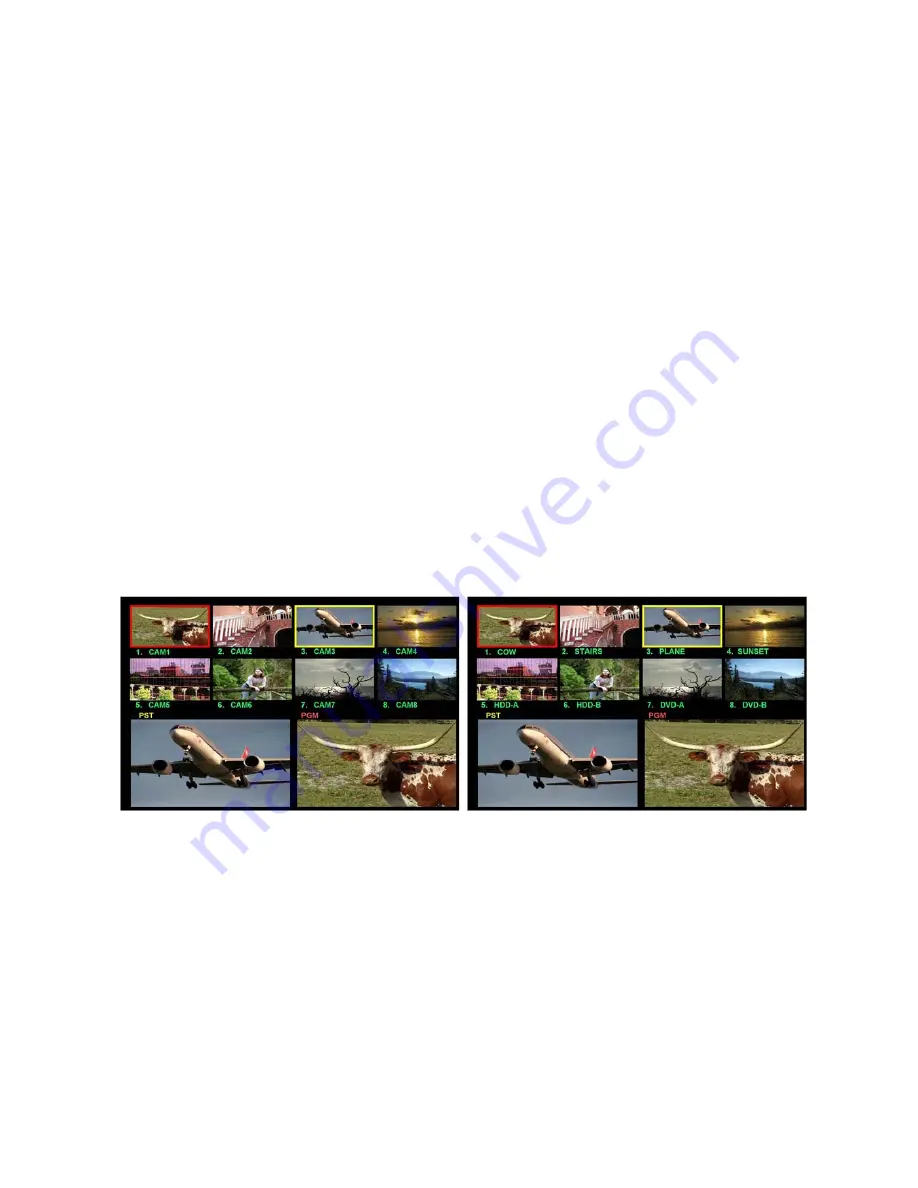
The eight inputs channels are labelled CAM1 to CAM8 by default. These labels can be customised to suit
your requirements. For example you may want to use the names of the crew, or label a channel “B-Roll” or
“DVD”. Each description can be up to seven characters long.
To modify the Label for CAM1, press the Setting Key, to call up the Set Up Menus, highlight option 7.
MULTI. IMAGE and press the Enter Key.
It is advisable to have the Multi Image Preview on the Screen so that you can see the affect of the different
settings.
Option 6 of the Multi Image Menu is CAM1_NAME, highlight this and press the Enter Key.
You will see the first letter of the CAM1 label is flashing; use the Adjust Knob to scroll through the available
characters. Once you have found the character that you require press the Enter Key and the second
character will start to flash. Repeat this operation until the label is as you want it then press the ESC Key.
You can use the same procedure for the rest of the input labels. Once you have finished leave the Set Up
Menus by pressing the ESC Key three times.
Standard Labelling
Modified Labelling


