48
Install the Printer
a.
Open Printer Properties and select the Ports tab
b.
Confirm that the
Enable bidirectional support
check box is checked.
Install the Driver on the Client PC, Windows XP, 32-bit
1.
Install the driver on the client PC:
The Client PC must have a user account and password that matches an
account on the Host PC.
A.
Login to the client PC with an account that has administrator privileges
and matches an account on the host PC.
B.
From the Windows Start menu, select
Printers and Faxes
.
C.
Choose File> Add
printer.
D.
Click
Next
on the Add
Printer Wizard window.
E.
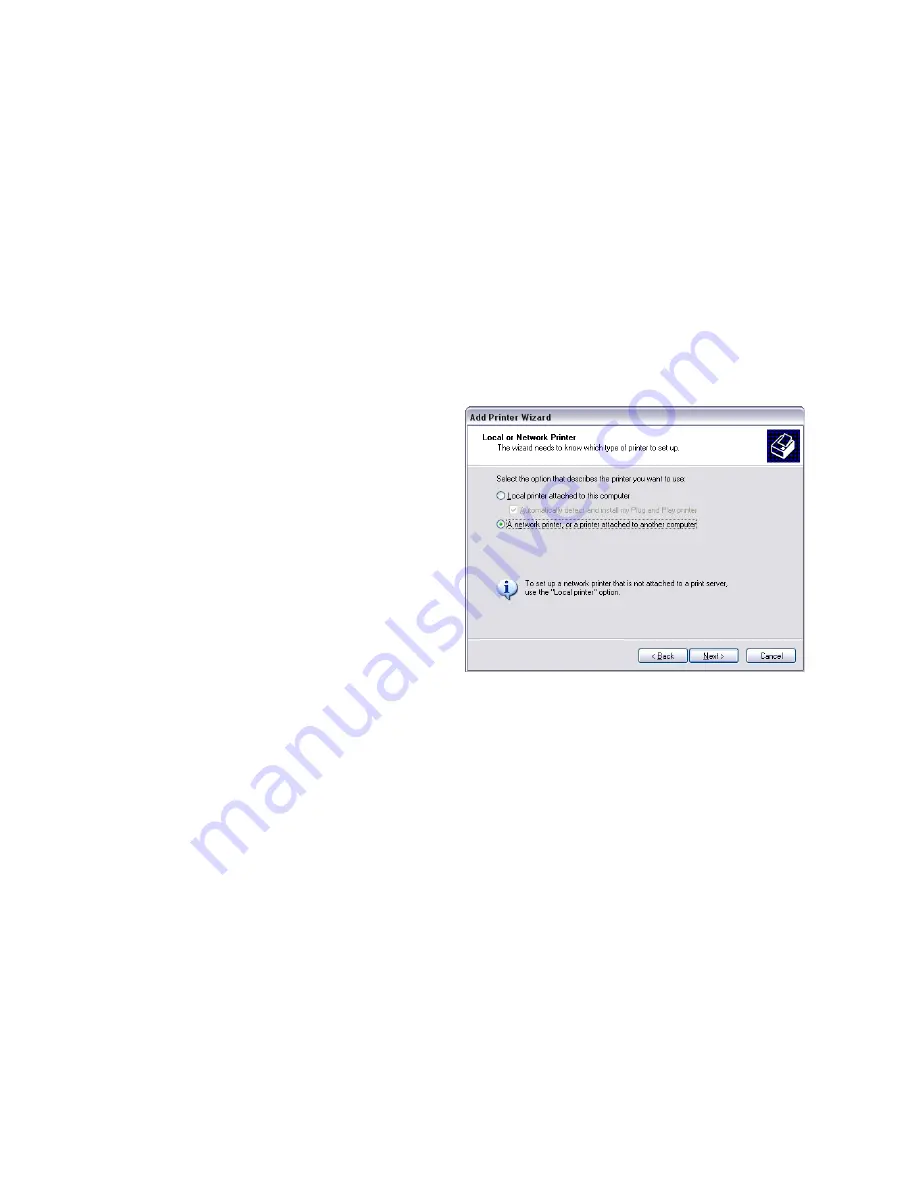
Click the “A network
printer, or a printer
attached to another
computer” radio button.
F.
Click
Next
.
G.
In the
Searching for
available printers
window, choose
Connect to this printer and click
Next
.
H.
Type the name of the Host PC and the shared printer name following this
format:
\\host PC name\shared printer name
.
I.
Choose the shared printer from the drop-down list and then click
Next
.
J.
Click
Yes
in the
Connecting to printer
window.
K.
In the Default printer window, click
Next
.
L.
Click
Finish
to close the wizard.
2.
Install the following support files from the driver CD, if needed:
•
Install magnetic stripe fonts if the client PCs will be processing magnetic
stripe cards.
•
Copy the printer documentation folder to each client PC.
•
Install the ID Works XPS Card Printer Plug-in, if necessary.
Summary of Contents for CD800S
Page 1: ...Datacard XPS Card Printer Installation and User Guide October 2011 Part No 539957 001 Rev B ...
Page 13: ...3 Printer with Input Hopper Inside a single feed or hopper equipped printer ...
Page 18: ...8 Welcome to Card Printer Information ...
Page 45: ...35 10 Plug in and power on the printer ...
Page 102: ...92 Using the Printer ...
Page 124: ...114 Printer Driver ...
Page 130: ...120 Removing a Printer from a Windows PC ...
Page 148: ...138 Troubleshooting ...
Page 158: ...148 Supplies and Parts ...
Page 216: ...206 Legal Notices ...


