


User's Manual
271
Set a distant place as the first calibration point to improve accuracy.
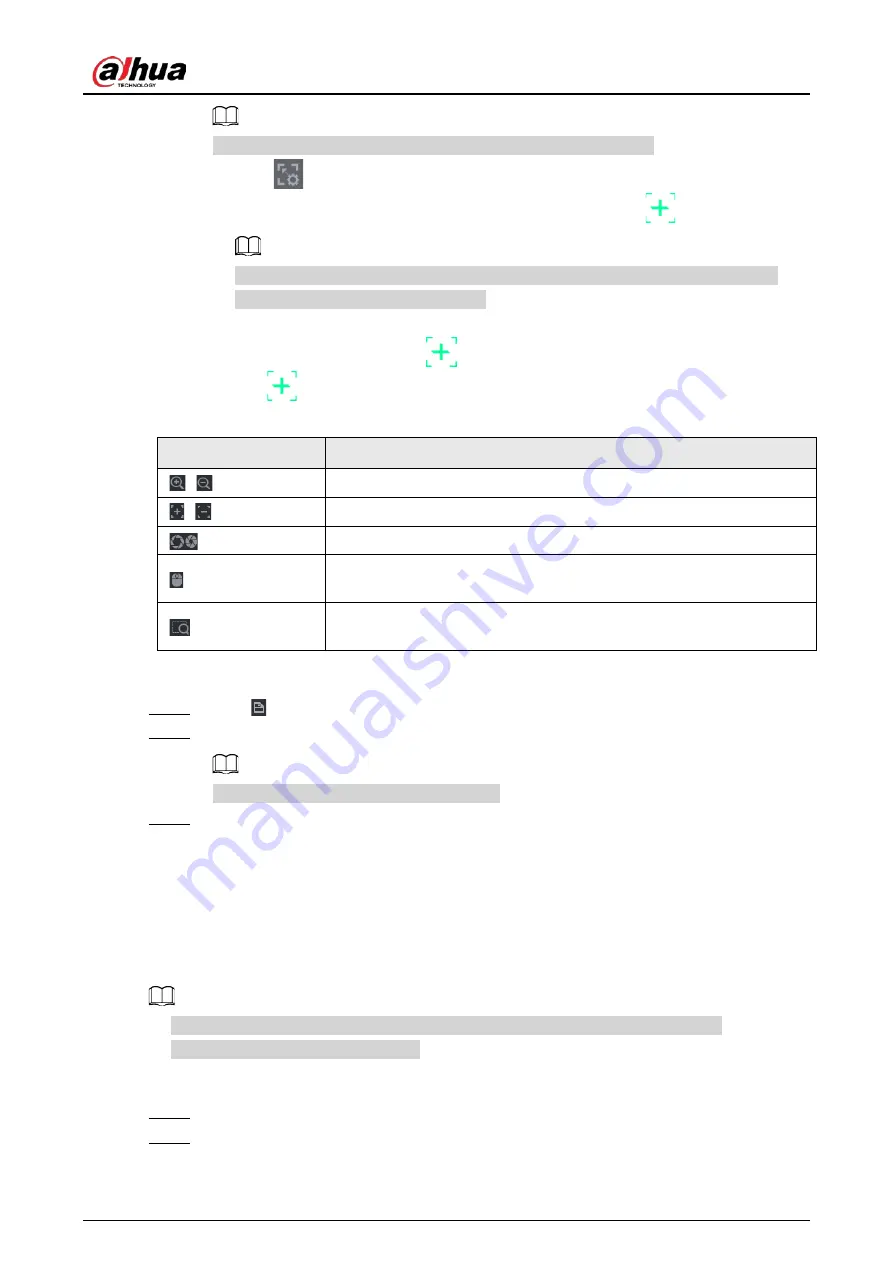
1) Click
or double-click the target scene.
2) Click the target place on the video of fisheye camera, or move
to the target place.
The video at upper-left corner is the fisheye camera screen, and the video at upper-
right corner is the speed dome screen.
3) Adjust position through the icons below the speed dome screen to make the center of
speed dome identical to the
of fisheye camera.
The
on the speed dome screen is the center of speed dome.
Table 4-53
Icon
Description
,
Zoom in/zoom out.
,
Adjust resolution.
Adjust height.
Electronic mouse. You can use this icon to move the mouse to control
PTZ direction.
Quick positioning key. Click this icon to select a place, and the screen
will be focused and centered on the selected place.
4) Click
Add
.
The calibration point will be displayed in the list at lower-right corner.
Step 5
Click
to save the newly added calibration point.
Step 6
Repeat Step 2 to Step 5 to add more calibration points.
Set 3–8 calibration points for a speed dome.
Step 7
Click
Apply
.
4.7.2.12 Video Quality Analytics
Background Information
When conditions such as blurry, overexposure, or the color changes appear on the screen, the
system activates the alarm.
●
This function takes effect only when the remote IPC supports video quality analytics.
●
This function is for select models only.
Procedure
Step 1
Select
Main Menu
>
AI
>
Parameters
>
Video Quality Analytics
.
Step 2
Select a channel and click
Enable
.
Summary of Contents for NVR41-4KS2 Series
Page 1: ...Dahua Network Video Recorder User s Manual ZHEJIANG DAHUA VISION TECHNOLOGY CO LTD V1 1 0 ...
Page 74: ...User s Manual 58 Figure 2 79 Alarm input port Figure 2 80 Alarm input port ...
Page 101: ...User s Manual 85 Figure 3 41 Step 9 Secure the HDD bracket and put the top cover back ...
Page 132: ...User s Manual 116 Figure 4 19 Modify IP Step 3 Set parameters See Table 4 5 ...
Page 147: ...User s Manual 131 Figure 4 29 Period Step 3 Set record type See Figure 4 30 ...
Page 452: ...User s Manual ...


