


User's Manual
113
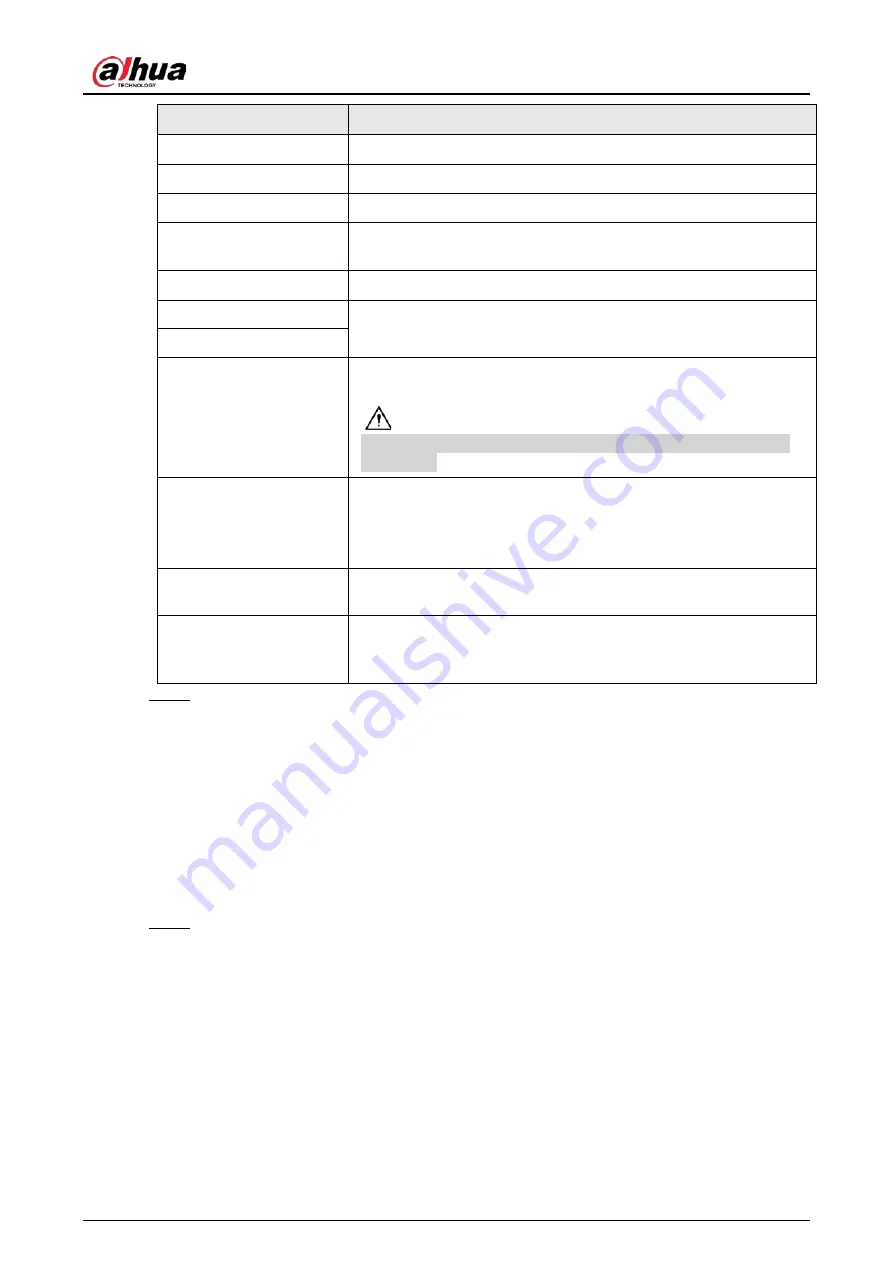
Parameter
Description
Time Zone
In the
Time Zone
list, select a time zone for the system.
Date Format
In the
Date Format
list, select a date format for the system.
Date Separator
In the
Date Separator
list, select a separator style for the date.
Time Format
In the
Time Format
list, select
12-HOUR
or
24-HOUR
for the time
display style.
DST
Enable the Daylight Saving Time function. Click
Week
or
Date
.
Start Time
Configure the start time and end time for the DST.
End Time
NTP
Enable the NTP function to sync the Device time with the NTP
server.
If NTP is enabled, device time will be automatically synchronized
with server.
Server Address
In the
Server Address
box, enter the IP address or domain name of
the corresponding NTP server.
Click
Manual Update
, the Device starts syncing with the server
immediately.
Port
The system supports TCP protocol only and the default setting is
123.
Interval
In the
Interval
box, enter the amount of time that you want the
Device to sync time with the NTP server. The value ranges from 0 to
65535.
Step 3
Click
Next
to save settings.
4.1.4.1.3 Holiday
Background Information
Here you can add, edit, and delete holiday. After you successfully set holiday information, you can
view holiday item on the record and snapshot period.
You can also configure holiday settings by selecting
Main Menu
>
SYSTEM
>
General
>
Holiday
.
Procedure
Step 1
Click
Next
.
The
Holiday
interface is displayed. See Figure 4-16.
Summary of Contents for NVR41-4KS2 Series
Page 1: ...Dahua Network Video Recorder User s Manual ZHEJIANG DAHUA VISION TECHNOLOGY CO LTD V1 1 0 ...
Page 74: ...User s Manual 58 Figure 2 79 Alarm input port Figure 2 80 Alarm input port ...
Page 101: ...User s Manual 85 Figure 3 41 Step 9 Secure the HDD bracket and put the top cover back ...
Page 132: ...User s Manual 116 Figure 4 19 Modify IP Step 3 Set parameters See Table 4 5 ...
Page 147: ...User s Manual 131 Figure 4 29 Period Step 3 Set record type See Figure 4 30 ...
Page 452: ...User s Manual ...


