39
I.
Check pilot burner flame and main burner flames
through observation port.
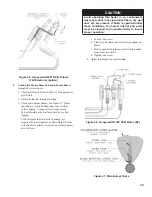
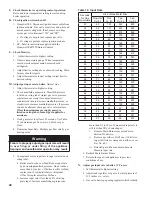
1. Check pilot flame. Refer to Table 11 for appropriate
pilot detail.
2. Adjust thermostat to highest setting.
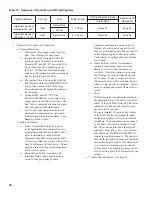
3. Check main burner flames. See Figure 47. Flame
should have clearly defined inner cones with no
yellow tipping. Orange-yellow streaks caused
by dust should not be confused with true yellow
tipping.
Yellow-tipping indicates lack of primary air.
Improper burner alignment on Main Burner Orifice
will also affect primary air injection. Adjust primary
air as follows:
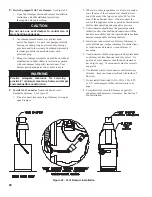
Figure 45: Honeywell Q3481B Pilot Flame
(24V Electronic Ignition)
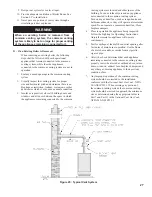
Figure 46: Honeywell Q179C Pilot Flame (EP)
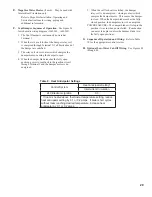
Figure 47: Main Burner Flame
CAUTION
Avoid operating this boiler in an environment
where saw dust, loose insulation fibers, dry wall
dust, etc. are present. If boiler is operated under
these conditions, the burner interior and ports
must be cleaned and inspected daily to insure
proper operation.
a. Loosen lock screw.
b. Close air adjustment until yellow tips appear on
flames.
c. Slowly open air adjustment until clearly defined
inner cones are visible.
d. Tighten lock screw.
4. Adjust thermostat to normal setting.
Summary of Contents for 16H-340
Page 13: ...13 Figure 8 Jacket Assembly ...
Page 14: ...14 Figure 9 EP CSD 1 Control Installation ...
Page 16: ...16 Figure 11 Main Gas Piping Intermittent Ignition EI ...
Page 17: ...17 Figure 12 Schematic Pilot Piping Honeywell EI USA ...
Page 18: ...18 Figure 15 Schematic Gas Piping EP CSD 1 Control System 16H 410 16H 505 ...
Page 37: ...37 Figure 41 Operating Instructions EI ...
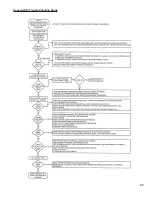
Page 47: ...47 Honeywell EI Trouble Shooting Guide ...
Page 48: ...48 THIS PAGE LEFT BLANK INTENTIONALLY ...
Page 58: ...58 ...
Page 60: ...60 ...


