


34
Figure 4.2.1.3 ONVIF SCAN
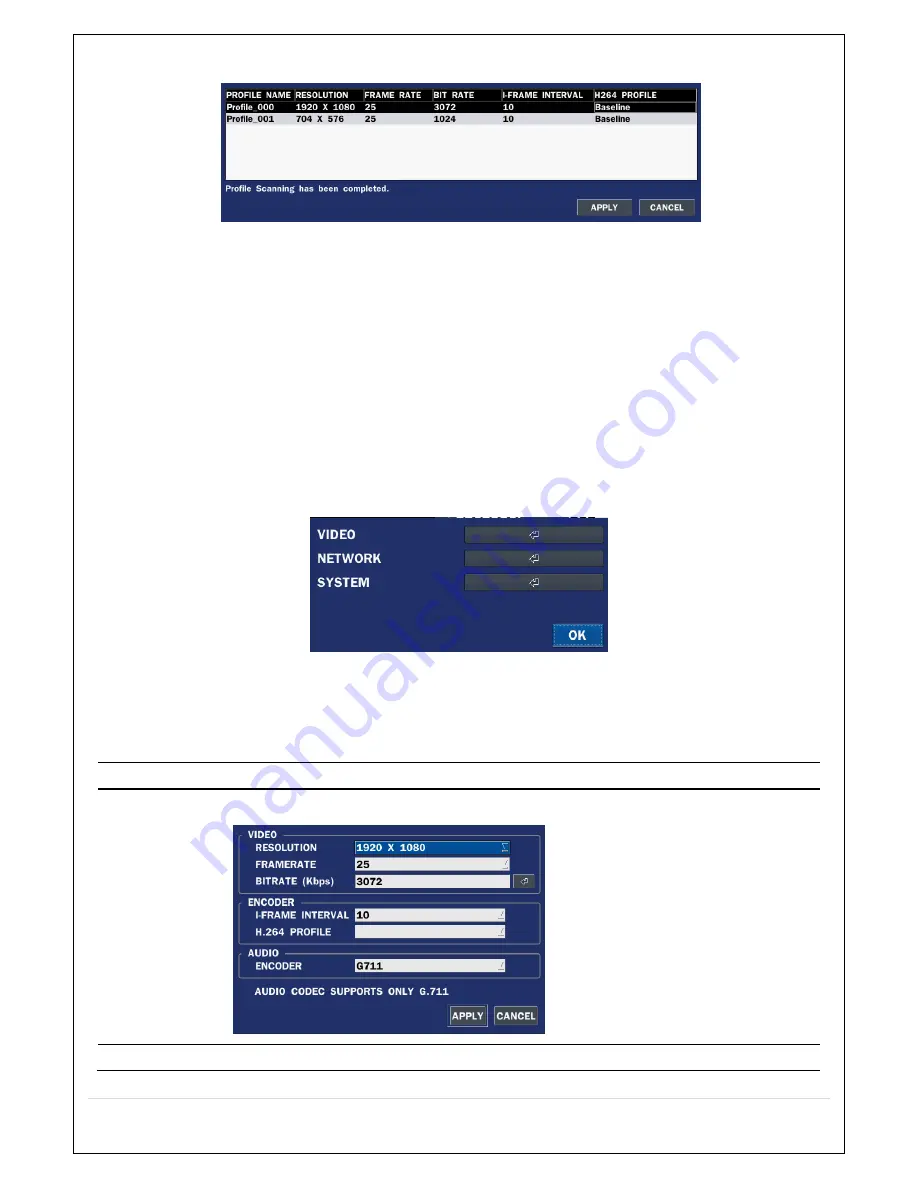
Figure 4.2.1.4 ONVIF Profile SCAN Window
①
Select ONVIF for Vendor and click the SCAN button.
②
Select the camera on the list and then click the register button.
③
Then, PROFILE and ONVIF setting button will be displayed on the menu.
Click PROFILE button and then the detail information of ONVIF will be searched and listed.
(If there is not one listed, the ONVIF protocol of IP CAM is not compatible with NVR and
therefore not supported. )
④
Double click the listed profile to apply.
⑤
Enter ID and PASSWORD of IP CAM. Registration is .completed.
4-2-2. ONVIF SETUP Menu
Figure 4.2.2.1 ONVIF Setup Window
Under ONVIF Setup, the following can be viewed and changed: VIDEO, NETWORK, SYSTEM settings.
Table 4.2.2.1. Menu Items in ONVIF Setup Screen
Menu Item
Description
VIDEO
Under ONVIF system setup, the following can be viewed and/or changed.
NETWORK
View and change Network settings.
Summary of Contents for CVN-0430F
Page 1: ......
Page 19: ...19 2 Go to SETUP SYSTEM DATE TIME SETUP 3 Select ON from the DAYLIGHT SAVING dropdown menu ...
Page 25: ...25 Figure 3 5 1 PoE Port ...
Page 82: ...82 8 7 7 NETWORK Settings Change setup values for NETWORK ...
Page 101: ...101 EVENT To select event to record LOG EVENT Search Search recorded event ...
Page 106: ...106 4 Remote setup for STORAGE Settings 5 Remote setup for SYSTEM Settings ...
Page 107: ...107 6 Remote setup forSECURITY Settings 7 Remote setup for NETWORK Settings ...
Page 122: ...122 ...