21
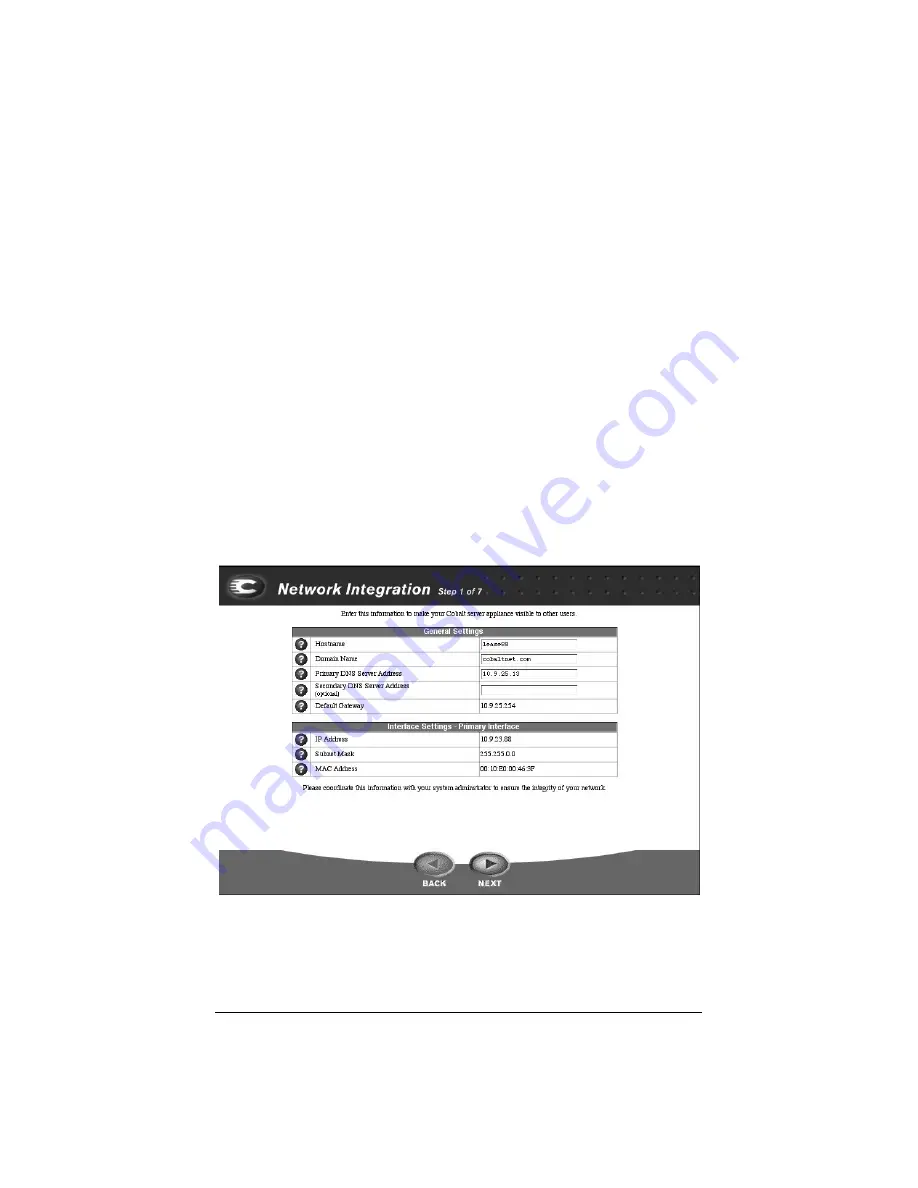
On this screen, you can:
•
assign a host name (for example, qube1) to the Qube 2
•
enter your domain name (the official name that is registered with
InterNIC, for example, cobalt.com)
The host name and domain name must be coordinated with your
network administrator in order for you to access the Qube 2 by its
name and not just by its IP address.
•
enter the IP address of your domain name system (DNS) server
A DNS server maintains a list of computer names and their
IP addresses. The Qube 2 needs access to this list on the DNS
server in order to convert between IP addresses and names. This
conversion is essential for sending and receiving email external to
the Qube 2.
For more information on DNS, see Appendix D, “Domain Name
System”, on page 173.
Click the
NEXT
button to move to the next screen.
Figure 8 Network Integration (screen 1 of 7)
Summary of Contents for Cobalt Qube 2
Page 1: ...Cobalt QubeTM 2 User Manual...
Page 6: ...vi...
Page 20: ...Chapter 1 6 Figure 3 Administrator Site screen Figure 4 Public Site screen...
Page 26: ...Chapter 1 12...
Page 68: ...Chapter 3 54...
Page 70: ...Chapter 4 56 Figure 17 Administrator Site screen...
Page 76: ...Chapter 4 62 Figure 19 shows the User Defaults table Figure 19 User Defaults table...
Page 78: ...Chapter 4 64 Figure 20 shows the Add New User table Figure 20 Add New User table...
Page 87: ...Administrator Site 73 Figure 24 shows the Add New Group table Figure 24 Add New Group table...
Page 184: ...Appendix B 170...
Page 206: ...Appendix E 192...
Page 218: ...Appendix F 204...


