


101
4.
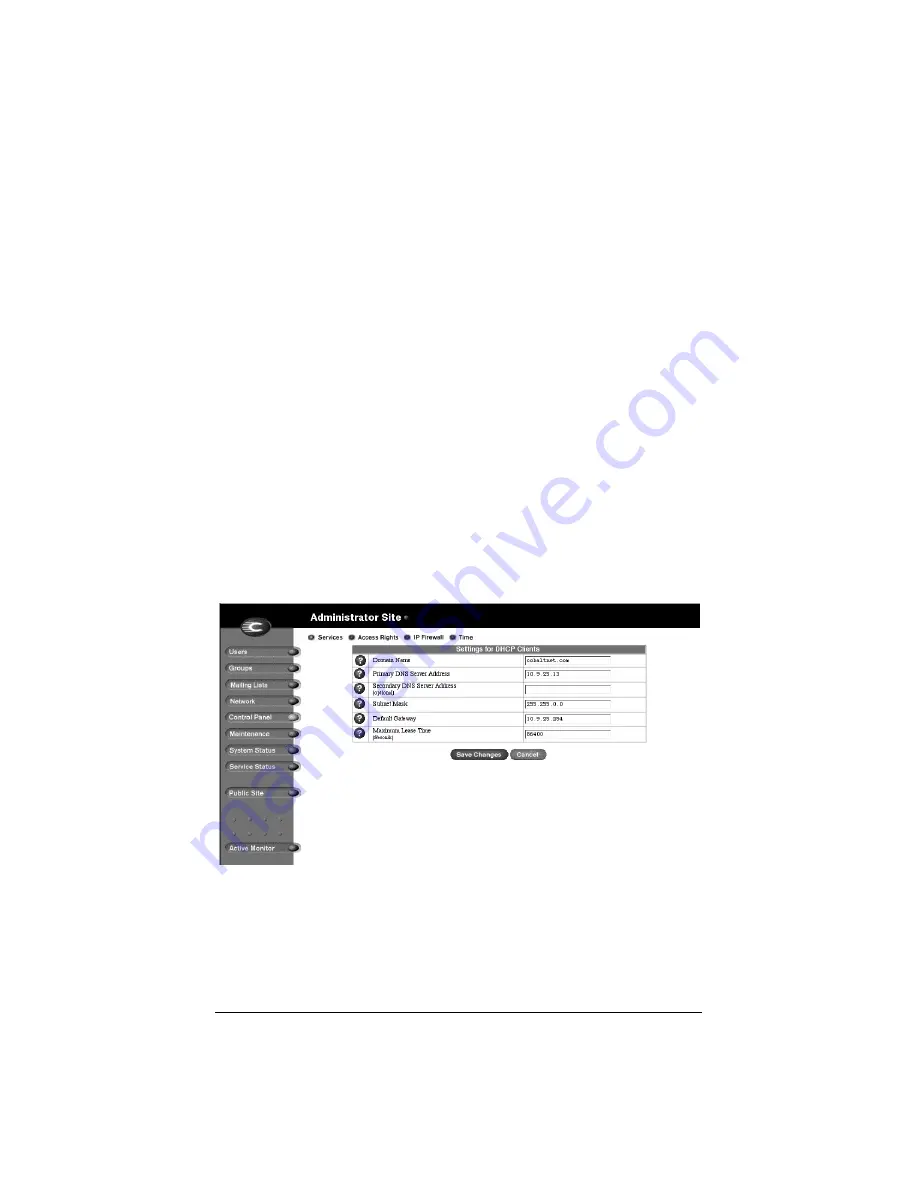
Modify one or more of the following fields.
•
Domain name
•
Primary DNS Server address
•
Secondary DNS server address (optional)
•
Subnet mask
•
Default gateway
•
Maximum lease time (seconds)—The network information
assigned by the DHCP server expires after a fixed period of
time. In this field, specify the maximum elapsed time (in
seconds) before a lease expires.
5.
Click
Save Changes
in the Settings for DHCP Clients table.
6.
Click
Back
in the DHCP Parameters page.
7.
Click the check box next to “Dynamic Host Configuration Protocol
(DHCP) Server” to enable this option.
8.
Click
Save Changes
in the Service Settings table. The UI screen
refreshes.
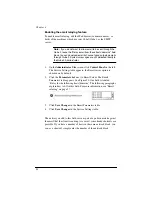
Figure 33 shows a sample of the Settings for DHCP Clients table.
Figure 33 Sample of the Settings for DHCP Clients table
Summary of Contents for Cobalt Qube 2
Page 1: ...Cobalt QubeTM 2 User Manual...
Page 6: ...vi...
Page 20: ...Chapter 1 6 Figure 3 Administrator Site screen Figure 4 Public Site screen...
Page 26: ...Chapter 1 12...
Page 68: ...Chapter 3 54...
Page 70: ...Chapter 4 56 Figure 17 Administrator Site screen...
Page 76: ...Chapter 4 62 Figure 19 shows the User Defaults table Figure 19 User Defaults table...
Page 78: ...Chapter 4 64 Figure 20 shows the Add New User table Figure 20 Add New User table...
Page 87: ...Administrator Site 73 Figure 24 shows the Add New Group table Figure 24 Add New Group table...
Page 184: ...Appendix B 170...
Page 206: ...Appendix E 192...
Page 218: ...Appendix F 204...


