5-50 Cisco 7010 Hardware Installation and Maintenance
Installing and Configuring Processor Modules
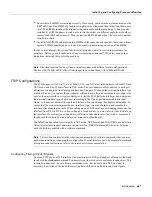
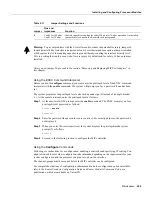
Router# configure terminal
interface serial 3/0
crc4
^z
To disable CRC-4 and return to the default of no CRC error checking, specify the slot and port
address and use the no crc4 command. For complete command descriptions and instructions, refer
to the related software documentation.
Replacing Serial Port Adapter Cables
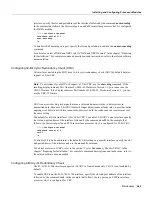
The port adapter cable connected to each FSIP port determines the electrical interface type and mode
of the port. The FSIP ports are not configured for either DTE or DCE mode by default. When there
is no cable attached to a port, the software identifies the port as Universal, Cable Unattached rather
than either a DTE or DCE interface. When a cable is attached, the port recognizes the mode and
automatically uses the clock signal from the appropriate source (external for DTE or internal for
DCE).
Although you do not have to configure a clock source for the ports, you do have to define the clock
speed the first time you configure a port as a DCE interface. Because the ports automatically use the
appropriate clock source for the type (mode) of cable it detects, you can configure a clock rate for a
DCE interface and later replace the DCE cable with a DTE cable; the FSIP will ignore the internal
clockrate unless it detects that a DCE cable is attached. This configuration allows you to perform a
loopback test on a serial port without a port adapter cable attached.
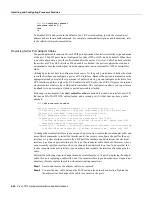
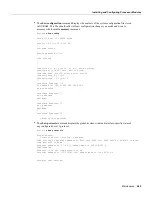
Following is an example of the show controller cxbus command that shows an interface port (2/0)
that has an EIA/TIA232 DTE cable attached, and a second port (2/1) that does not have a cable
attached:
7010# show controller cxbus
Switch Processor 7, hardware version 11.1, microcode version 1.4
512 Kbytes of main memory, 128 Kbytes cache memory, 299 1520 byte buffers
Restarts: 0 line down, 0 hung output, 0 controller error
FSIP 2, hardware version 3, microcode version 1.0
Interface 16 - Serial2/0, electrical interface is RS-232 DTE
31 buffer RX queue threshold, 101 buffer TX queue limit, buffer size 1520
Transmitter delay is 0 microseconds
Interface 17 - Serial2/1, electrical interface is Universal (cable unattached)
31 buffer RX queue threshold, 101 buffer TX queue limit, buffer size 1520
To change the electrical interface type or mode of a port on line, replace the serial adapter cable and
use software commands to restart the interface and, if necessary, reconfigure the port for the new
interface. At system startup or restart, the FSIP polls the interfaces and determines the electrical
interface type of each port (according to the type of port adapter cable attached). However, it does
not necessarily repoll an interface when you change the adapter cable on line. To ensure that the
system recognizes the new interface type, shutdown and reenable the interface after changing the
cable.
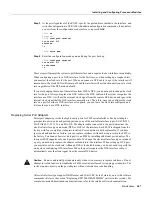
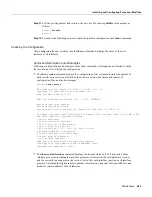
Perform the following steps to change the mode or interface type of a port by replacing the adapter
cable. If you are replacing a cable with one of the same interface type and mode, these steps are not
necessary. (Simply replace the cable without interrupting operation.)
Step 1
Locate and remove the adapter cable to be replaced.
Step 2
Connect the new cable between the FSIP port and the network connection. Tighten the
thumbscrews at both ends of the cable to secure it in the ports.
Summary of Contents for TelePresence Server 7010
Page 10: ...x Cisco 7010 Hardware Installation and Maintenence ...
Page 14: ...iv Cisco 7010 Hardware Installation and Maintenance Document Conventions ...
Page 148: ...3 36 Cisco 7010 Hardware Installation and Maintenance Using the Flash Memory Card ...
Page 158: ...4 10 Cisco 7010 Hardware Installation and Maintenance Troubleshooting the Processor Subsystem ...
Page 242: ...5 84 Cisco 7010 Hardware Installation and Maintenance Replacing Internal Components ...
Page 258: ...A 16 Cisco 7010 Hardware Installation and Maintenance MIP Interface Cable Pinouts ...
Page 270: ...B 12 Cisco 7010 Hardware Installation and Maintenance Interface Processor LEDs ...
Page 274: ...C 4 Cisco 7000 Hardware Installation and Maintenance ...
Page 287: ...Index 13 ...


