Rev Z
Page 47
11/28/2011
Copyright © 2011 by Cirus Controls, LLC. All Rights Reserved. No part of this material may be reproduced without the express
written permission of Cirus Controls LLC for each reproduction.
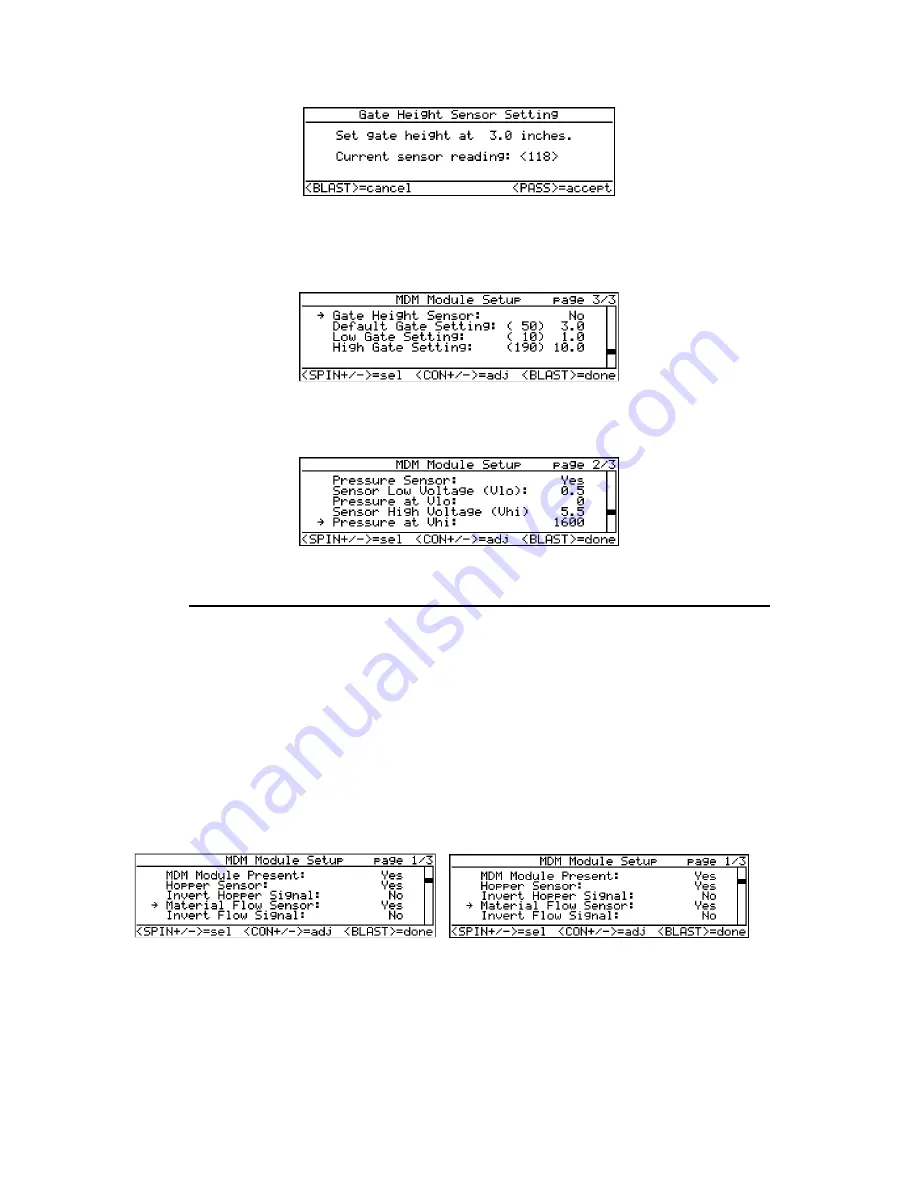
Move to rear of truck and set gate height to the actual value (inches) that corresponds to the value
you have selected here. The sensor will respond with the “current sensor reading” value (as
above). Hit pass to accept the setting and return to the MDM setup page 2. Repeat calibration
steps for both the low and high gate setting;
Use “blast” key to return to running menu and save the new configuration.
Configure the other sensors attached to the system
:
* Pressure Sensor
: use “anti-ice” key to raise or lower sensor low and high values using the
specified values supplied with the sensor chosen.
These values must match the values for the pressure transducer installed in the valve.
Default values for the transducer supplied by Cirus Controls are as follows:
Sensor Low Voltage (Vlo) =
0
Pressure at Vlo
=
0
Sensor at High Voltage (Vhi) =
10
Pressure at Vhi
=
3625
b) Use blast key to return to menu screen and save changes;
c) Cycle the power on SpreadSmart Rx ™ and the pressure should now display on the
screen. Operate system to verify proper pressure display on the display. Independent
verification of pressure can be accomplished by reading a gauge installed on the valve
assembly and comparing it to the pressure on the
SpreadSmart Rx™
display.
* Hopper Level Sensor
: refer to sensor installed to determine if hopper signal is to be inverted.
* Material Flow Sensor
: refer to sensor installed in truck to determine if material flow signal
needs to be inverted.


