Rev Z
Page 14
11/28/2011
Copyright © 2011 by Cirus Controls, LLC. All Rights Reserved. No part of this material may be reproduced without the express
written permission of Cirus Controls LLC for each reproduction.
“Fixed Distance” Calibration
If using fixed distance calibration, the best method is to drive a mile using mile markers.
Although driving a mile in stop and go traffic would work, more accurate results are achieved
if driving a steady speed on a highway.
1)
Select speedometer calibration.
2)
Select fixed distance calibration.
3)
Once the instructions are on the screen, drive to the first mile marker and press pass.
4)
Drive to the next mile marker, and press pass again as the vehicle passes the marker.
5)
The speedometer is now calibrated.
“Match Truck Speedometer” Calibration
1)
Select speedometer calibration;
2)
Select match Speedometer calibration;
3)
Bring the Truck to a steady, maintainable speed (10-30 mph);
4)
Using the “spinner” button, adjust the pulses per mile/km until the resulting mph/kph
matches the value displayed on the truck speedometer.
Press “pass” to accept setting and return to Trim/Cal menu.
STEP 6- Pre-Delivery Functional Test with Diagnostics
In No-Speedo mode or Test mode, operate and verify ground speed operation (auto or manual),
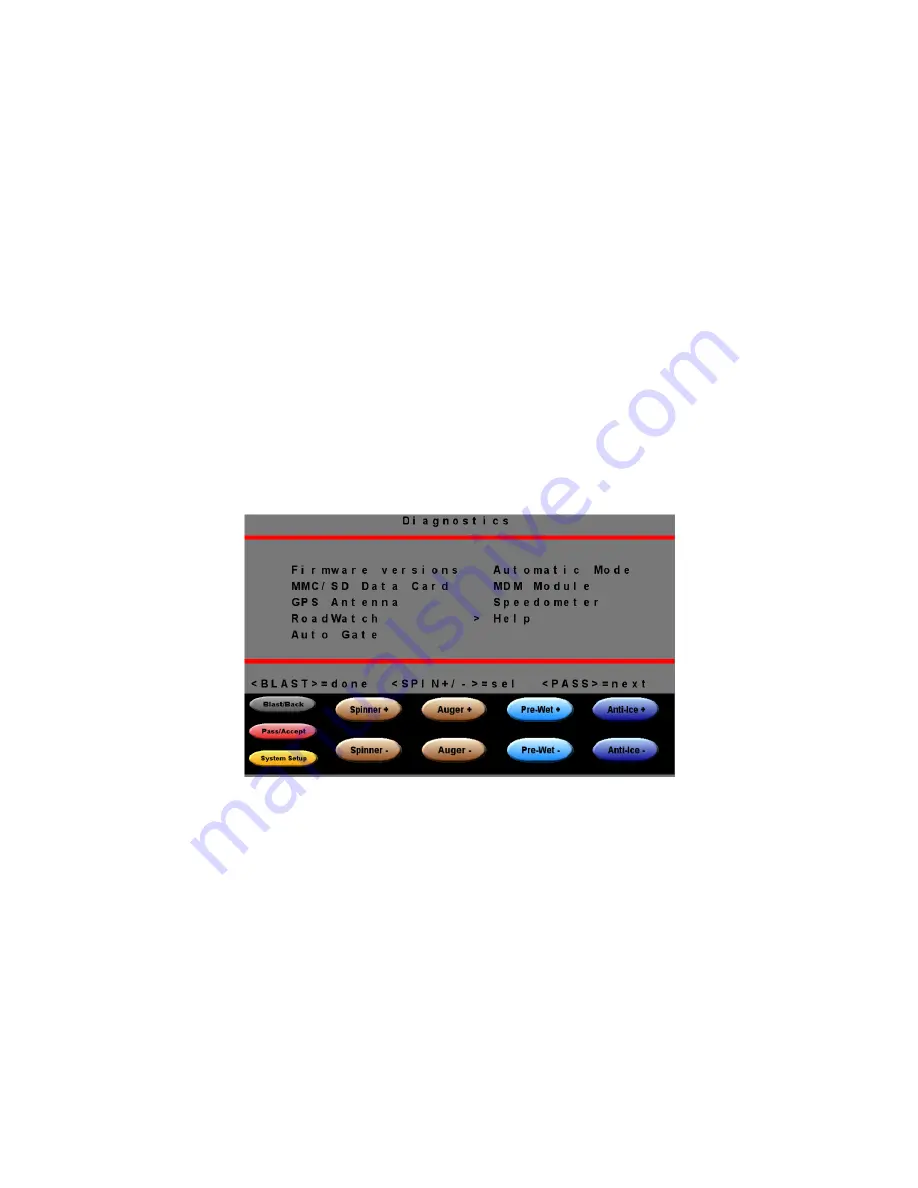
warnings, and hydraulic functionality. Use Diagnostics from the Mode screen to trouble shoot
problems.
Using stored calibration files to configure multiple trucks
Once the set up wizard has been completed, the stored calibration file can be downloaded
to your laptop computer and subsequently uploaded to a new truck before running the set
up wizard. See “Other downloads” for instructions. Once upload is complete, power
cycle the controller and the set up wizard will passed. Drop test calibration must still be
completed.


