6.3 C
LEARING
S
OFTWARE
F
AULTS
Clear Any Existing Faults Before Continuing:
To confirm that all faults have been cleared before continuing, press
F3 MDI
from
the main menu.
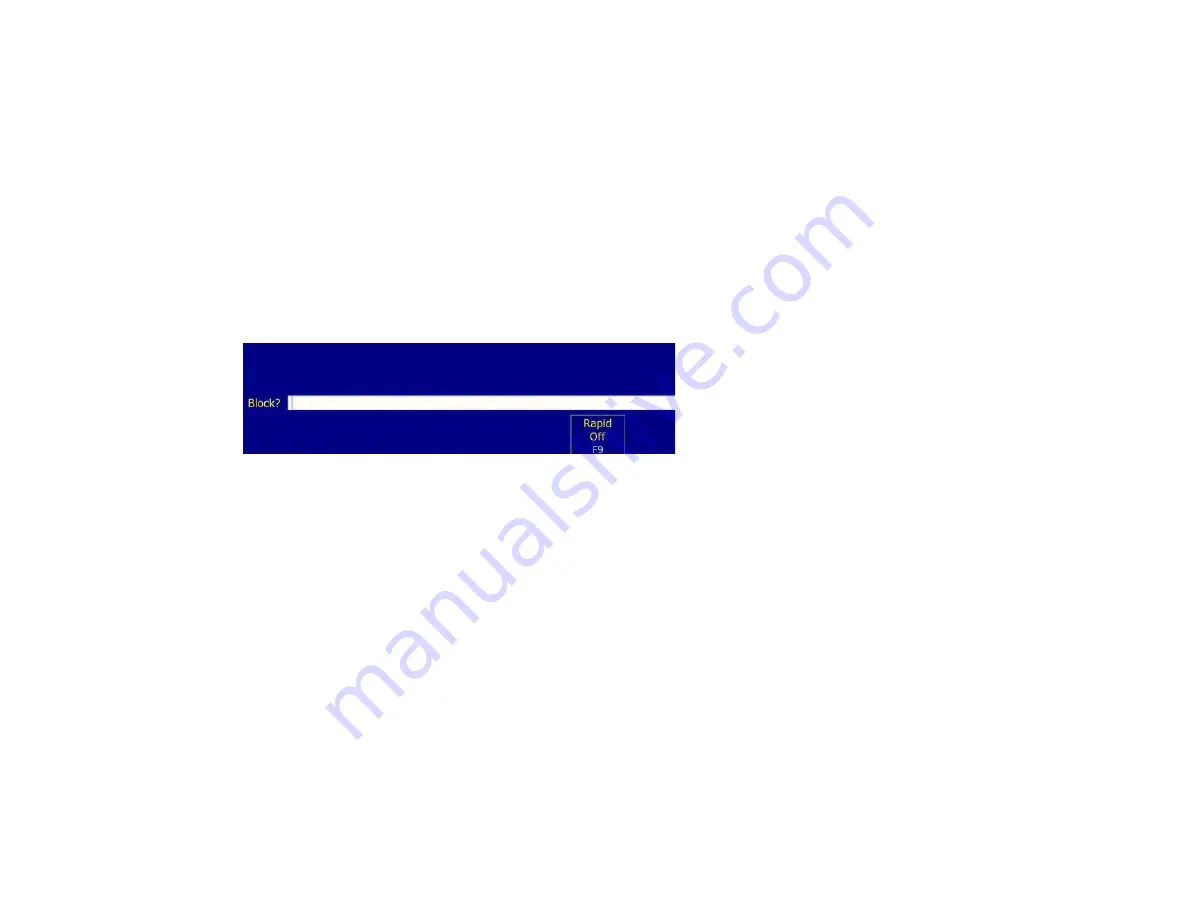
If all faults have been cleared correctly, the screen should look like Figure 6.3.1.
Troubleshooting:
If the screen shown in Figure 6.3.1 is not displayed, there is an existing fault. Check the status window
to determine the cause of the fault, fix it and try again.
If you do not know the cause of the fault, confirm that all parameters are set as required in section 4.1 and 6.1, and that all
inputs are in the correct state. Also, confirm your drive is wired correctly and configured to work with the Oak Board as set
up in the drive's technical bulletin.
CNC12 keeps a log file containing all errors and faults, along with the time and date that these errors occurred at. You can
access this log from the main menu by pressing
F7 Utility
→
F9 Logs
→
F1 Errors
.
Figure 6.3.1
MDI mode, indicating
that all faults have been
cleared.
Summary of Contents for 13126
Page 1: ...CENTROID Oak Board Install Manual Last revised 6 3 2021 Page 1 of 86...
Page 10: ...1 3 OVERVIEW Page 10 of 86 Chapter 1 What s included...
Page 22: ...Page 22 of 86 Chapter 3 Software Installation...
Page 41: ...Page 41 of 86 Electrical Cabinet Wiring Figure 5 8 1 Sample VFD Wiring...
Page 42: ...Page 42 of 86 Electrical Cabinet Wiring Figure 5 8 2 Spindle Wiring...
Page 63: ...APPENDIX B TECHNICAL INFORMATION...
Page 64: ......
Page 65: ......
Page 66: ......
Page 67: ......
Page 68: ......
Page 69: ......
Page 70: ......
Page 71: ......
Page 72: ......
Page 73: ......
Page 74: ......
Page 75: ......
Page 76: ......
Page 77: ......
Page 78: ......
Page 79: ......
Page 80: ......
Page 81: ......
Page 82: ......
Page 83: ...APPENDIX C 3RD PARTY DRIVE CABLE INFORMATION Yaskawa Drives Page 83 of 86 Appendices...
Page 84: ...Delta Drives Page 84 of 86 Appendices...


