2. Installation
85
5) Operation Unit Image Gamma Correction
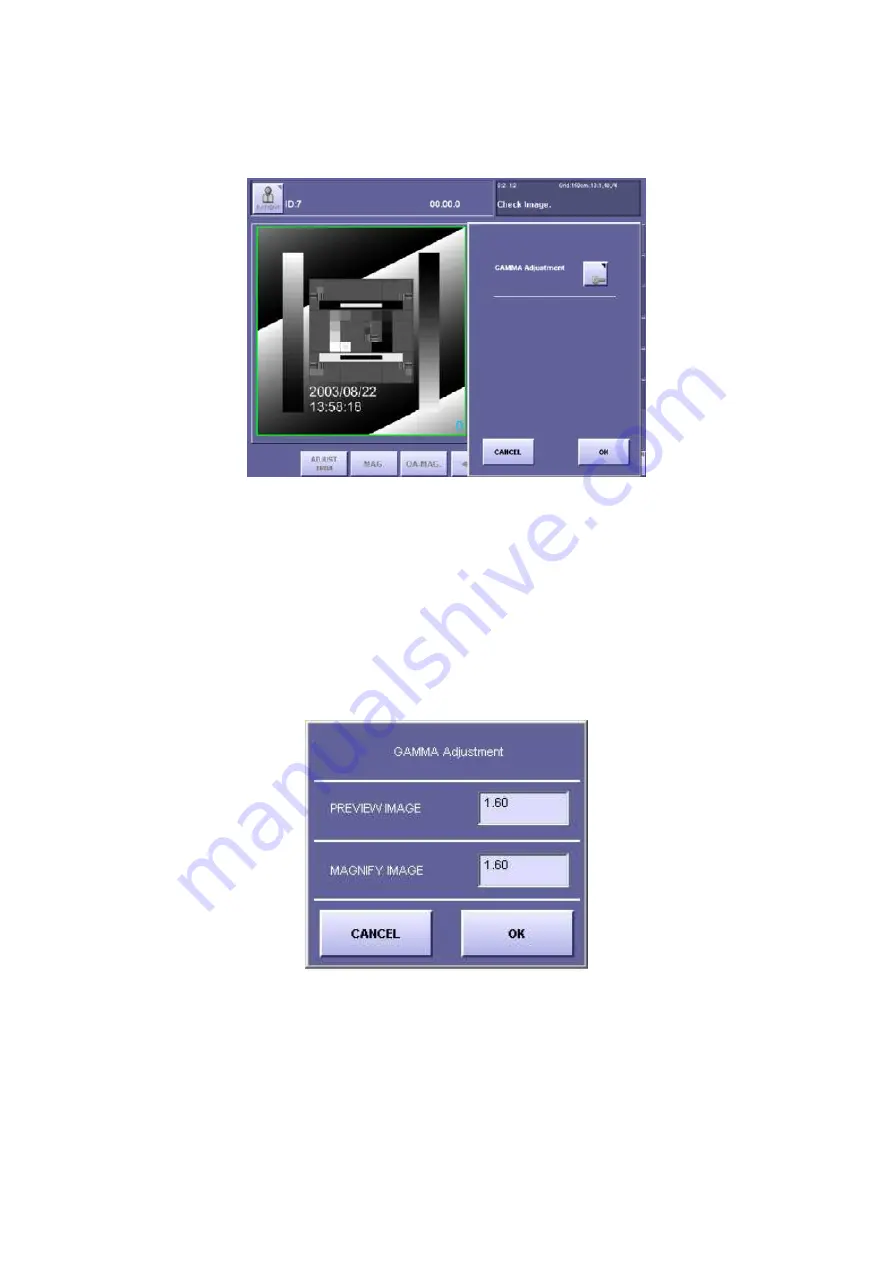
5-1) On the QA screen displayed on Step (4) 5) above, select the “Option” tab and the
“Gamma Adjustment” button is appeared, and then press this button. [Fig. 3]
[Fig. 3]
5-2) The “Gamma Adjustment’ window appears. Change the value for the PREVIEW
IMAGE, and press OK. The gamma correction for the operation unit screen is
performed. [Fig. 4]
(Make sure the gamma value for the test image has changed on the operation unit
screen.)
The gamma value is adjustable from 1.00 to 2.50.
When the image on the operation unit is lighter (whiter) than the film image, increase
the value. On the contrary, if the image on the operation unit is darker (blacker) than
the film image, decrease the value. The default gamma value is 1.60.
[Fig. 4]
5-3) When the gamma value for the preview image is adjusted, then adjust the gamma
value for the magnify image. The default gamma value for the magnify image is 1.60.
5-4) The correction steps are complete.
Summary of Contents for CXDI-60G
Page 23: ...2 Installation 7 2 CXDI System II assembly package Accessories box Power box ...
Page 115: ...2 Installation Manual 99 2 Power Box Mass 3 7 Kg Unit mm Dimension tolerance 1 Scale 1 N ...
Page 161: ...4a Canon Inc PWB 60 X RAY 1 2 SCHEMATIC DIAGRAM Rev 01 ...
Page 162: ...4b Canon Inc PWB 60 X RAY 2 2 SCHEMATIC DIAGRAM Rev 01 ...


