


40
Chapter 1
Basic Operation
10
[Cleaning Sheet Transport]
See the manual included with the glossy paper
for further details.
13
[ Shipping The Printer]*
Clicking this button prepares the printer to be
transported.
11
[Micro Margin Adjustment]*
Clicking this button sets the printer’s trimming
position and rounded corner size for micro
margin printing.
14
[ Add Custom Paper Type]*
Allows the user to adjust ink jetting amounts and
register them along with the paper type of new
paper.
12
[ Moving The Printer]*
Clicking this button makes preparations for
moving the printer indoors.
* Items displayed in the [Utility] tab of the printer properties window.
IMPORTANT
• The settings that can be configured on the [Utility] tab of the printer properties window are different from those
that can be configured on the [Utility] tab of the printing preferences window.
• When configuring settings in the [Utility] tab, the printer must be powered and connected to the computer.
• Administrative privileges required for certain features
Administrative privileges over this printer are required when
configuring settings (marked with *) on the [Utility] tab of the printer
properties window.
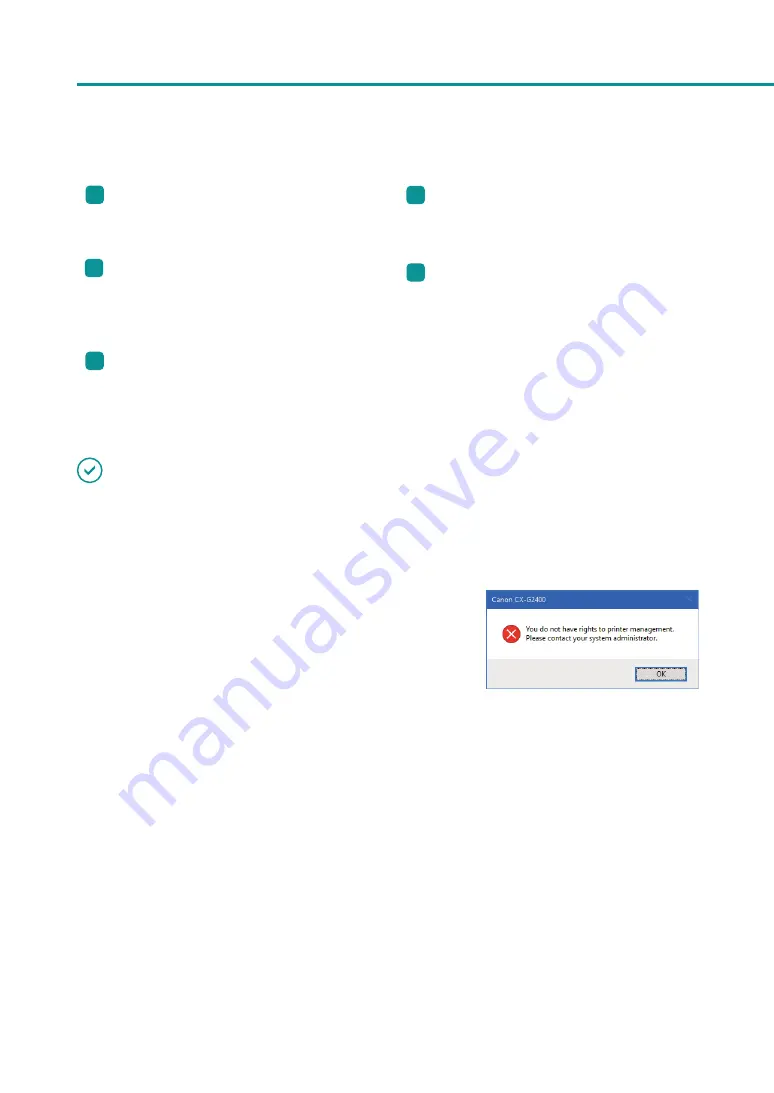
If a user without administrative privileges over this printer attempts
to configure settings, the following message will appear.
If this message appears, contact the administrator of the computer and proceed with operation following the
procedure below.
1. Right-click on start and then select Control Panel -> Hardware and Sound -> Devices and printers.
Windows 8.1
From the Desktop charms, select Settings -> Control Panel -> Hardware and Sound -> Devices and
Printers.
Windows 7
Select the Start menu -> Devices and Printers.
2. Right-click on the Printer icon and then select [Printer Properties].
The printer properties window appears.
3. On the [General] tab, click [Change Properties].
If the [User Account Control] screen appears, enter the password of the administrator of this printer.


