


153
Check video wall to delete, click Delete or
, confirm to delete video wall.
4.5.6.1.4 Display Screen No.
Click Display Screen No. to show no. of screen on video wall, now this button changes to Hide
Screen No. Click it to hide.
4.5.6.2
Screen Management
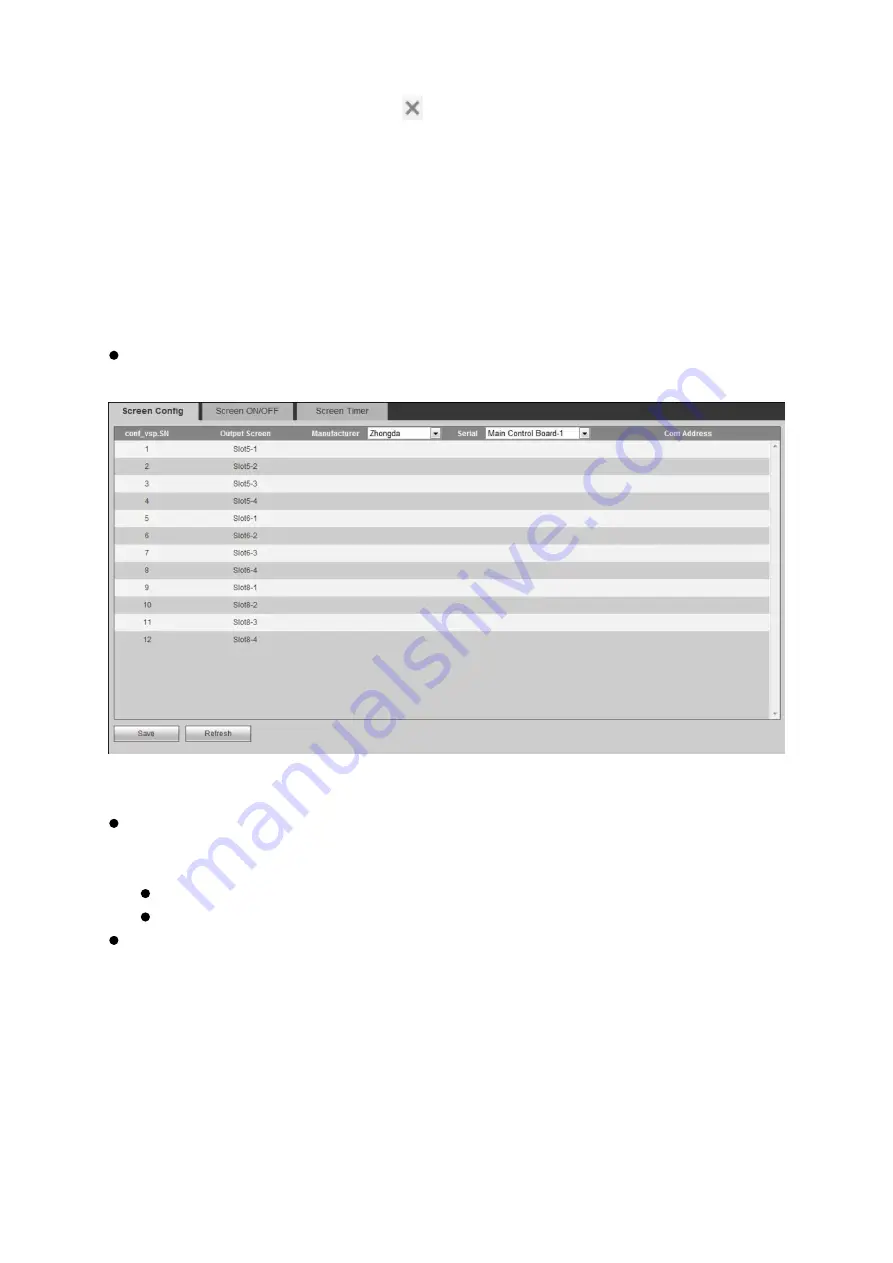
4.5.6.2.1 Screen Config
Set manufacturer, serial, serial address of each video wall, to build COM between screen and
device. Serial address must match dial address of video wall.
Select Setup>Display Management>Screen Management>Screen Config.
See Figure 4-101.
Figure 4-101
Click dropdown list or field at corresponding position of manufacturer, serial, serial address
and etc.
Note:
Must match actual manufacturer, serial, serial address (dial address) of video wall.
Click above dropdown list to set manufacturer and serial.
Click Save.
4.5.6.2.2 Screen ON/OFF
Screen ON/OFF function continuously sends ON/OFF command to all screens according to
device set time interval and frequency, to ensure that each screen can receive command to turn
ON/OFF.
Step 1. Select Setup>Display Management>Screen Management>Screen ON/OFF, see Figure
4-102.
Summary of Contents for KSC-USB-NET
Page 1: ...i Video Matrix Platform V 2 0 0 ...
Page 4: ...iv 5 DSS OPERATION 169 6 FAQ 170 6 1 FAQ 170 6 2 Maintenance 173 APPENDIX A MOUSE CONTROL 174 ...
Page 34: ...28 Figure 3 9 Switch to input device list Please see Figure 3 9 ...
Page 37: ...31 Figure 3 12 Step 2 Click add You will see Figure 3 13 Figure 3 13 ...
Page 70: ...64 Figure 3 54 Buzzer Buzzer rings when motion detection alarms 3 2 4 6 2 Video Loss ...
Page 74: ...68 Display is shown below as in Figure 3 59 Figure 3 60 and Figure 3 61 Figure 3 59 ...
Page 75: ...69 Figure 3 60 ...
Page 88: ...82 Figure 3 80 Click Add to add new Raid Select corresponding level Figure 3 81 ...
Page 139: ...133 Figure 4 68 Figure 4 69 ...
Page 148: ...142 Figure 4 81 Select slot and channel OSD Custom Step 1 Check Custom OSD see Figure 4 82 ...
Page 173: ...167 ...
Page 174: ...168 ...
Page 182: ......
Page 183: ......
Page 184: ......
Page 185: ......
Page 186: ......
Page 187: ......
Page 188: ......