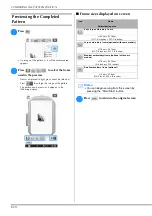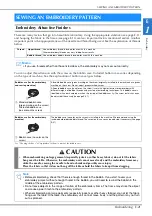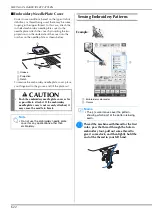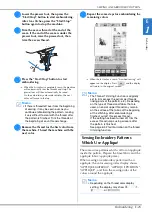
MAKING EMBROIDERY ADJUSTMENTS
E-30
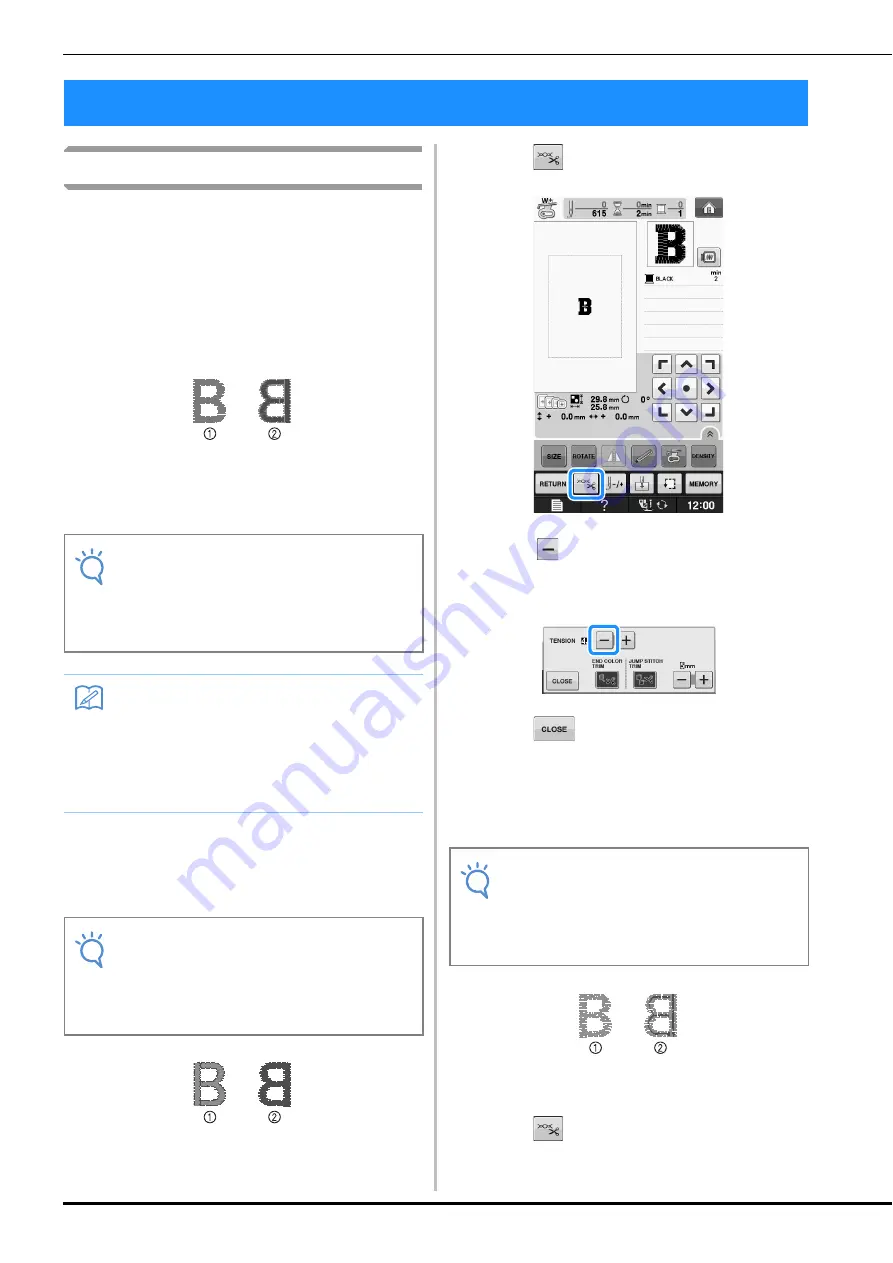
Adjusting Thread Tension
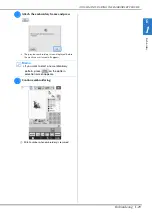
When embroidering, the thread tension should be
set so that the upper thread can slightly be seen on
the wrong side of the fabric.
■
Correct Thread Tension
The pattern can be seen from the wrong side of the
fabric. If the thread tension is not set correctly, the
pattern will not finish well. The fabric may pucker or
the thread may break.
a
Right side
b
Wrong side
Follow the operations described below to adjust
thread tension according to the situation.
■
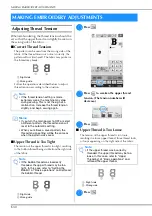
Upper Thread is Too Tight
The tension of the upper thread is too tight, resulting
in the bobbin thread being visible from the right side
of the fabric.
a
Right side
b
Wrong side
a
Press .
b
Press
to weaken the upper thread
tension. (The tension number will
decrease.)
c
Press .
■
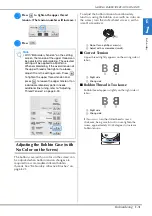
Upper Thread is Too Loose
The tension of the upper thread is too loose,
resulting in a loose upper thread, loose thread locks,
or loops appearing on the right side of the fabric.
a
Right side
b
Wrong side
a
Press .
MAKING EMBROIDERY ADJUSTMENTS
Note
• If the thread tension setting is made
extremely weak, the machine may stop
during sewing. This is not the sign of a
malfunction. Increase the thread tension
slightly, and begin sewing again.
Memo
• If you turn the main power to OFF or select
a different pattern, the thread tension will
reset to the automatic setting.
• When you retrieve a saved pattern, the
thread tension setting will be the same as
when the pattern was saved.
Note
• If the bobbin thread was incorrectly
threaded, the upper thread may be too
tight. In this case, refer to “Setting the
Bobbin” of “Basic operations” and rethread
the bobbin thread.
Note
• If the upper thread was incorrectly
threaded, the upper thread may be too
loose. In this case, refer to “Upper
Threading” of “Basic operations” and
rethread the upper thread.
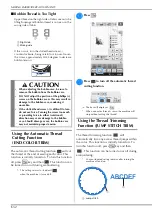
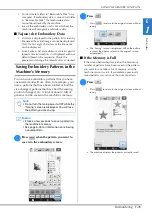
Summary of Contents for 882-C40
Page 107: ...USEFUL FUNCTIONS Sewing Basics Sewing S 19 S 1 ...
Page 163: ...STITCH SETTING CHART Utility Stitches Sewing S 75 S 2 ...
Page 200: ...USING STORED CUSTOM STITCHES S 112 ...
Page 218: ...ATTACHING THE EMBROIDERY FRAME E 18 b Pull the embroidery frame toward you ...
Page 255: ...EMBROIDERY APPLICATIONS Embroidery Embroidering E 55 E 1 ...
Page 286: ...USING THE MEMORY FUNCTION E 86 ...
Page 329: ......
Page 330: ......
Page 331: ......

