SEWING THE STITCHES
S-28
■
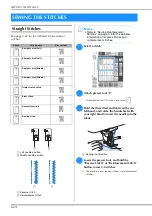
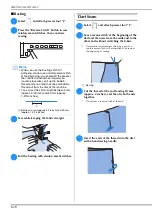
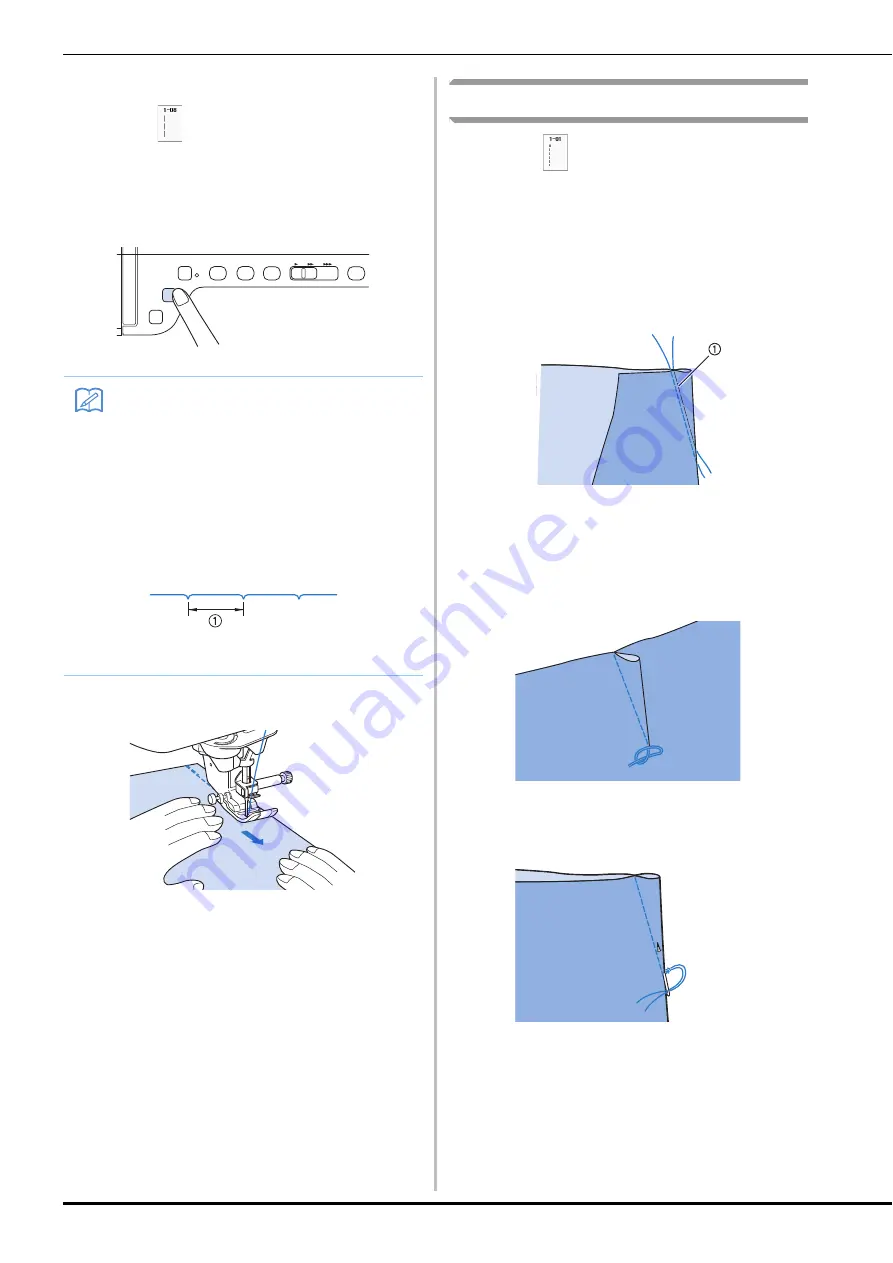
Basting
a
Select
and attach presser foot “J”.
b
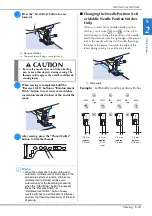
Press the “Reverse Stitch” button to sew
reinforcement stitches, then continue
sewing.
c
Sew while keeping the fabric straight.
d
End the basting with reinforcement stitches.
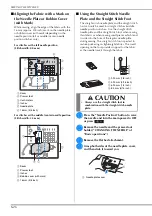
Dart Seam
a
Select
and attach presser foot “J”.
b
Sew a reverse stitch at the beginning of the
dart and then sew from the wide end to the
other end without stretching the fabric.
*
If automatic reinforcement stitching is preset, a
reinforcement stitch will automatically be sewn at
the beginning of sewing.
a
Basting
c
Cut the thread at the end leaving 50 mm
(approx. 2 inches), and then tie both ends
together.
*
Do not sew a reverse stitch at the end.
d
Insert the ends of the thread into the dart
with a hand sewing needle.
Memo
• When you use the basting stitch for
gathering, do not use a reinforcement stitch
at the beginning; you should lift the presser
foot, rotate the handwheel toward you
(counterclockwise), pull up the bobbin
thread and pull a length of top and bobbin
thread out from the rear of the machine.
• You can set the stitch length between 5 mm
(approx. 3/16 inch) and 30 mm (approx.
1-3/16 inches)
a
Between 5 mm (approx. 3/16 inch) and 30 mm
(approx. 1-3/16 inches)
Summary of Contents for 882-C40
Page 107: ...USEFUL FUNCTIONS Sewing Basics Sewing S 19 S 1 ...
Page 163: ...STITCH SETTING CHART Utility Stitches Sewing S 75 S 2 ...
Page 200: ...USING STORED CUSTOM STITCHES S 112 ...
Page 218: ...ATTACHING THE EMBROIDERY FRAME E 18 b Pull the embroidery frame toward you ...
Page 255: ...EMBROIDERY APPLICATIONS Embroidery Embroidering E 55 E 1 ...
Page 286: ...USING THE MEMORY FUNCTION E 86 ...
Page 329: ......
Page 330: ......
Page 331: ......


