USING SENSOR FUNCTIONS WITH SEWING STITCH
B-78
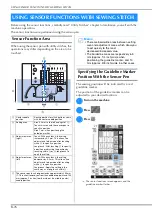
Specifying the Needle Drop
Position With the Sensor Pen
a
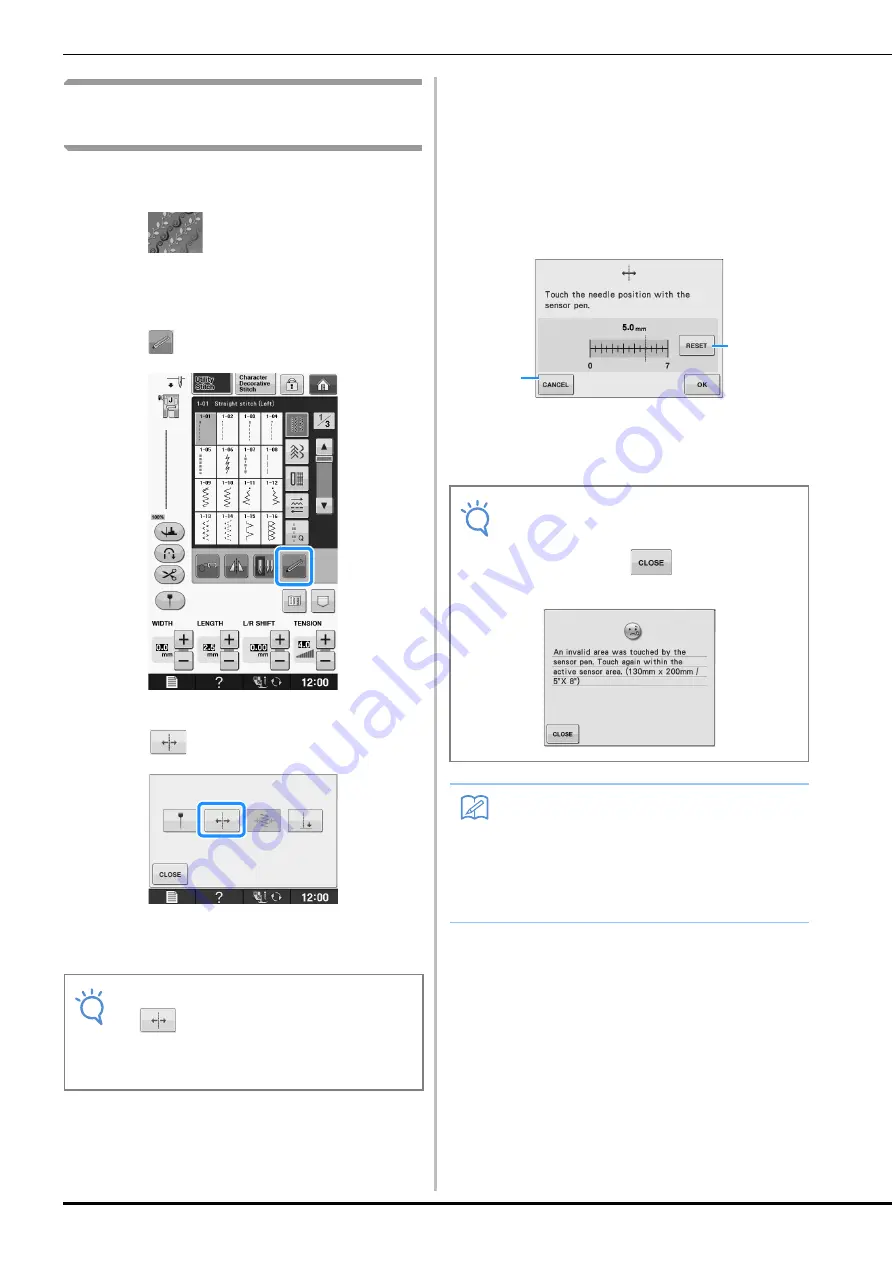
Turn on the machine.
b
Press .
c
Select a stitch pattern.
d
Press .
→
The sensor functions screen appears.
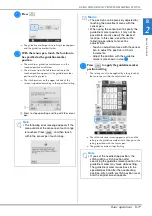
e
Press .
→
The reference position setting screen appears, and
the red guideline marker flashes at the machine’s
sewing position.
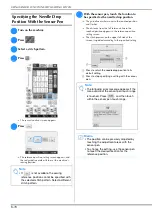
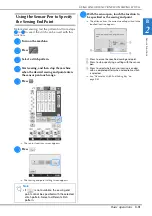
f
With the sensor pen, touch the location to
be specified as the needle drop position.
→
The guideline marker moves to the touched position
and flashes.
→
The distance from the left reference line to the
touched position appears in the reference position
setting screen.
→
The stitch preview on the upper left side of the
screen is updated according to the specified setting.
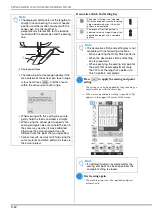
a
Press to return the needle drop position to its
default setting.
b
Press to stop specifying a setting with the sensor
pen.
Note
• If
is not available, the sewing
reference position cannot be specified with
the selected stitch pattern. Select a different
stitch pattern.
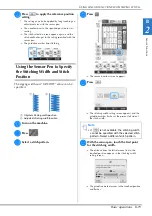
Note
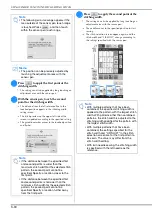
• The following error message appears if the
area outside of the sensor pen touch range
is touched. Press
, and then touch
within the sensor pen touch range.
Memo
• The position can be precisely adjusted by
touching the adjustment areas with the
sensor pen.
• To change the setting, use the sensor pen
to touch the desired location for the
reference position.
a
b
Summary of Contents for 882-C40
Page 107: ...USEFUL FUNCTIONS Sewing Basics Sewing S 19 S 1 ...
Page 163: ...STITCH SETTING CHART Utility Stitches Sewing S 75 S 2 ...
Page 200: ...USING STORED CUSTOM STITCHES S 112 ...
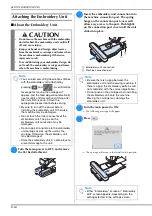
Page 218: ...ATTACHING THE EMBROIDERY FRAME E 18 b Pull the embroidery frame toward you ...
Page 255: ...EMBROIDERY APPLICATIONS Embroidery Embroidering E 55 E 1 ...
Page 286: ...USING THE MEMORY FUNCTION E 86 ...
Page 329: ......
Page 330: ......
Page 331: ......

