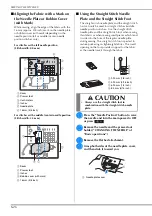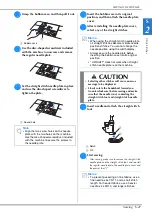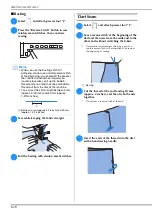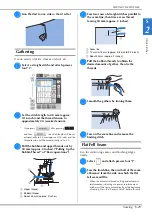
SEWING THE STITCHES
S-36
■
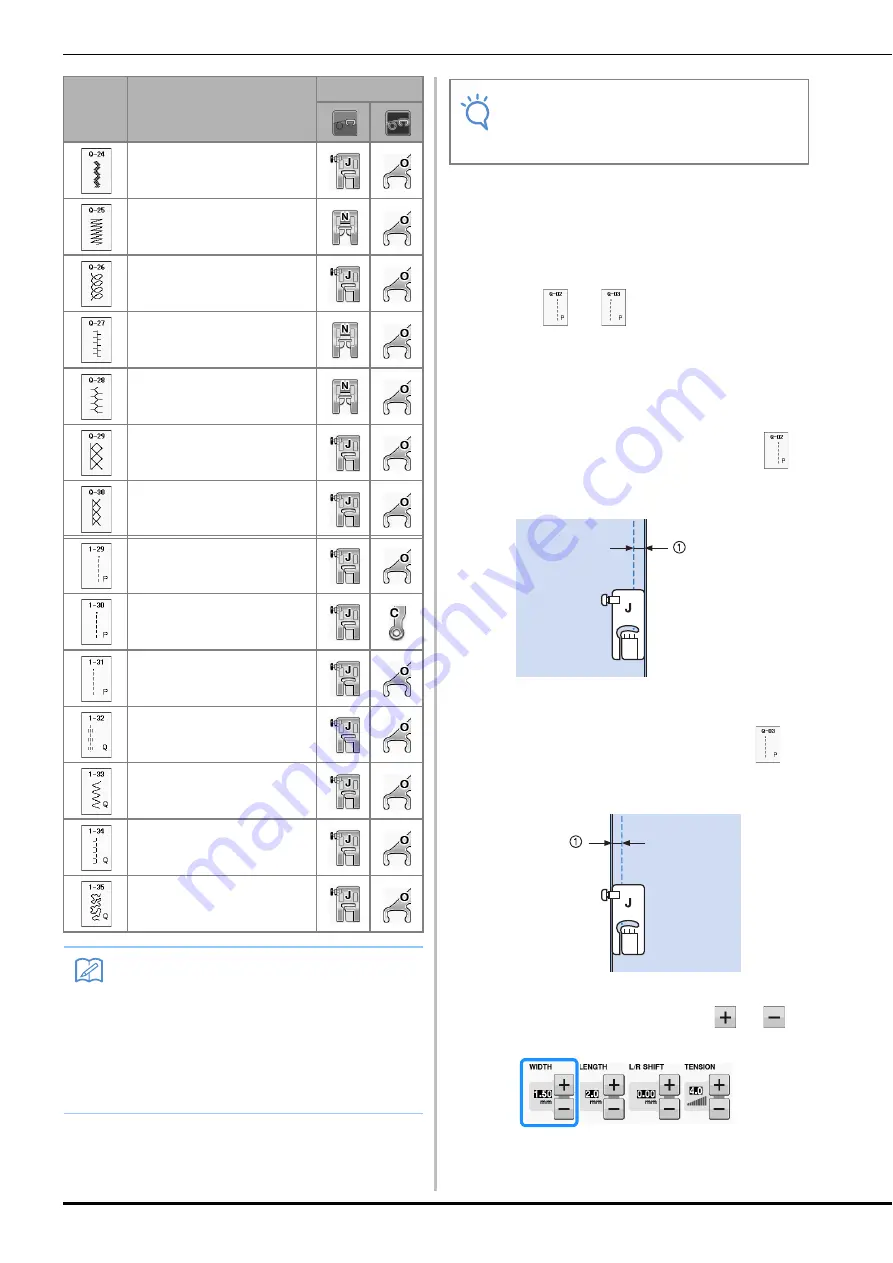
Piecing
Sewing two pieces of fabric together is called
piecing. When cutting pieces for quilt blocks, make
sure the seam allowance is 6.5 mm (approx.
1/4 inch).
a
Select
or
and attach presser foot
“J”.
b
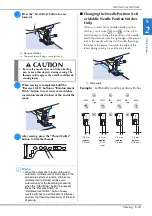
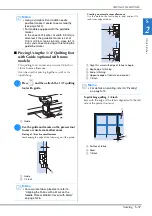
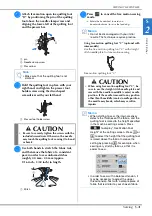
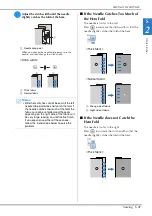
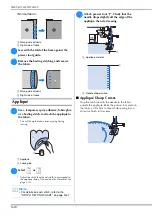
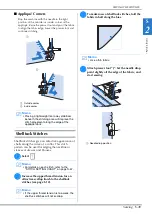
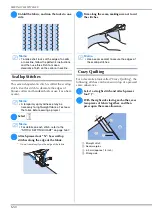
Align the edge of the fabric with the edge of
the presser foot, and start sewing.
*
To sew a 6.5 mm (approx. 1/4 inch) seam allowance
along the right edge of the presser foot with
selected, the width should be set to 5.50 mm
(approx. 7/32 inch).
a
6.5 mm (approx. 1/4 inch)
*
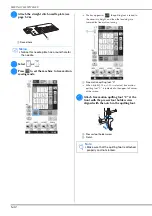
To sew a 6.5 mm (approx. 1/4 inch) seam allowance
along the left edge of the presser foot with
selected, the width should be set to 1.50 mm
(approx. 1/32 inch).
a
6.5 mm (approx. 1/4 inch)
*
To change the needle position, use
or
in
the width display.
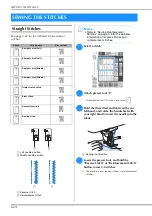
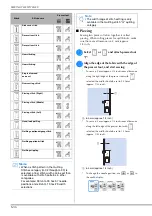
Rick-rack stitch
Decorative stitch
Decorative stitch
Hemstitching
Hemstitching
Single diamond
overcast
Overcasting stitch
Piecing stitch (Right)
Piecing stitch (Middle)
Piecing stitch (Left)
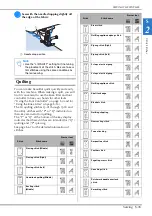
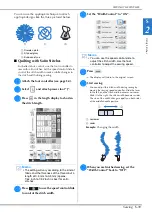
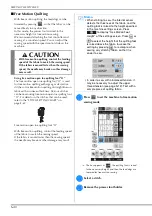
Hand-look quilting
Quilting appliqué zigzag stitch
Quilting appliqué stitch
Quilting stippling
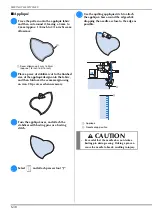
Memo
• When a stitch pattern in the Quilting
Stitches category (Q-02 through Q-30) is
selected, a finer stitch width can be set than
is available with stitch patterns in other
categories.
For example: Stitch Q-03 has 57 needle
positions and stitch Q-19 has 29 width
selections.
Stitch
Stitch name
Presser foot
Note
• The width range of stitch setting is only
available in the Quilting stitch “Q” quilting
category.
Summary of Contents for 882-C40
Page 107: ...USEFUL FUNCTIONS Sewing Basics Sewing S 19 S 1 ...
Page 163: ...STITCH SETTING CHART Utility Stitches Sewing S 75 S 2 ...
Page 200: ...USING STORED CUSTOM STITCHES S 112 ...
Page 218: ...ATTACHING THE EMBROIDERY FRAME E 18 b Pull the embroidery frame toward you ...
Page 255: ...EMBROIDERY APPLICATIONS Embroidery Embroidering E 55 E 1 ...
Page 286: ...USING THE MEMORY FUNCTION E 86 ...
Page 329: ......
Page 330: ......
Page 331: ......

