9
Camera Initial setting status Information
Information of the camera initial setting status will display for
5 seconds.
1. Camera PELCO ID for RS-485 control
2. Camera ID for IR Remote Controller
3. IR remote control signal receive current setting
4. Baud Rate current setting
5. Control COMM Port current setting
6. Video format current setting
7. HDMI current setting
8. Model number
9. Firmware version
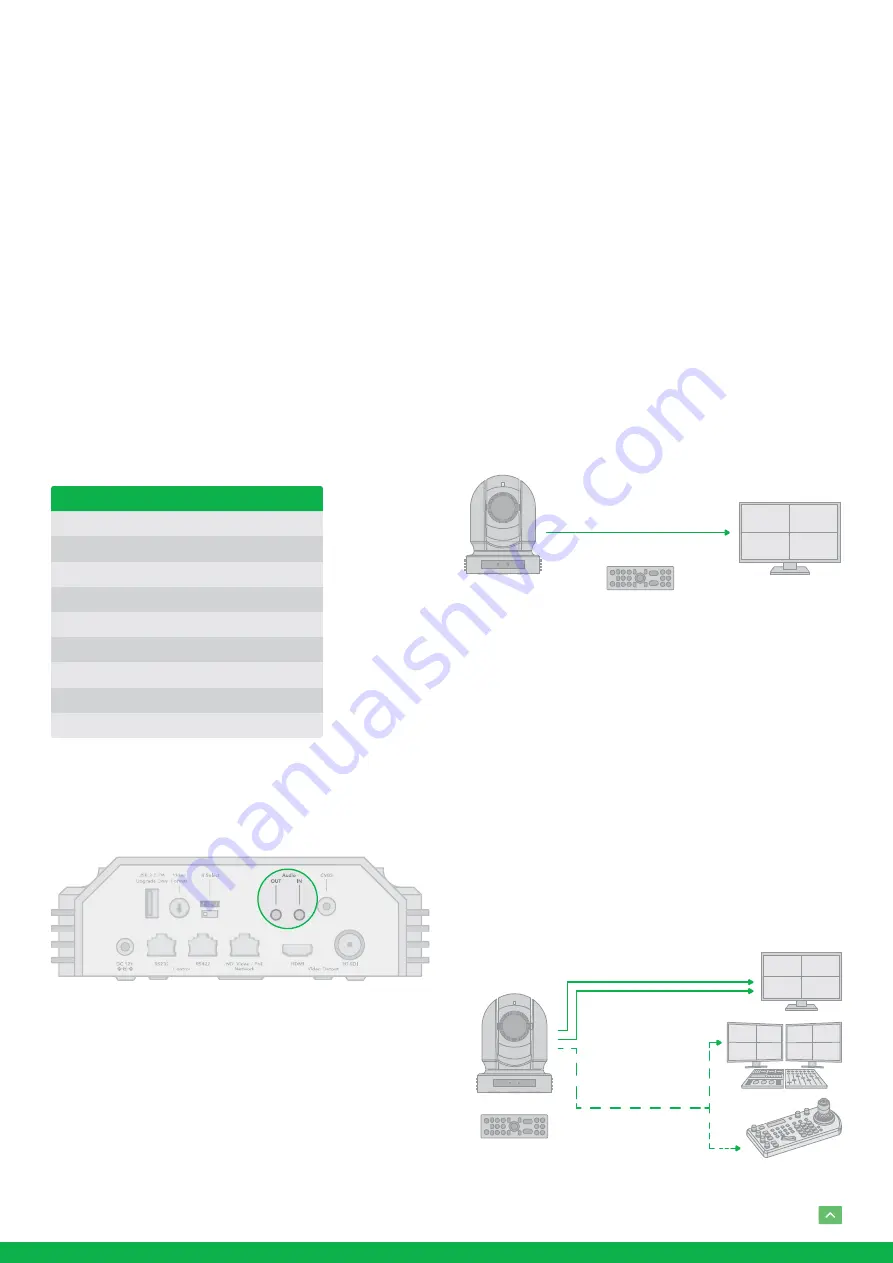
Audio IN / OUT
•
A microphone can be connected to the Audio IN port,
which feeds audio into the camera.
•
A speaker can be connected to the Audio OUT port,
which will output any audio that is captured on the Audio
In port.
•
See Manual part 2 for more information about Audio
capture.
Camera Control Methods and
System Configurations
This unit has multiple ways of controlling the camera and
various system configuration capabilities using optional
products. This section describes the ways of controlling and
typical system examples with the required components and
usage of each system.
1.
Use the Infrared Remote Controller
2.
Use RS-232 (VISCA)
3.
Use RS-422/485 (VISCA/PELCO P/D)
4.
NDI
®
Control (See Network Camera User Manual)
Use the Infrared Remote Controller
To operate the camera from a short distance.
For IR remote control details, refer to Operation Using the
Infrared Remote Controller.
Use RS-232 (VISCA)
You can use RS-232 port to connect to optional controllers,
such as joystick control keyboard, control PC station, to op-
erate the camera.
To perform pan/tilt and zoom operations using the joystick
of the control keyboard, and to perform the Preset operation
using the control buttons.
An application software that supports this unit is needed if
you use PC station.
IR Remote Controller
Video Signal
HDMI Video Signal
SDI Video Signal
Remote Control Signal
(VISCA / RS232)
IR Remote Controller
CAMERA STATUS INFO DISPLAY
PELCO ID
IR ID
IR-RECEIVE
BAUD RATE
COMM TYPE
FORMAT
HDMI OUT
MODEL TYPE
SV
001
01
ON
9600
422
1080p29.97
YUV
EYES P200
V0B1100S36[...]


