19
SYSTEM Menu
PELCO ID:
When using RS485 (PELCO P/D) control, Set Cam-
era ID to the address that you want to control to. This value
is from 001-255.
IR-RECEIVE (Infrared Signal Reception):
When this is set to
OFF, the camera does not receive the signal from the infrared
remote controller. Be sure to keep it set to ON when you use
the infrared remote controller.
NOTE: You cannot set IR-RECEIVE to OFF when you oper-
ate the menu using the infrared remote controller. To set it
to OFF, use the appropriate VISCA controller.
DISPLAY INFO:
When this item is set to ON, the message of
the camera configuration appears for about 3 seconds on the
screen, after the camera is powered on or rebooted.
PRESET MEMORY:
This feature allows you to save the image
parameter to PRESET memory, turn it on to save most image
parameters like as picture, white balance, exposure, focus
mode, zoom positions when you call the preset.
FACTORY RESET:
You can select this item to set camera back
to Factory Default setting by pressing HOME button to con-
firm the action. All data of the camera that have been set will
be deleted.
RELOAD PRESET 1:
When this item is set to ON, preset 1
is set to Home position. The camera goes to Home position
when it is powered on or reset.
AUTO FOCUS:
Set speed of auto-focusing from Low to Normal.
VIDEO FORMAT:
You can change the video format by adjust-
ing this item. Select the item, press “
←
” button to choose the
video format you want to set to, then press “
→
” (Pressing “
→
”
button changes value on some product models) or HOME
button to confirm it. After you confirm your choice, press
HOME button again to restore it. The camera will reboot by
itself. The new video format is activated.
You can cancel it by pressing the DATA SCREEN button.
Depending on the video client software you are using, some
video software may need to be restarted to obtain the new
video format.
The video formats that you can select from are:
1080P:60/59.94/50/30/29.97/25,1080I:60/59.94/50,
720P:60/59.94/50/30/25
SV:
Software Version Number that is currently running on the
camera, you may need this information for technical support.
NOTE: The camera video format can be changed by setting
bottom DIP switch as well.
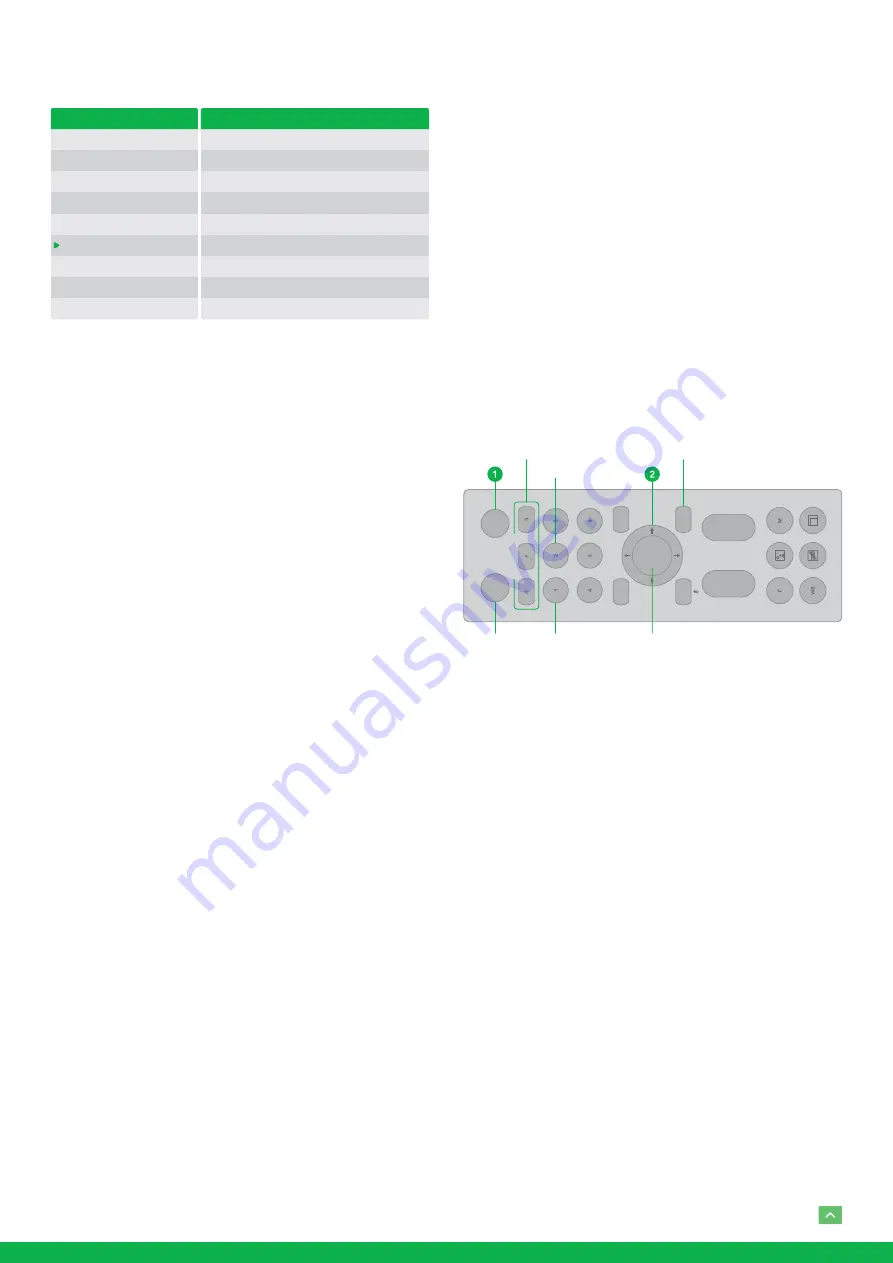
Operation Using the Infrared
Remote Controller
Pan/Tilt and Zoom Operation
L/
R
DIRE
CT
IO
N
SE
T
MENU
PO
WE
R
ST
D
PR
ESET
T
W
FA
R
NE
AR
RESE
T
RE
V
ZO
OM
FOCU
S
HOME
CA
ME
RA
S
ELEC
T
CAMERA SELECT
REV
STD
HOME
MENU
L/R DIRECTION SET
Panning and Tilting
1. Press the POWER switch. The camera will turn on and
perform the pan/tilt reset operation automatically.
2. Press the arrow button to pan or tilt the camera. While
checking the picture on the screen, press the desired ar-
row button.
To move the camera in short increments
, press the button
just for a moment.
To move the camera in long increments
, press and hold the
button.
To move the camera diagonally
, press the “
←
,
→
” button
while holding down the “
↑
,
↓
” button.
Restore to starting position
Press the HOME button.
If the camera moves in a different direction from the one
that you intended
The camera is preset so that the image output from the cam-
era is rotated toward the right whenever you press the “
←
,
→
” button.
To face the camera toward the opposite direction
You might wish to face the camera toward the opposite direc-
tion from that of the button you pressed, for example, when
SYSTEM MENU
PELCO ID
IR-RECEIVE
DISPLAY INFO
PRESET MEMORY
FACTORY RESET
RELOAD PRESET 1
AUTO FOCUS
FORMAT
SV
001
ON
ON
ON
ON
NORMAL
1080p29.97
V0B1100S36[...]
OSD
EXPOSURE
WHITE BALANCE
PICTURE 1
PICTURE 2
PAN TILT ZOOM
SYSTEM


