Leveling an Arm Type Machine
1.
Mount the four (4) leveling feet, one on each corner of the machine frame. Use a
manual or hydraulic jack capable of lifting the weight of the machine to raise it.
Place the machine on the floor and level the machine at the four corners first.
Leave at least 2 feet of open floor space around the machine.
CAUTION! Be alert to the dangers of lifting the machine.
NOTE: The level and lifting device (jack) are not included in the
installation kit.
2.
Install the adjusting bolts in the appropriate slots so that the head of the bolt is on
the bottom. Screw (1) Nut onto the bolt so that it’s under the slot. Place (1) washer
on top of the nut under the slot. Repeat with another nut and washer, above the
slot. The leveling plate should be on the floor, under the leveling bolt. Adjust so
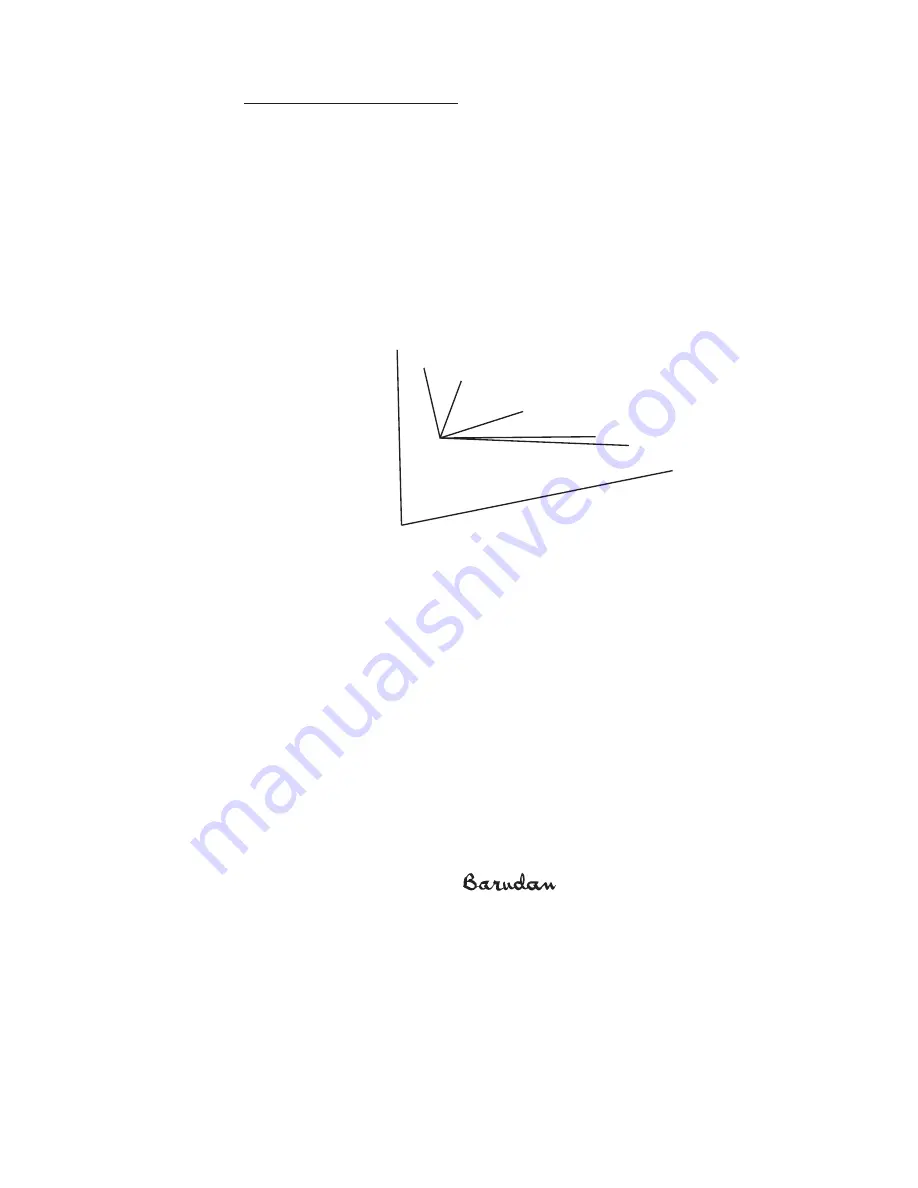
they support the machine without lifting it. See the illustration above.
CAUTION: Use a bubble-level on the machine frame to properly level the
machine.
1-2
X
Series Mechanical Guide
Mounting
Leveling Feet
Leveling
Bolts/Plates
Summary of Contents for BEXS
Page 1: ...B E X S Instruction Manual ...
Page 12: ...1 7 Warning Labels Contents Hook Warning Label Belt Warning Label ...
Page 18: ...3 2 1 Appearance and Components ...
Page 19: ...3 3 ...
Page 186: ...Embroidery Machine BEXR BEXS BEXY series Mechanical Guide ...
Page 194: ...1 6 X Series Mechanical Guide ...
Page 196: ...1 8 X Series Mechanical Guide ...
Page 199: ...X Series Mechanical Guide 1 11 ...
Page 201: ...X Series Mechanical Guide 1 13 ...
Page 233: ...13 1 Trade Marks WindowsTM is the trademark of the Microsoft Inc ...


