8: A
dv
an
ce
d E
le
m
en
t C
on
tr
ol
s •
1
1
3
©2016 Axia Audio- Rev 1.8.1
the active software package, click on the radio
button next to the image you wish to activate, and
click this button. A reboot is necessary to load the
new software choice.
»
Delete Current Image:
Click the radio but-
ton next to software you wish to delete and click
this button. Note that you cannot delete the active
software image.
Good Housekeeping: It’s best not to keep too
many old software images around. They clutter
up Element’s flash memory, leaving less space
for Show Profiles, syslogs, and other important
data. We recommend that you keep only one
previous software package stored in Element.
»
Upload New Image:
From time to time, Axia
makes new software packages available for down-
load from
https://www.telosalliance.com/Axia
.
Use the
Browse
and
Upload Image
buttons to
install new software, as described in the Techni-
cal Bulletin that accompanies each software re-
lease.
»
Reboot
shuts down Element and restarts it.
(Remember that mixing takes place in the
StudioEngine, so this can be done even while
you are on the air. Interruptions of your program
stream, if any, will last less than 1 second.) A re-
boot is required after changing active software.
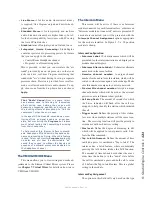
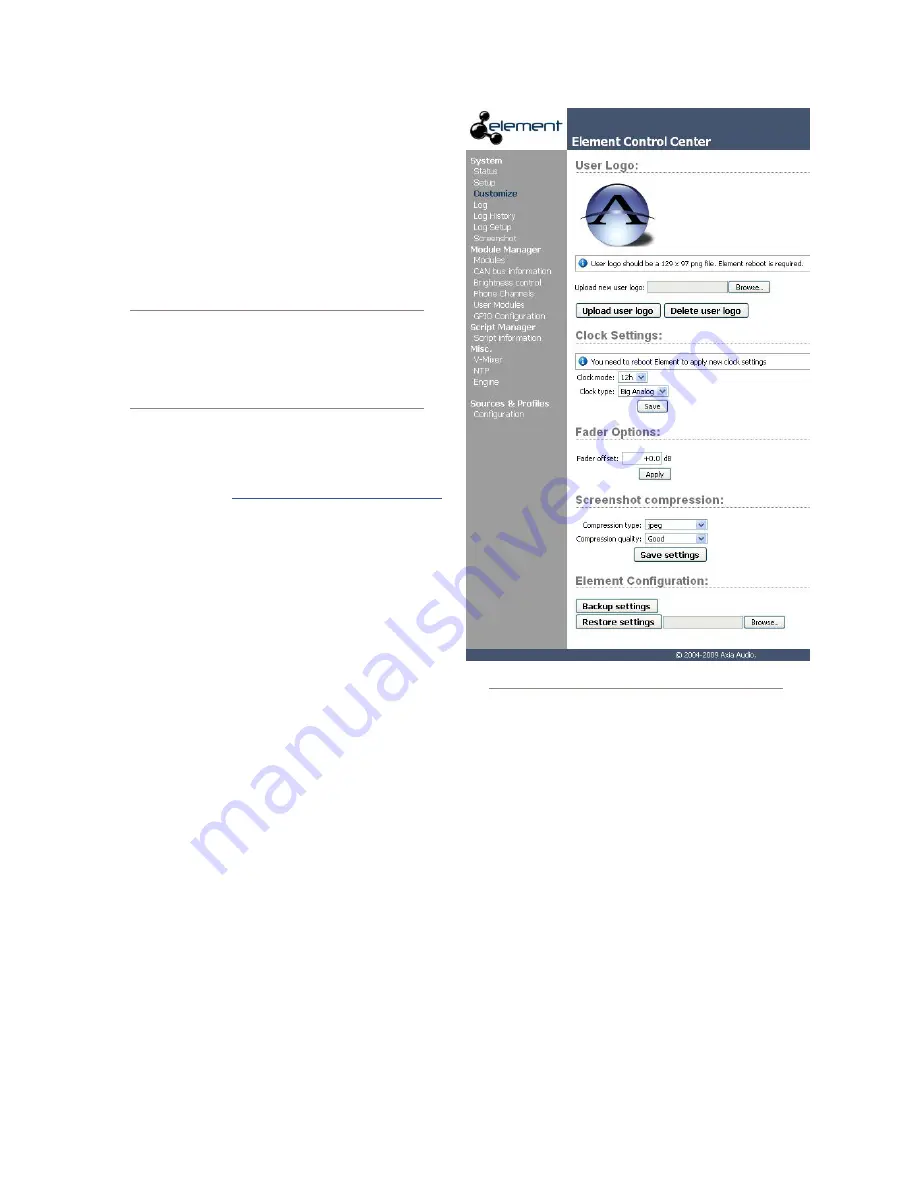
The Customize Menu
•
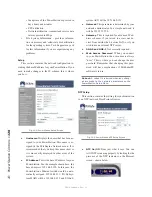
User Logo:
This utility allows you to place your sta-
tion’s logo on the Element operator display. To do so,
create a PNG file in Photoshop or any similar image
editor. This file must measure a maximum of 129 x
97 pixels to fill the allocated display area. Use the
Browse
and
Upload User Logo
buttons to install
your logo file. Upon reboot, this logo will appear on
the Operator’s display. To delete a displayed logo,
click the
Delete User Logo
button and reboot.
•
Clock Settings:
You may specify time to be dis-
played in a 12-hour or 24-hour format. The Element
can optionally display a large digital clock and a
small analog clock as opposed to the default which
is a large analog and small digital. Here is where you
specify your preference. Reboot after changing.
•
Fader Offset:
Some users may want to change their
“nominal” fader position. This is a global setting that
permits you to do this. For example, a setting of +6
will increase the “sensitivity” of your faders by 6 dB.
The faders in this example would have to be run 6
dB lower in order for the PGM audio output to be the
same as the -0dB default setting. Your meters will
always represent the actual audio levels.
•
Screenshot Compression:
You can save a shot of
the Operator’s display for documentation, trouble-
shooting or training purposes. You may choose to
save your screenshot in JPEG or PNG format, with
three levels of compression quality using the
Com-
pression Type
and
Compression Quality
drop-
down boxes. Click
Save Settings
when you are
done.
•
Element Configuration:
This section lets you
Fig. 8-5: Element Customize Screen

