9:
S
tu
dio
En
gin
e C
on
tr
ol
s
• 1
2
2
©2016 Axia Audio- Rev 1.8.1
of module installed; refer to the IP Intercom manual for
full details for your module.
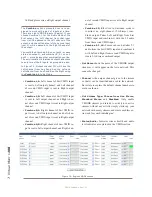
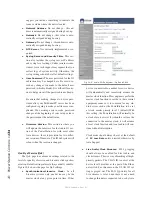
Each module has a numbered key position with
a drop-down that has the known intercom stations or
Livewire channels defined within the “Intercom Livewire
Sources” field. The next drop-down is the Mode option
which allows you to assign the button as a Talk, Listen,
or Talk and Listen button. Selecting a station or source,
and setting its Mode, gives function to that key on the
intercom module. 20-position intercom modules provide
an option to create “pages” which can be toggled if there
are many locations you need to interact with.
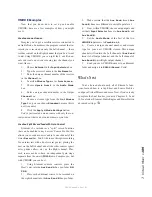
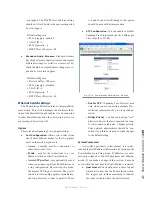
GPIO Configuration
This field allows for the configuration of nine “vir-
tual GPIO” ports which can be used to interact with
the Intercom system. More information on this topic is
covered in the IP Intercom manual. These virtual GPIO
ports are accessible through port 4013.
If you need to configure GPIO routing on a physical
GPIO port using a port on the StudioEngine, make sure
to use the syntax
www.xxx.yyy.zzz:4013/n
on the GPIO node so that it is able to observe the GPIO
on the 4013 port.
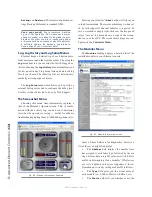
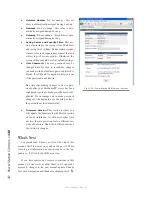
Intercom Livewire Sources
Here you can enter a Livewire source that is not an
actual Intercom station. You can then configure the In-
tercom module to “monitor” this source with a Listen
command, or interface with a third-party Intercom or
two-way radios. More on this configuration is available
in the IP Intercom manual.
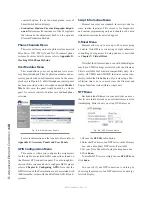
Version information
The bottom of the screen shows a version value
for the intercom software. The intercom function is in-
dependent from the StudioEngine code, and so has its
own version. This display shows the version of Intercom
code your StudioEngine is running.

