


Appendix
102
Step5: Go to
Network
. Set
IP Type
as
DHCP
, and set the port number from 1 to 9999 (except 80)
so that the router can send the packets to the specified IP address.
Press
Apply
to confirm.
Step6: Connect your DVR to your router, and your DVR will automatically detect DHCP and get
an IP address. Then, go to the menu of your DVR to find the IP address.
‧
DVR Path: MENU
ADVANCE CONFIG
NETWORK
DHCP
.
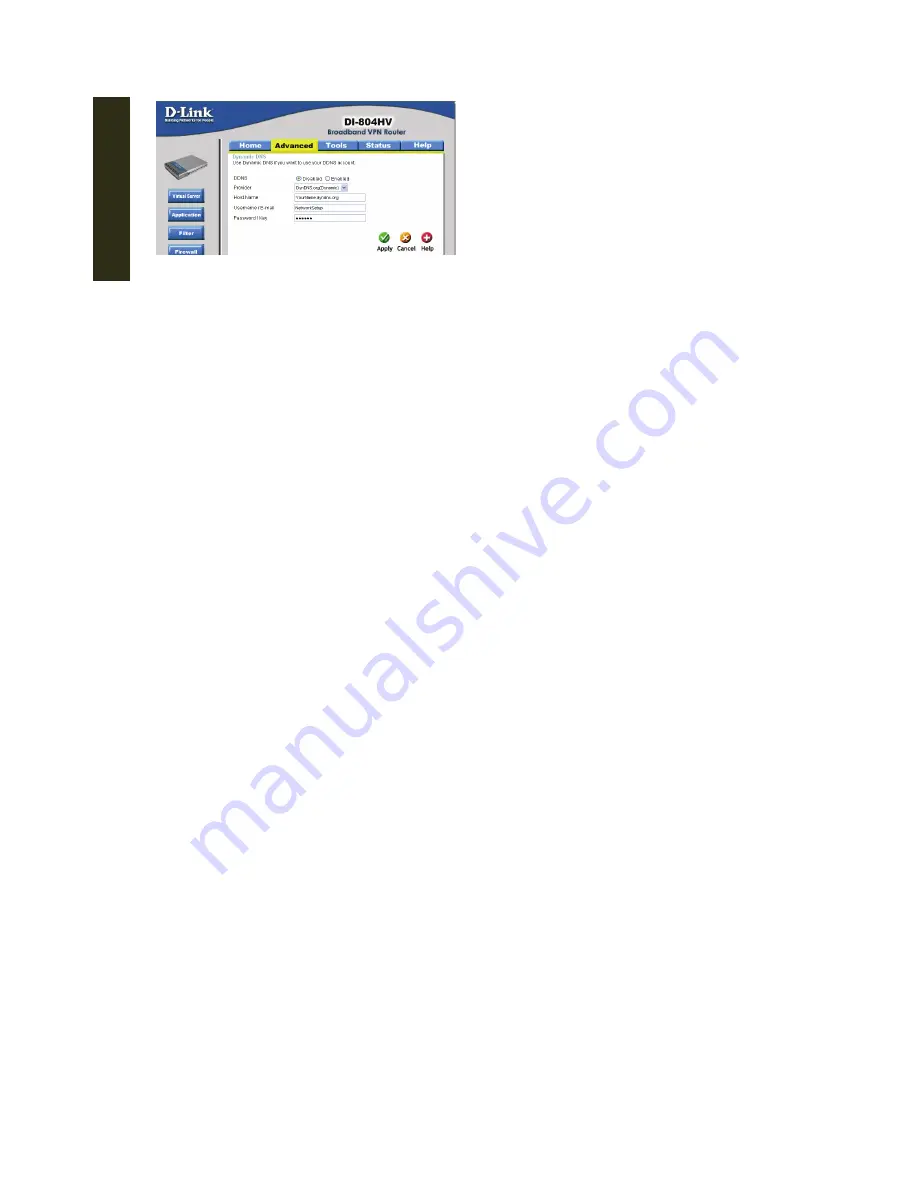
Step7: Go to the WAN page of the router via your PC or laptop, and select
Advanced
tag to
change the port number of the IP address into the same number you just entered in the
video viewer.
The port number for Private Port and Public Port must be the same.
Step8: Press
Apply
, and you will see one item is added into the setting list.
Step9: Open the Video Viewer, and enter the domain name, user name / password (admin /
admin by default), and the new port number.
You can start the remote surveillance now.
Summary of Contents for AVD 714
Page 1: ......
Page 2: ...Version Information Manual V0 9 Firmware 1227 1012 1032 1018 M1 6C1B Video Viewer 0086...
Page 6: ......
Page 16: ...System Overview 6...
Page 28: ...Installation Connection 18...
Page 42: ...Basic Operation 32...
Page 92: ...Web Browser 82...
Page 100: ...Appendix 90...
Page 102: ...Appendix 92...
Page 104: ...Appendix 94...
Page 106: ...Appendix 96...
Page 113: ...Appendix 103...
Page 114: ......


