


124
out the alarm message.
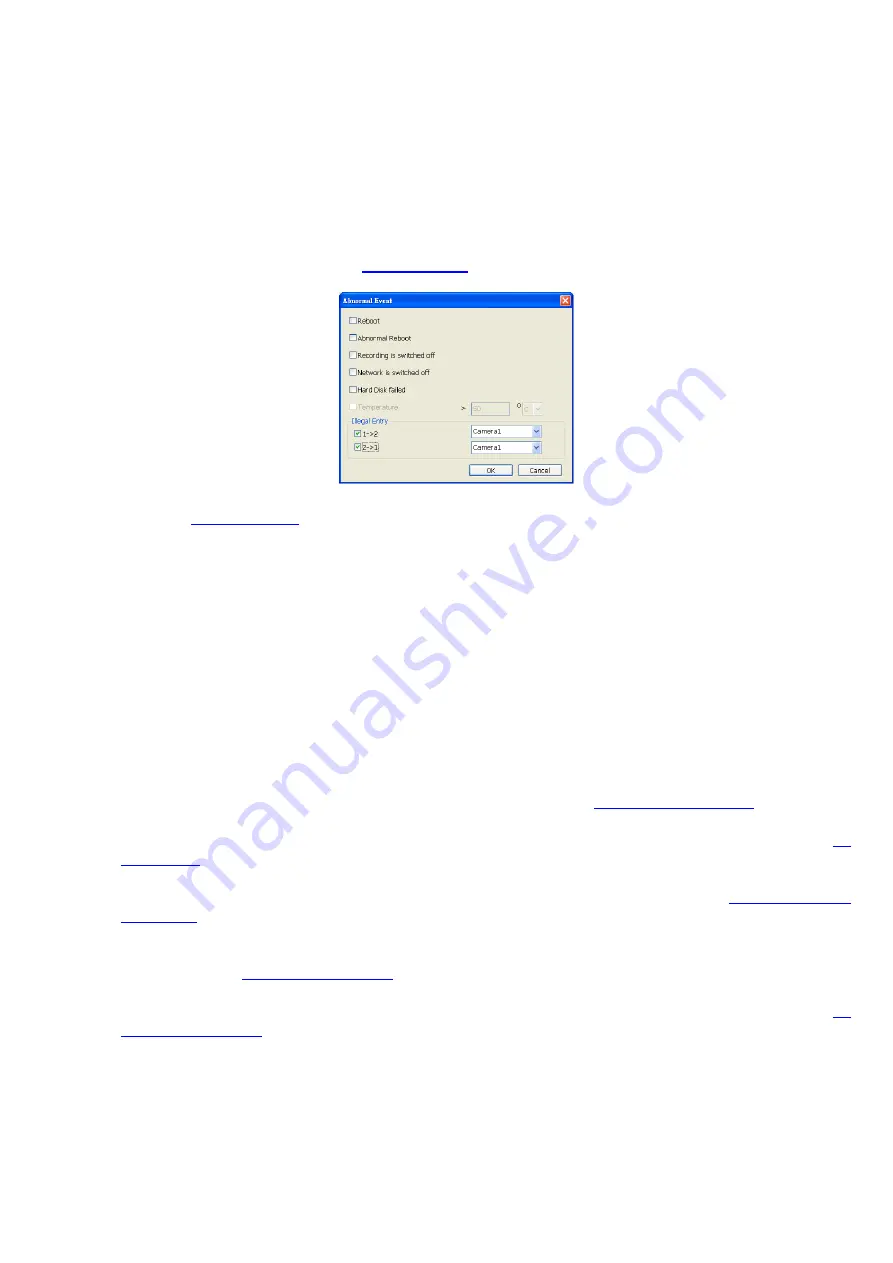
•
Abnormal Reboot:
when the DVR system reboot in irregular condition, the system will send out
the alarm message.
•
Recording is switched off:
when the recording has been stopped, the system will send out the
alarm message.
•
Network is switched off:
when the network connection of DVR system is lost, the system will
send out the alarm message.
•
Hard Disk failed:
when the hard disk can’t work normally, the system will send out the alarm
message.
•
Temperature:
set a temperature limited of system for system to alarm. When DVR system
temperature is over the temperature limited, the system will send out the alarm.
•
Illegal Entry:
any objects move between selected regions which user has set up in
Object
Counting
section (see also
), the system will send out the alarm. Select the entry
(object moves from region 1 to 2 or from region 2 to 1) and camera for system alarm detection.
- Enable/disable the
POS Keyword
check box, to scan the data from the POS if it matches the keyword
(see also
- Enable/disable the
Alarm Message
check box, to active with external alarm message by your own
program. For the detail configuration, please contact the local reseller.
6. In
(5) Alarm Reset
, click the camera number (use
W
and
X
to select the alarm) to set the reset condition
of alarm. Once alarm is reset, all alarm action will stop at the moment. If the sensor normal status is high,
set the sensor condition to low.
7. In
(6) Action
,
you may now set the alarm action for the system to perform when the alarm condition is
activated.
-
Launch E-Map
Display mini Emap screen.
-
TV Out
Switch to only display the video on TV from where the alarm is activated.
-
Enlarge Camera View
Switch to only display video in Preview/Advanced mode from where the alarm is activated.
-
Send E-mail
Send an electronic text message. To setup click
Detail
(see also
-
File Transmission via FTP
Upload file to remote computer thru FTP (File Transfer Protocol). To setup click
Detail
(see also
).
-
Start Recording
Record the video from the selected camera. To setup click
Detail
(see also
-
Alarm SOP (Standard Operation Procedure)
List the instructions to inform the person of what to do when the alarm is activated. To setup click
Detail
(see also
).
-
Send to CMS (Central Management System)
Enable/disable the selected camera to send video to CMS when the alarm is activated (see also
-
Snapshot
Take a snapshot when the alarm is activated.
a.
Select Camera:
specify which channel video to be snapshot when the alarm is occurred.
-
Alarm Camera:
when a channel has an alarm occurred, and then, the DVR system will snapshot
the channel video.
-
Camera # (1~32):
the selected channel would be snapshot when an alarm is occurred.
b.
Video Size:
select the size of snapshot picture.
c.
Number of picture:
the number of picture that is going to be taken.
d.
Snapshot Interval:
a time gap for next snapshot


