


Procedure
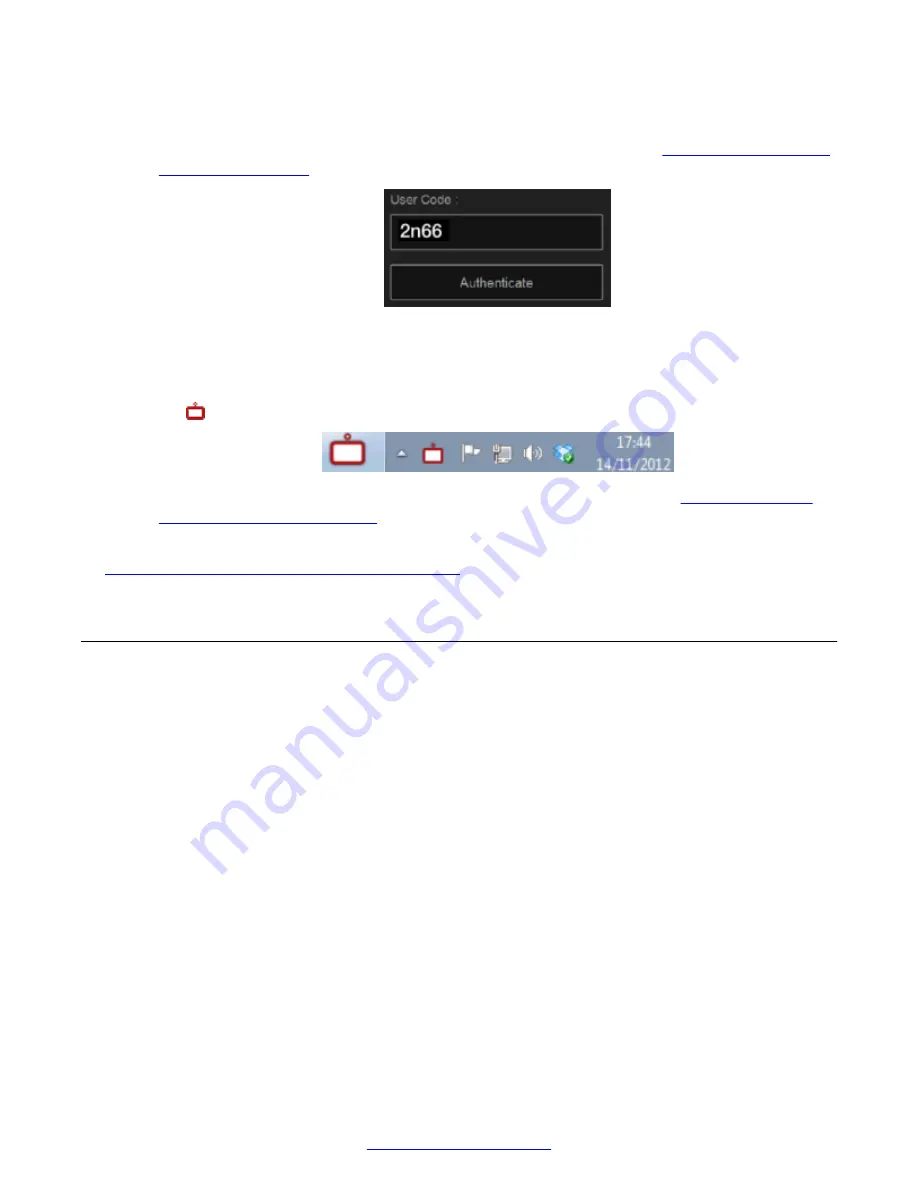
1. Enter the user code displayed in your Scopia
®
on page 27 for an example).
Figure 16: Entering the user code (example)
2. Select
Authenticate
using your computer mouse.
3. You can now control the Scopia
®
XT Executive with your keyboard and mouse by selecting
the Scopia
®
XT Control icon in your taskbar:
For tips on getting started and using the Scopia
®
XT Control utility, see
on page 24.
Related Links
Navigating Menus with the Keyboard and Mouse
on page 24
Configuring Basic Settings with the Quick Setup Wizard
About this task
To start using your Avaya Scopia
®
XT Series, first define basic settings with the quick setup wizard,
such as the system's name, language, and network settings. This is relevant for both new
installations, or after restoring default settings. You can only calibrate the image on the endpoint
itself using its monitor, not from the web interface.
Some settings may already be customized for your organization. If required, ask the system
administrator for the device's password.
The quick setup wizard automatically appears the first time you access the XT Series, either by
turning it on or logging in to the web interface. Alternatively select
Configure
>
Quick Setup
from
the Main Menu.
Configuring Basic Settings with the Quick Setup Wizard
April 2015
Avaya Scopia
®
XT Series User Guide
27