


5-
Chapter 5: RAID configuration
3. Use the arrow key to select the disk you would want to configure as hot
spare, then move the cursor to the Hot Spr column. Press <+>, <->, or
<Space>. The Drive Status column field now shows Hot Spare. Press <C> to
commit the changes.
Synchronizing the array
Synchronizing the array allows the utility to resynchronize data on the mirrored disk
in the array. This procedure is seldom required because data synchronization is
automatically done during manual operation.
To synchronize the array
1. Follow steps 1 ~ 3 of the section “
Viewing Volume Properties
” and step 2 of
the section “
Managing hot spares
”.
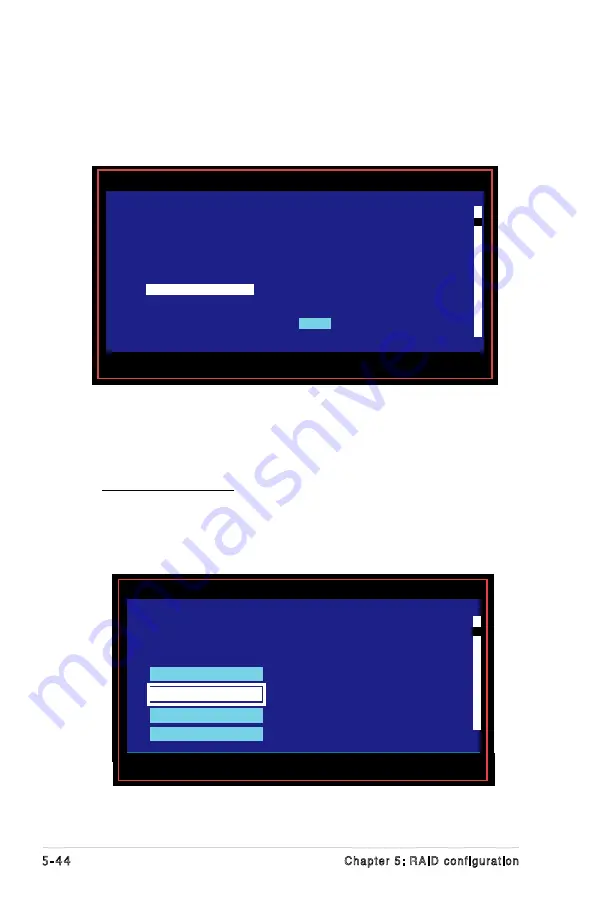
2. From the
Manage Array
screen, select
Synchronize Spare
, then press
<Enter>.
Esc = Exit Menu F1/Shift+1 = Help
Space/+/- = Change Item C = Commit Changes
LSI Logic Config Utility v6.08.05.00 (2006.08.02)
Manage Hot Spare -- SAS1068
Identifier
LSILOGIC Logical Volume 3000
Type
IME
Scan Order
0
Size(MB)
51498
Status
Optimal
Slot Device Identifier Hot Drive Pred Size
Num
Spr Status Fail (MB)
0
SEAGATE ST373454SS
0003 [NO] Ok No 34331
1 SEAGATE ST373454SS 0003 [NO] Ok No 34331
2 SEAGATE ST373454SS 0003 [NO] Ok No 34331
3 SEAGATE ST373454SS 0003
[Yes]
Hot Spare No 35003
[----] --------- -- -----
Esc = Exit Menu F1/Shift+1 = Help
Enter = Select Item
LSI Logic Config Utility v6.08.05.00 (2006.08.02)
Manage Array -- SAS1068
Identifier
LSILOGIC Logical Volume 3000
Type
IME
Scan Order
0
Size (MB)
51498
Status
Optimal
Manage Hot Spare
Synchronize Array
Activate Array
Delete Array
3. Press <Y> to begin the synchronization, or <N> to cancel.
Summary of Contents for P5M2
Page 1: ...Motherboard P5M2 Series P5M2 P5M2 SAS ...
Page 14: ...xiv ...
Page 26: ...2 Chapter 2 Hardware information 2 2 3 Motherboard layout P5M2 Layout ...
Page 27: ...ASUS P5M2 Series 2 P5M2 SAS Layout ...
Page 185: ...6 22 Chapter 6 Driver installation ...
Page 187: ...ASUS P5M2 Series Chapter summary A A 1 P5M2 series block diagram A 1 ...