80
7.4.2 Layer properties
Borders
You can choose amongst 5 types of border patterns for your layers:
EDGE, SMOOTH, SMOOTH EDGE, SHADOW
, or
SMOOTH SHADOW
.
For each pattern, you can further adjust border settings like color,
alpha transparency, width/height, H/V position, and you can also enable or disable the Rounded corners
feature (see also preset borders in chapter 7.3.8 The Miscellaneous section). Simply select a pattern to adjust
the layer border properties, or select
NONE
to display no border.
Please note that on the
Ascender 48 - 4K - PL
(Ref. ASC4806-4K-PL), the axe Z can be modified as well as the
layer anchor point.
Please refer to the
chapter 7.6 How to operate Perspective Layers on the Ascender 48 -
4K - PL
for more details.
Transparency
Use the Transparency to give at the layer a semi-transparent effect. A
setting of 0 is fully Opaque, meaning no transparency is applied. This
setting can be used to use a layer as a watermark on another. To remove
part of the source for a lower third see the input Keying section.
Cropping
The Cropping feature allows you to cut into the image to remove the part
you don’t want. Be sure to adjust the crop size horizontally or vertically
before adjusting the position to display only the desired content. The
position parameter has no effect without a change in crop size. This crop
setting is a layer crop, which affects any input assigned to this layer. (For
additional crop options, see the
Input > Aspect setting
)
The Aspect Override setting allows you to override the Aspect Out setting
assigned to each input with one configured for this layer only. Any input assigned to this layer will utilize
the Layer’s Aspect override setting instead of the one assigned to the input. Options include 1:1, Centered,
Fullscreen, and Cropped. See the
Input > Aspect > Aspect out
for more information.
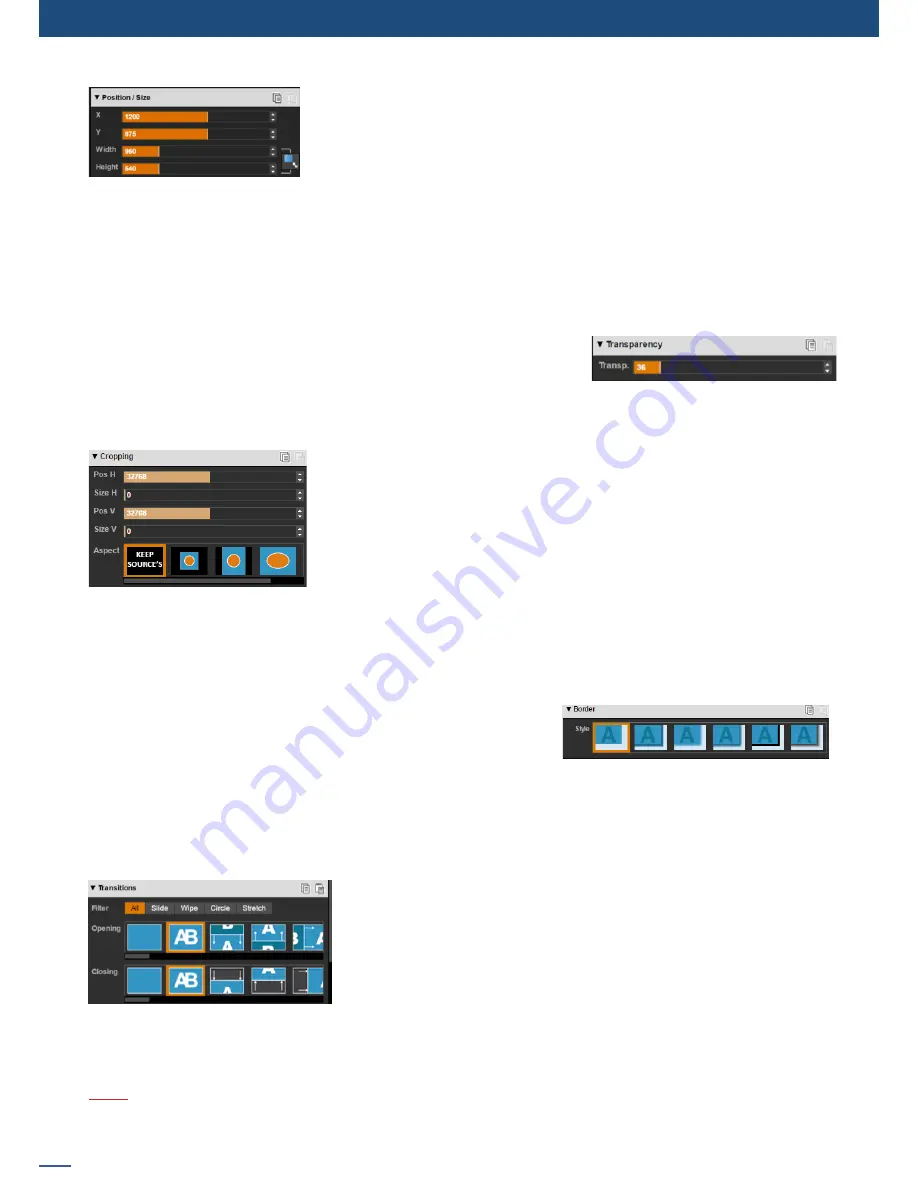
Position/Size
The Position and size adjustments give pixel accurate control over the
position and size of each layer. Adjust the size horizontally (X) or vertically
(Y), then adjust the width and the height of your layer. You can use the
cursor or directly enter a value. To keep the aspect ratio by using the cursor,
please select the
KEEP ASPECT RATIO
button. You will find it on the right of the width and height cursors.
Transitions
In the Transitions section, you can select an opening and closing effect
to be used on each layer, including Cut, Fade, Slides, Wipes, Circle wipes,
and Stretch effects. The filter allows you to limit which transition style
options will be displayed.
Each layer can be defined by an opening and a closing transition. The
opening effect will be used when the layer switches from one source
to another or when the layer is not present on the screen and appears.
The closing effect is used when the layer is leaving the screen.
To set up the duration of the transition, please see below the timing and duration settings.
Note:
The LiveCore™ unit will automatically perform layer movement transitions (Flying Zoom) if a source or
layer remains on the screen between program and preview. If you want to force the layer to use the
closing transition and the new opening transition, see
FORCE TRANSITION
into the next section.
Summary of Contents for ASC1602-4K
Page 2: ......
Page 127: ...Connect with us on LiveCore 03 07 2017 V04 02 20...


