64
7.3.10 Input management
Mask
Transparent pixels
Non transparent pixels
Semi-transparent pixels
No mask
Transparent
Original pixels color
Original pixels color
Black & white
Black
White
Grey
Red & blue
Red
Blue
Grey
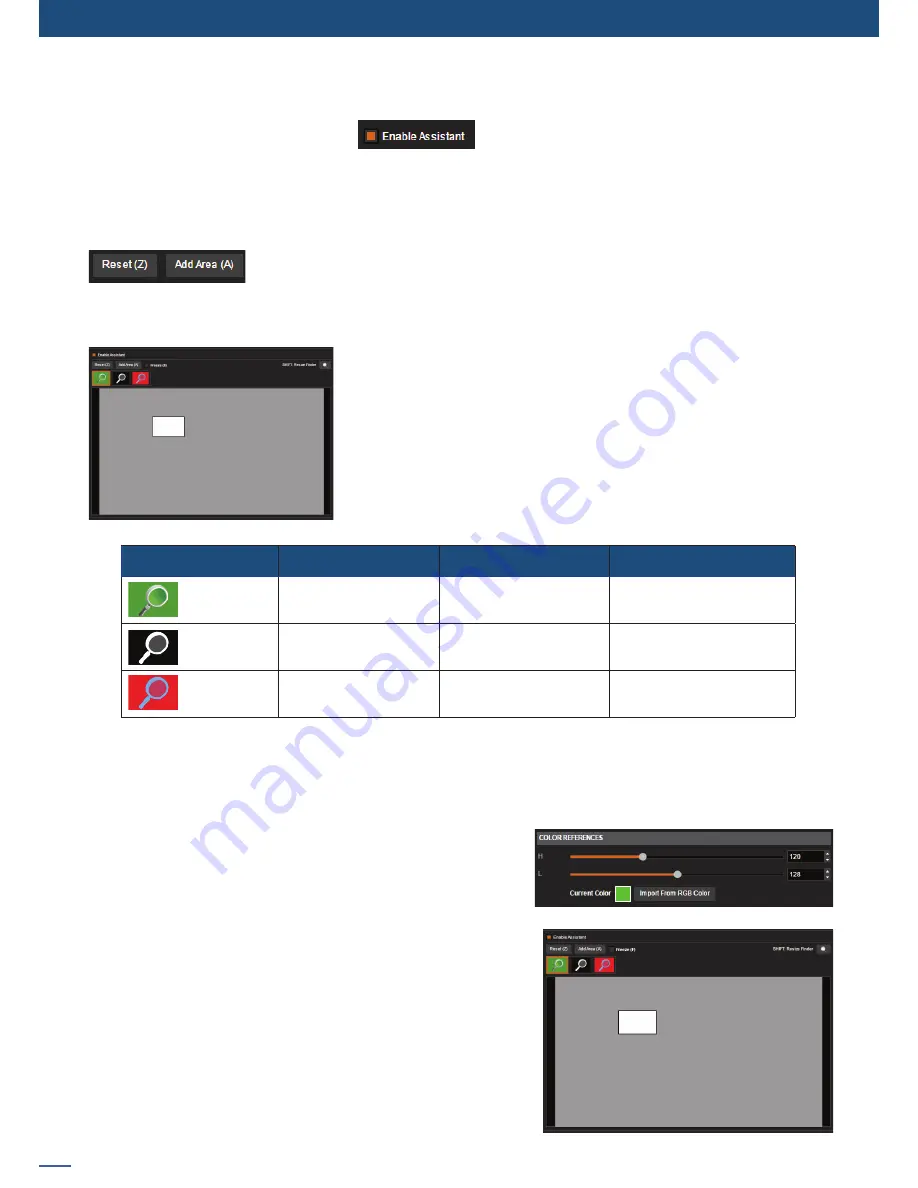
KEYING ASSISTANT:
To enable the keying assistant click on:
Then use the white square to define an area which exemplifies the color you want to key.
NOTE:
You can use shift on your computer keyboard in order to size the white square.
For the first application, we advise you to reset all the previous keying settings. Click
on
RESET
to reset all previous settings.
To start deleting, move your white square on your live image and then press
ADD AREA
. You can add several
areas.
At any moment you can freeze the live content of your source using the
FREEZE
button.
Mask options are available if you want to visualize the keyed content
versus the non-keyed content. The pixel color replacement used in
each mask option is described in the chart below.
HOW TO USE THE LUMA KEYING:
Select the lumakiller and then adjust manually, or using to the
assistant, the luma level:
Manually: Set the Luminance value or select it with the color
panel clicking on
Import from RGB color.
Then adjust to tolerance to increase the range of luminance
levels around your reference luma.
NOTE:
The masks are really useful for configuring the Crematte keying, see below.
ASSISTANT:
The easiest way to find the exact luma you want to remove is
to use the assistant. Simply move the white square to an area
you want to remove and click on
ADD AREA
to determine the
correct luma value.
Only for CremaTTe
®
Summary of Contents for ASC1602-4K
Page 2: ......
Page 127: ...Connect with us on LiveCore 03 07 2017 V04 02 20...


